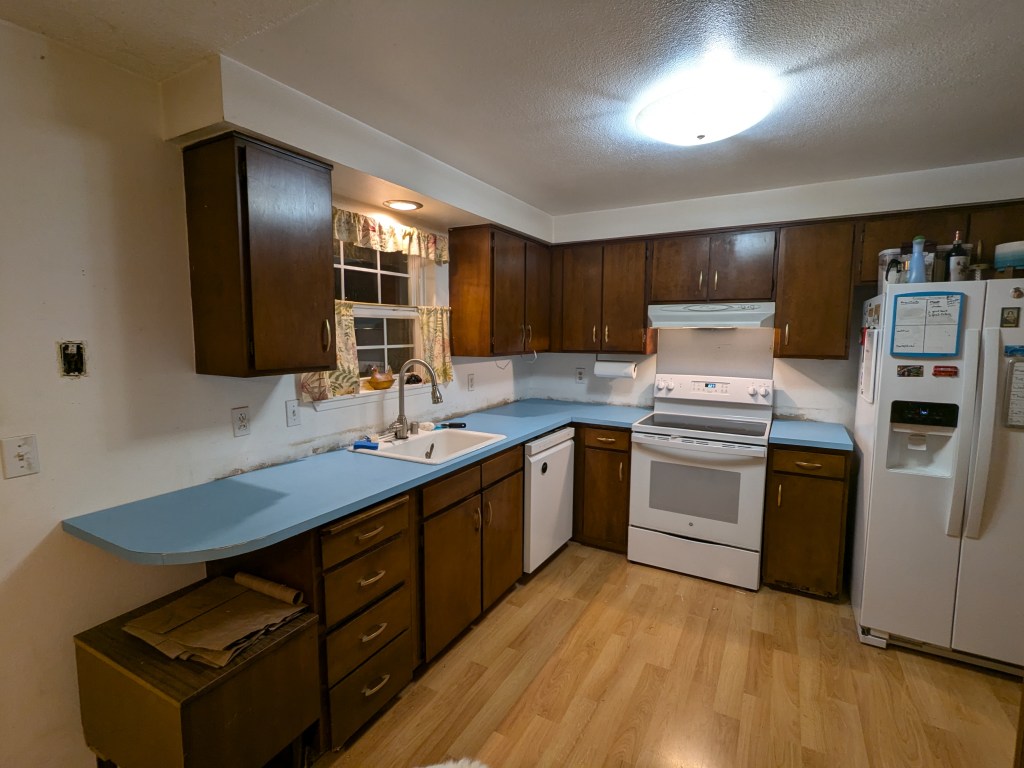
When we bought our house ten or so years ago, everything in it worked, and there was really no reason to go messing around with stuff that was perfectly functional. Over the years we have replaced the stove, and the fridge, and the dishwasher. The one thing that remained was the cheap, ugly, brown countertop.

Two other complaints: The kitchen is very small, there is not much counterspace to work with. And it is covered in appliances. Also, I hate the stainless steel sink. It always looks dirty with water spots from our hard water.
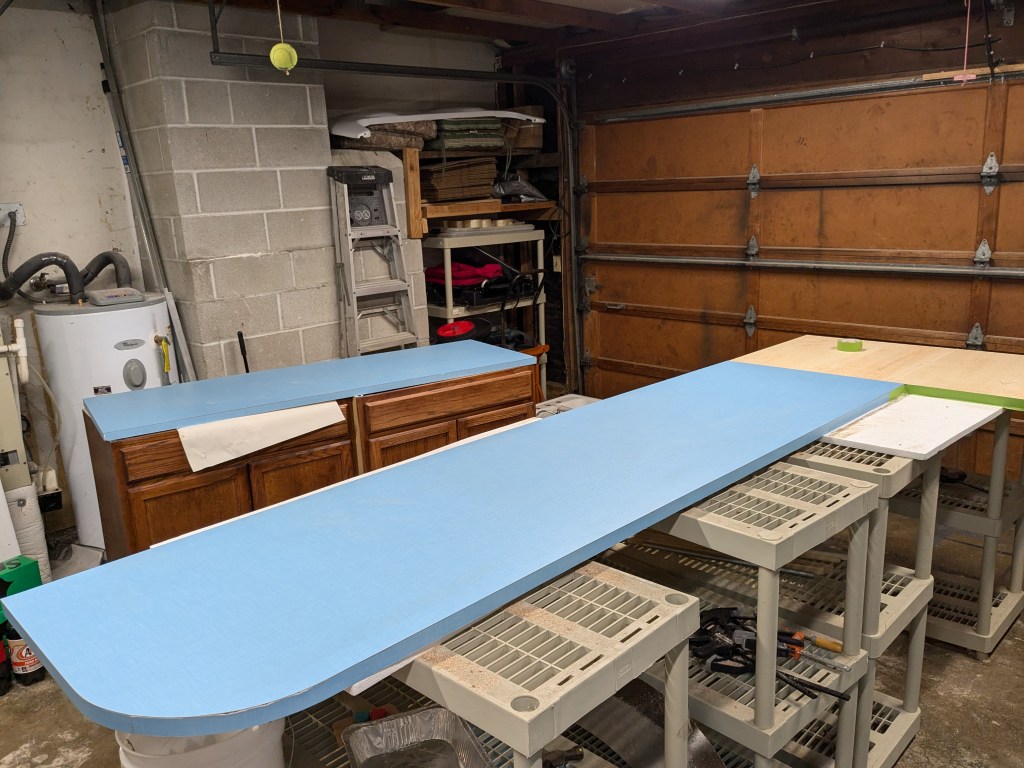
I had a plan. I had been gathering parts out in the garage. Tile for a backsplash. A single basin white iron sink. And a bright blue laminate I thought would brighten the place up. This summer was finally time to do it.
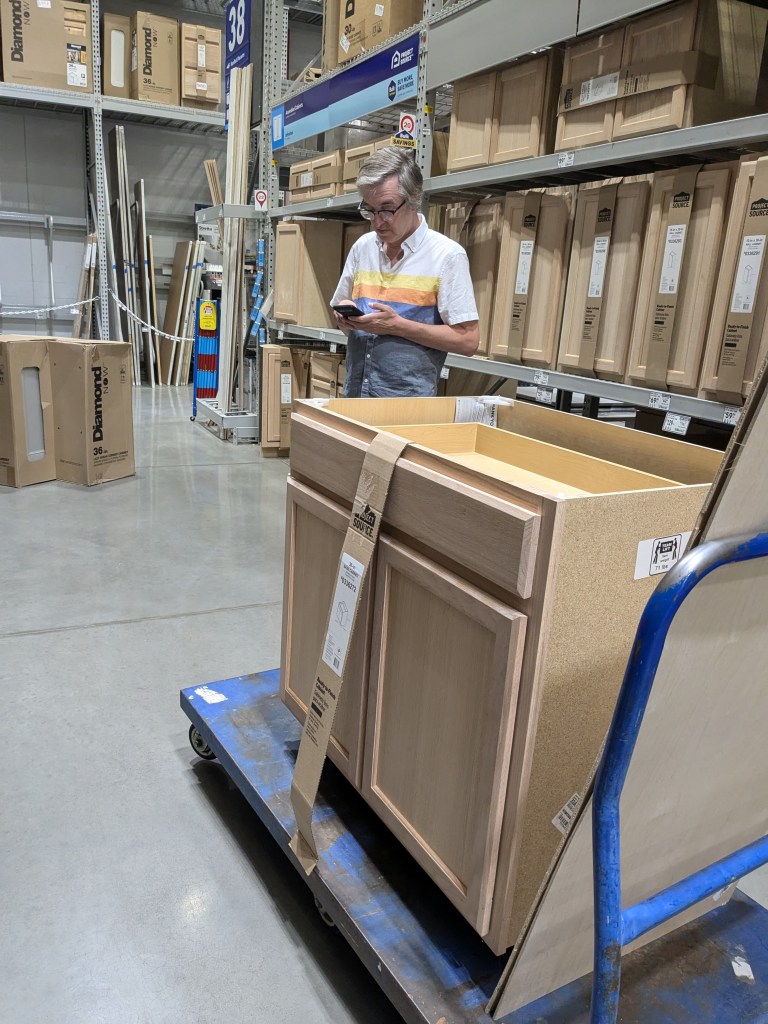
The first part of the project was adding a new set of cupboards on the wall across from the sink. We moved the china hutch that was there, and measured out how much room we had to work with. I planned to build the cabinets, but once I added up the price of doing that, we decided to go with two pre-built cabinets from a big box store. They won’t match the vintage cabinets in style, but you can’t beat the price, and having them ready to work on TODAY.

I taught Dave how to stain as let him at it.

We laid out the laminate and trimmed off a piece for the cabinet countertop.
I cut plywood for the countertops, attached framing under them to support the edges and where they touched the bases, or where the sink went, and laid down the laminate. I did a tiny bit of laminate for the table in the Airstream, but this was much bigger project, and it included edge trimming. Boy did I learn a lot!
The countertop for the kitchen cabinets is going to go all the way to the sliding glass door, giving us extra space. The smaller single basin sink will give us back some counterspace too.
Our friend Scott came over and helped us move the electric socket from behind where the new cabinets were going, and raise it up above the level of the cabinets, so it would be accessible. Then we moved the new cabinet in and fastened it down.

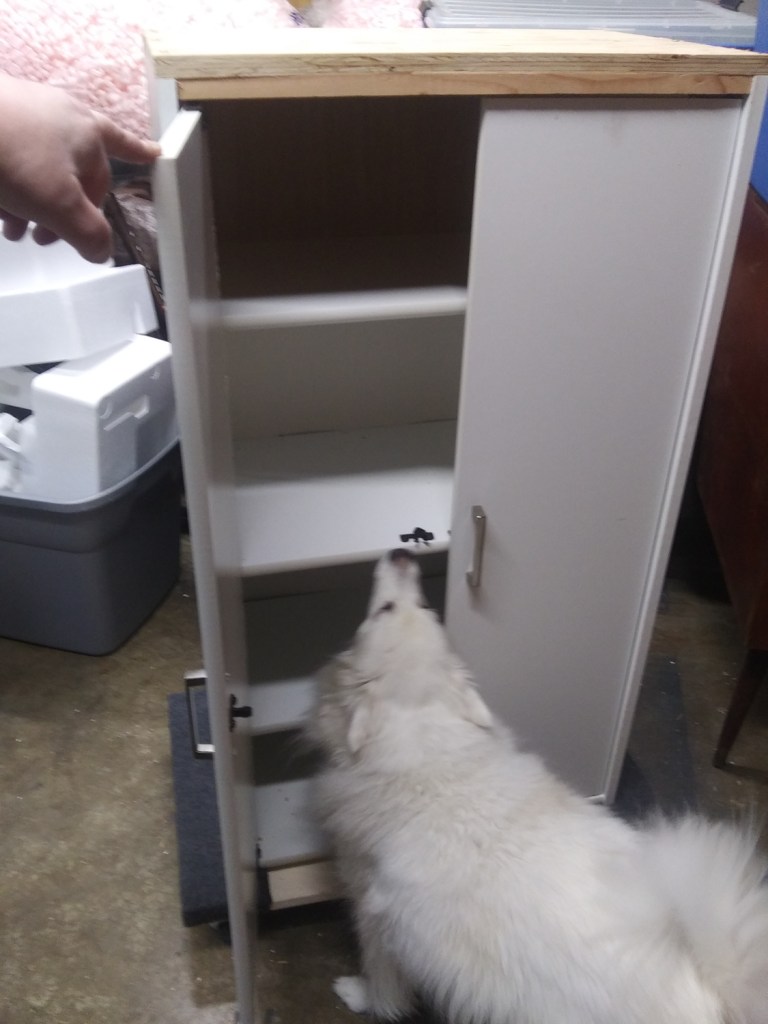
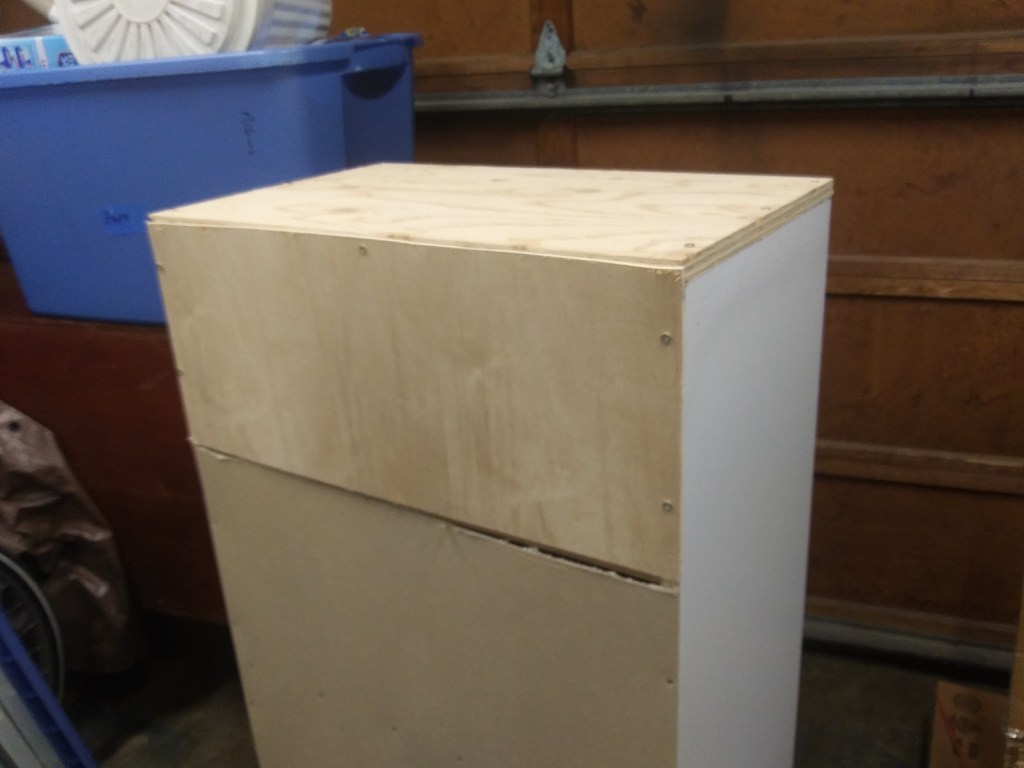
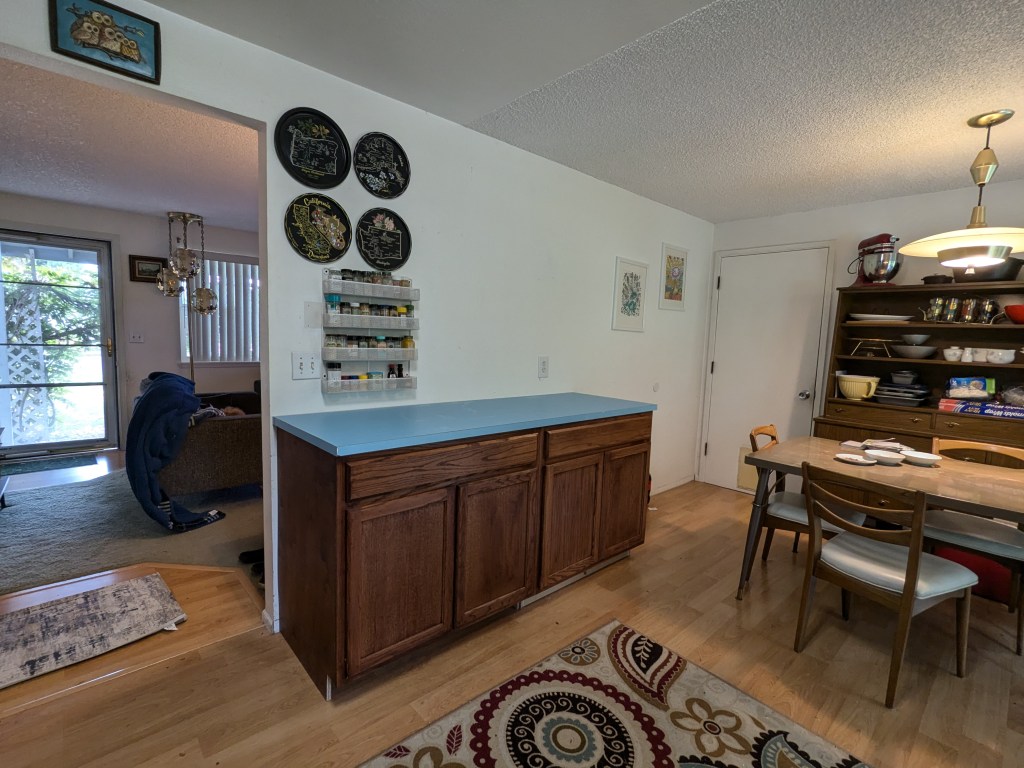
For our tiny kitchen, this is a HUGE amount of extra counter space, and much needed storage.

Tearing up the kitchen needed to go fast. This project couldn’t be one of those that drags out for weeks.
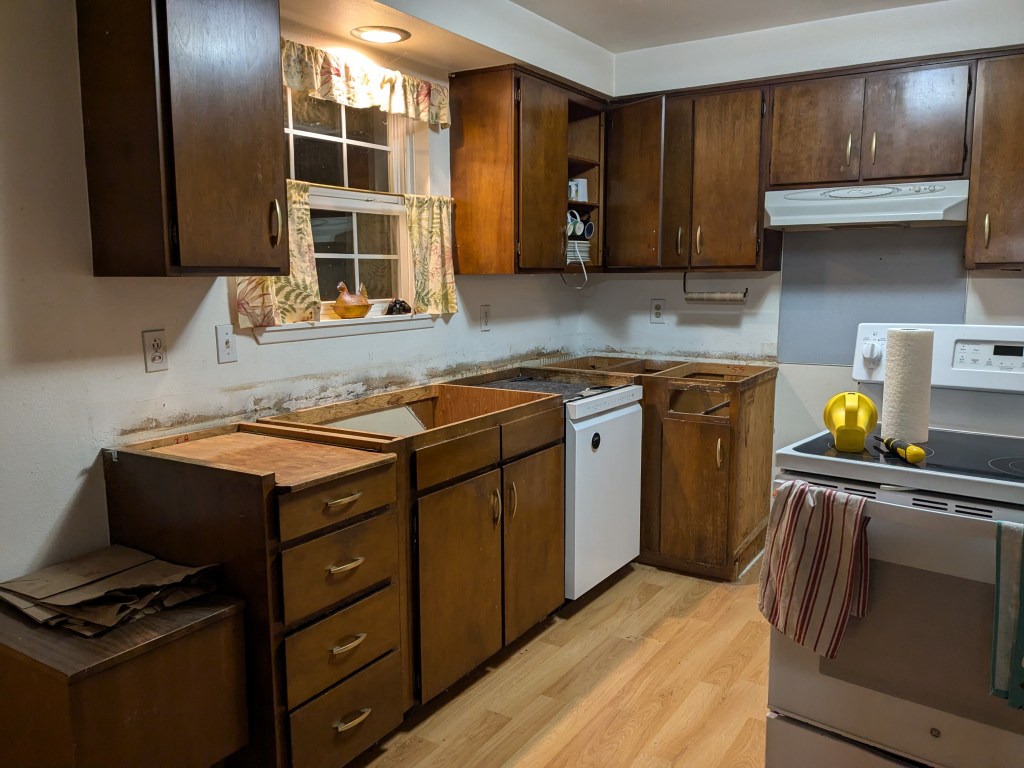
That is not mold on the back wall, it is old glue from the backsplash.
Scott & Sherry were on hand to help us move the new countertops in, then back out for a little modification after the first fitting, then back in place…
Scott helped with the plumbing on the new sink, and before the day was out, we had a functioning kitchen again.
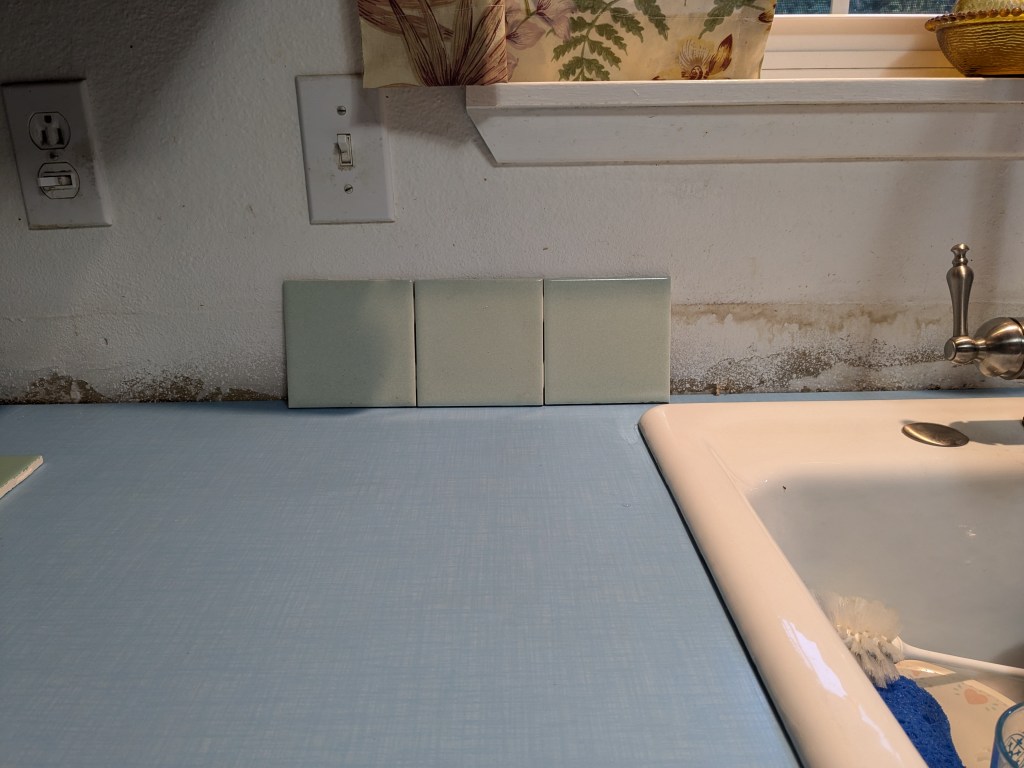
The next weekend, we started on the tile backsplash. I had bought a bunch of seafoam green vintage tile. with some white to intersperse with them. But when we started lining them up, it turned out the white tile I bought was a tiny bit bigger than the standard 4.25″ tiles. I also had thought I could do 4 tiles high, but not without cutting tiles. I laid them out in an anti-pattern mixed with about a dozen sample tiles I had picked up that were mixed colors just for a little pop of something extra.

We headed off to the big box store and got some nice gloss white tires that were the correct size, and some half height white tiles with a bullnose edge for a top trim. And of course we grabbed all the pre-mixed mortar and grout and spacers and all that. We’ve never tiled before, but having watched some YouTube videos, we were ready to dive in.


After a weekend of work:
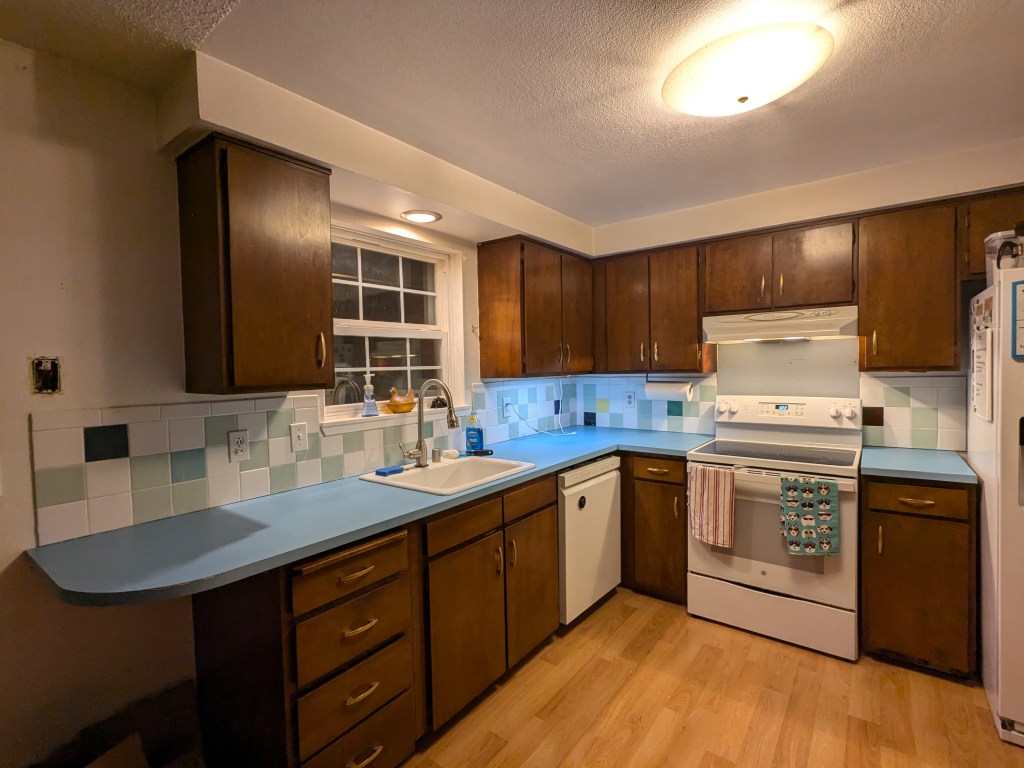
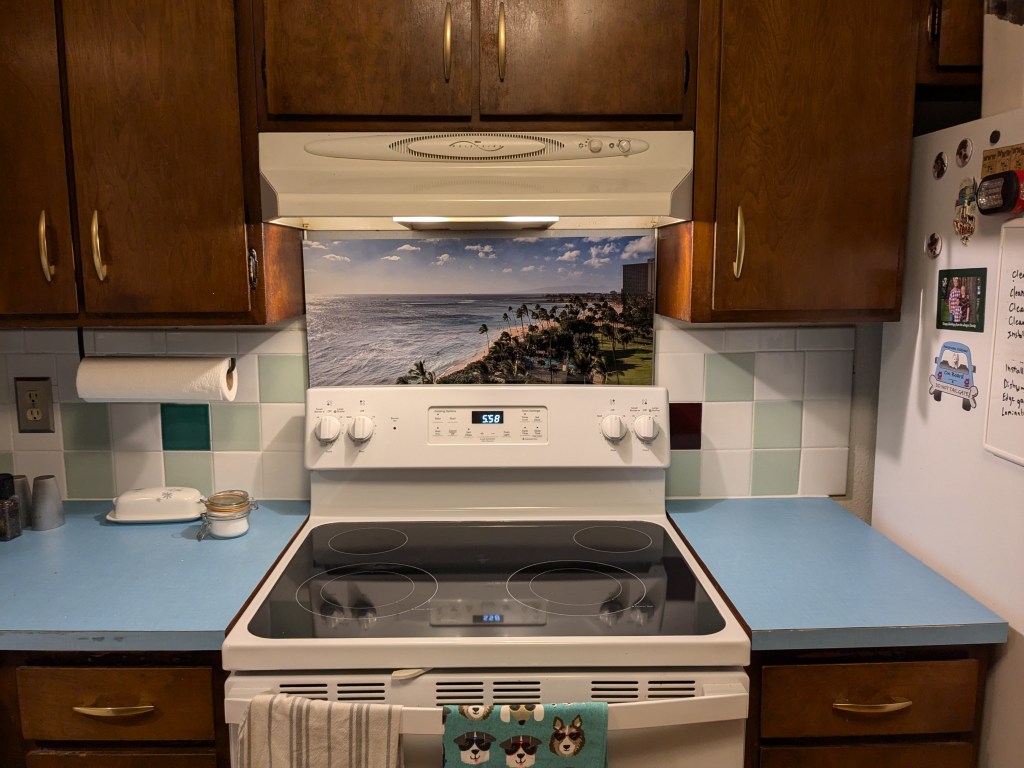
And I am indeed happy with my new kitchen! It is lighter and brighter, there is more room to work. The little appliances all live in the new cupboard now. Oh, and the final touch, a custom backsplash behind the oven: an aluminum print of the view from our vacation condo in Hawaii. Now I can dream of the islands while I cook dinner.
My next project will be to refinish the old cabinet doors, because they have 50 years of wear and tear, but that will wait until this summer when the garage is warm again.