Extra Fancy Coffee Table

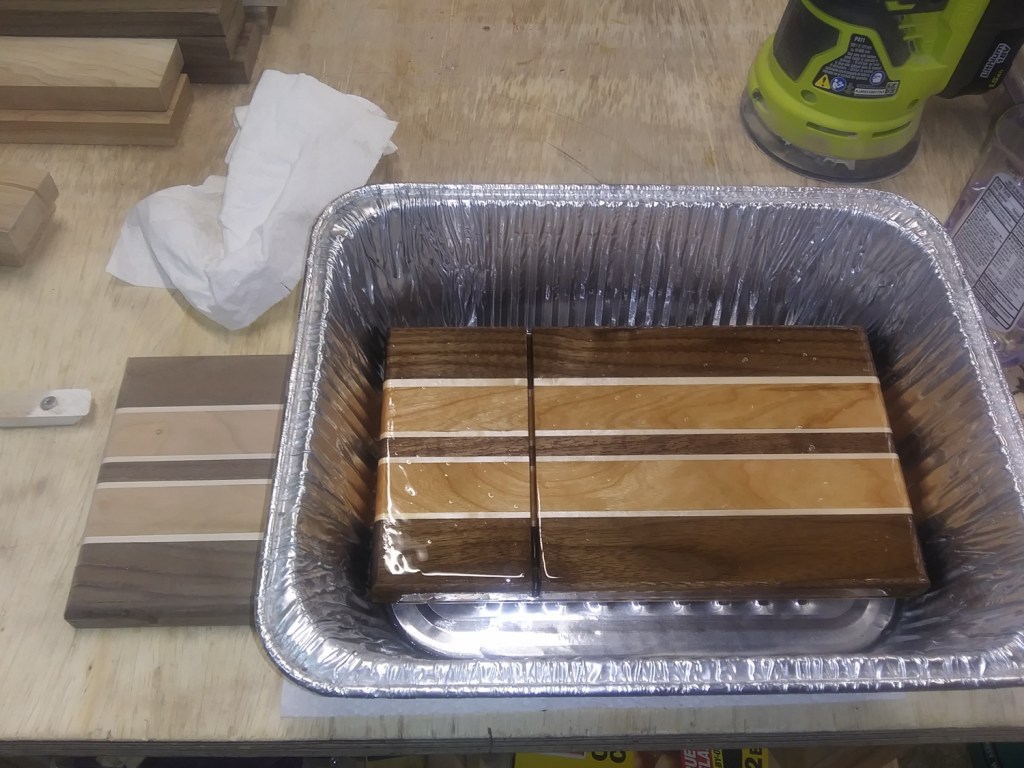
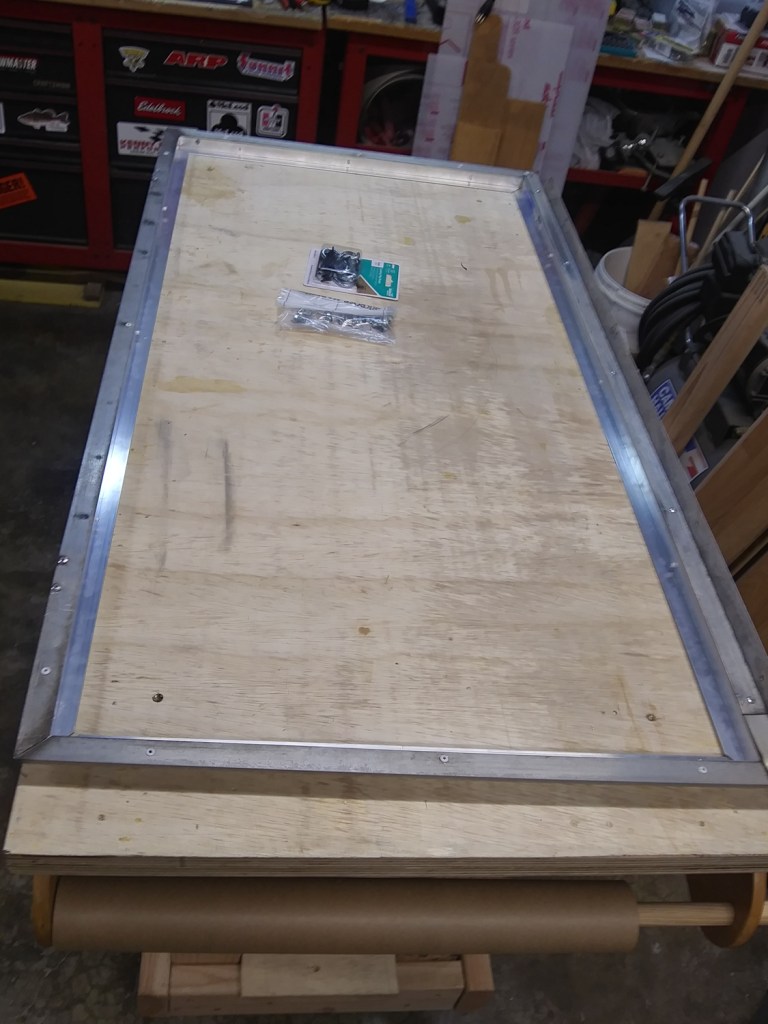
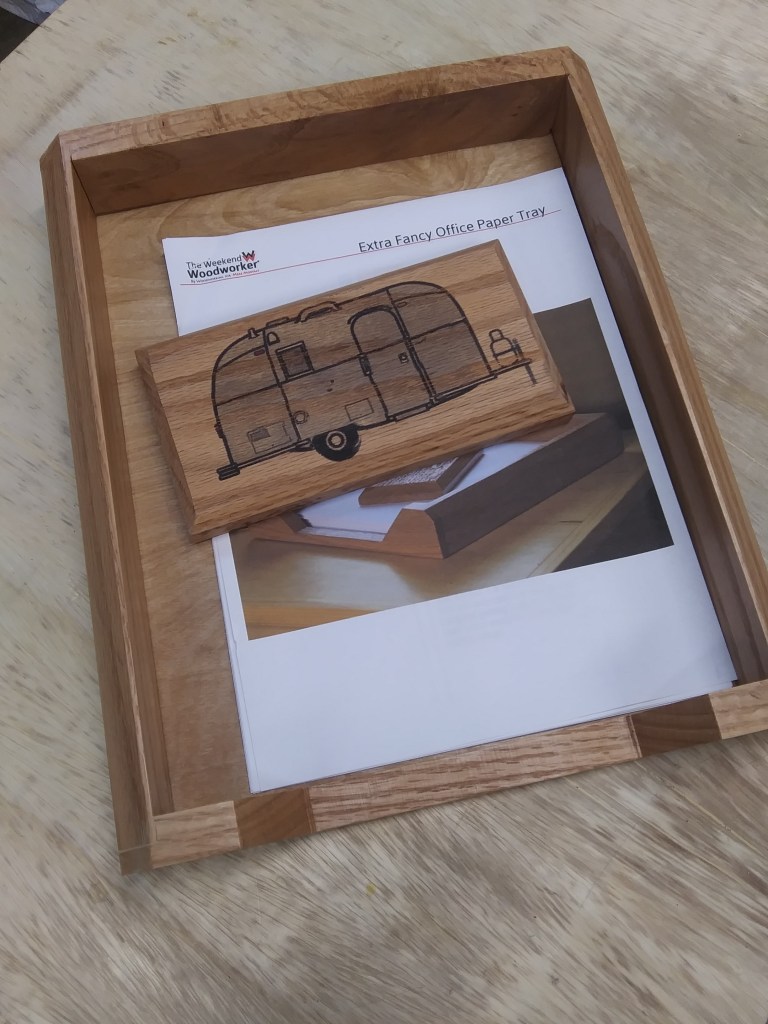
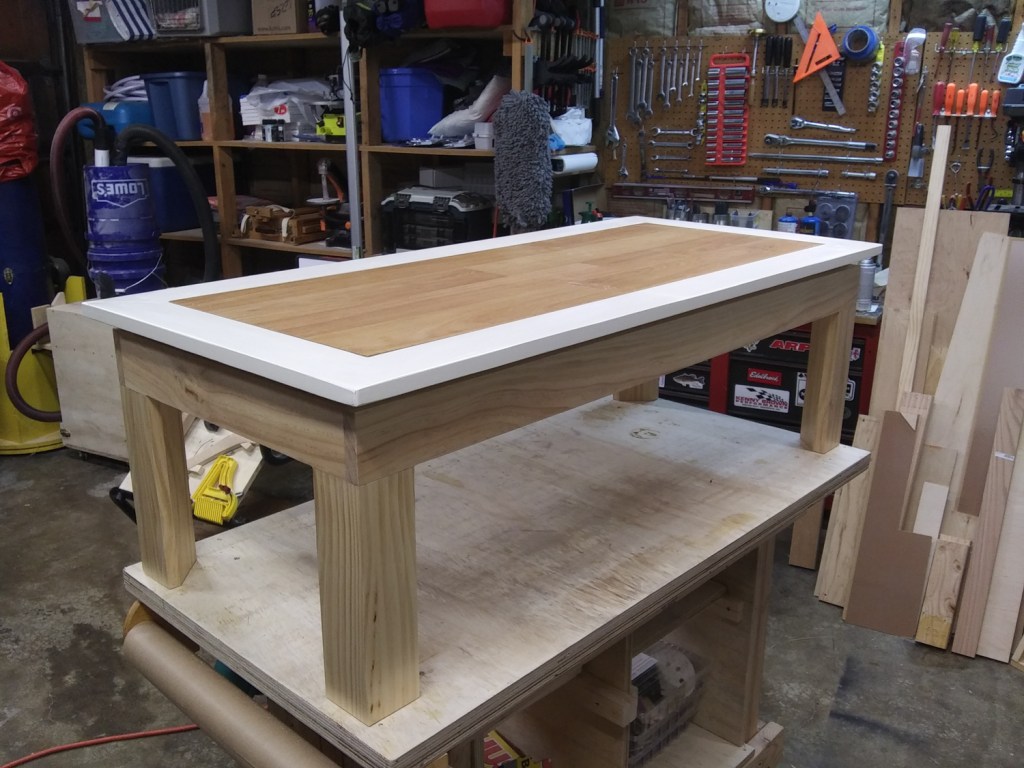
Continuing my working through the lessons in the Weekend Woodworker course, I got to try out my new (used) tablesaw in building a very nice coffee table. Unfortunately I don’t need a coffee table, and I have a very small house, but I thought this might work as a patio table on our covered patio, so I planned to follow all the steps and then paint the top to help protect it from drips we get out there from condensation coming off the patio cover. For the top insert, I wanted to use some leftover floorboards from the pergo in the kitchen, which I found stowed away in the garage.

Lots of clamps!

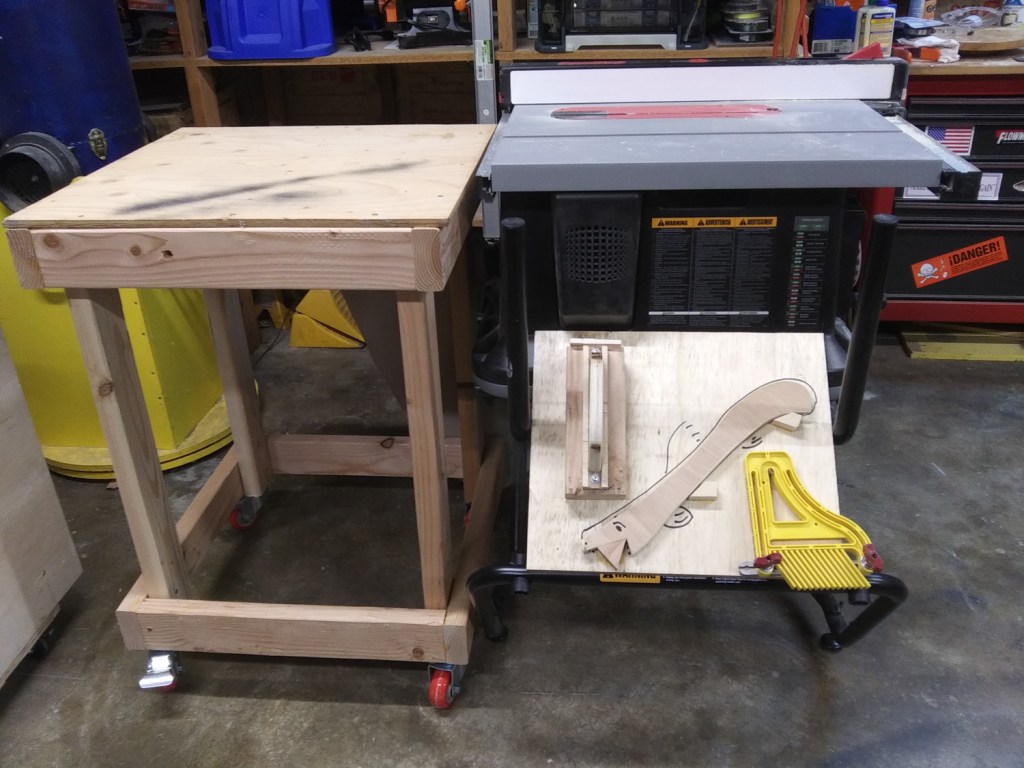
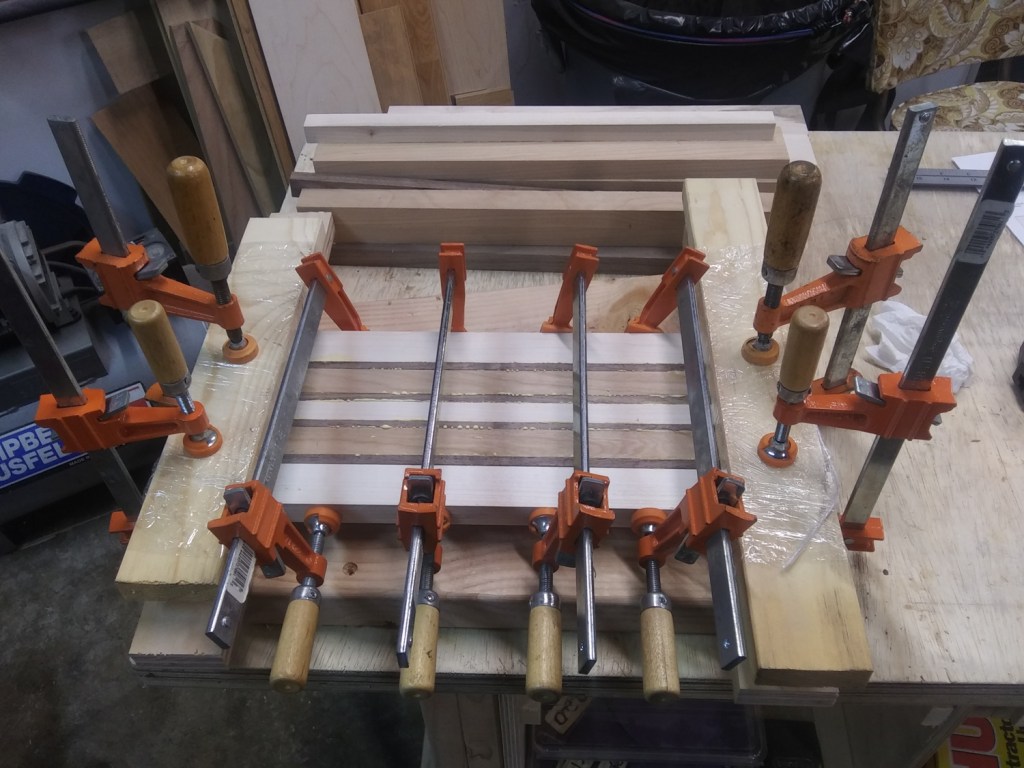
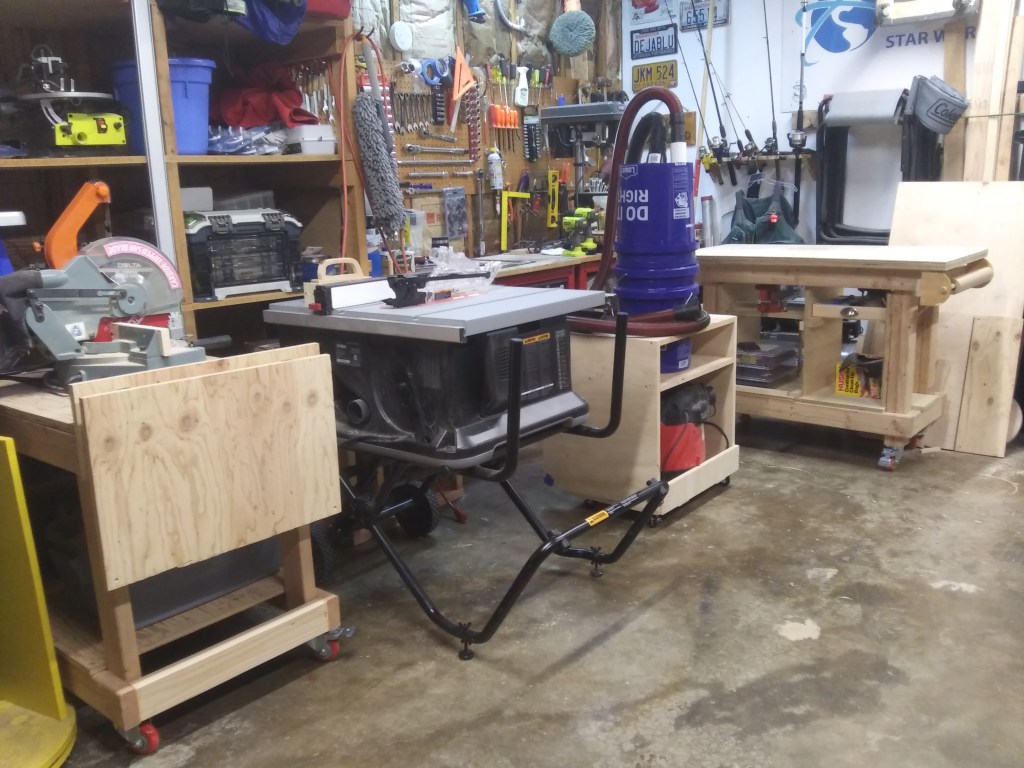
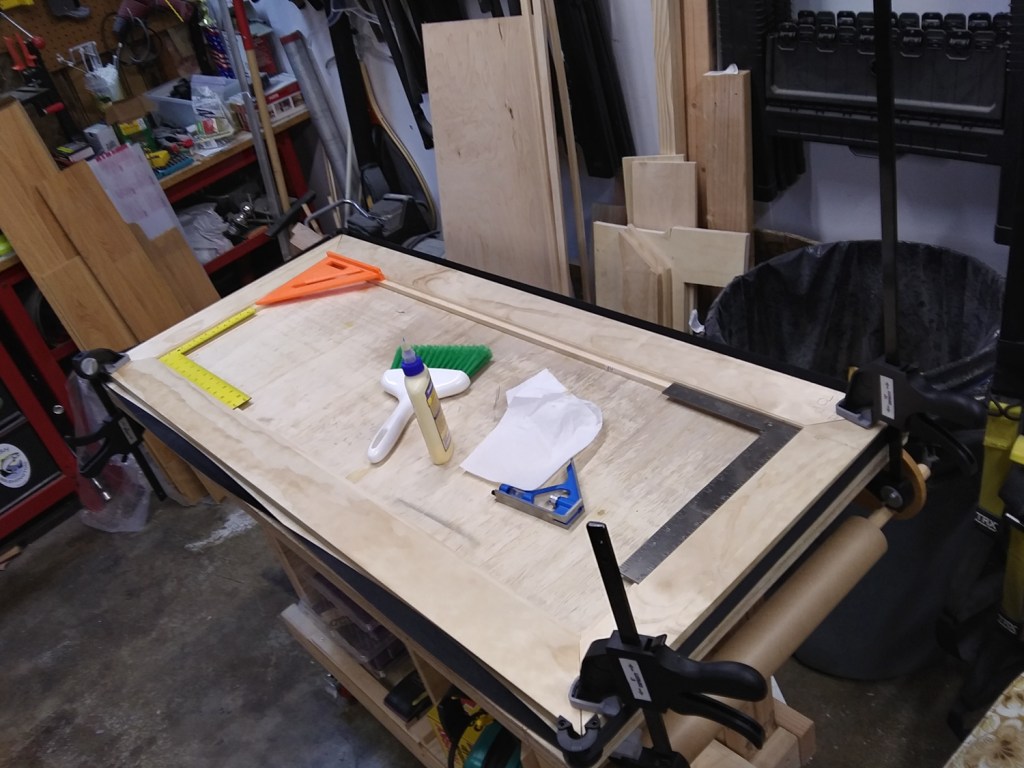
This was a great project to get warmed up to my new tablesaw. The lumber needed to be ripped down to size. Most of the crosscuts happened on the miter saw, which I was already comfortable with. To make using the table saw safer I have my push block, push stick, and featherboards to help control the wood. I’m getting pretty comfortable with using it now, but I’m very cautious every time, and follow all the directions from the course, including setting everything up and planning each part of the cut from beginning to end.

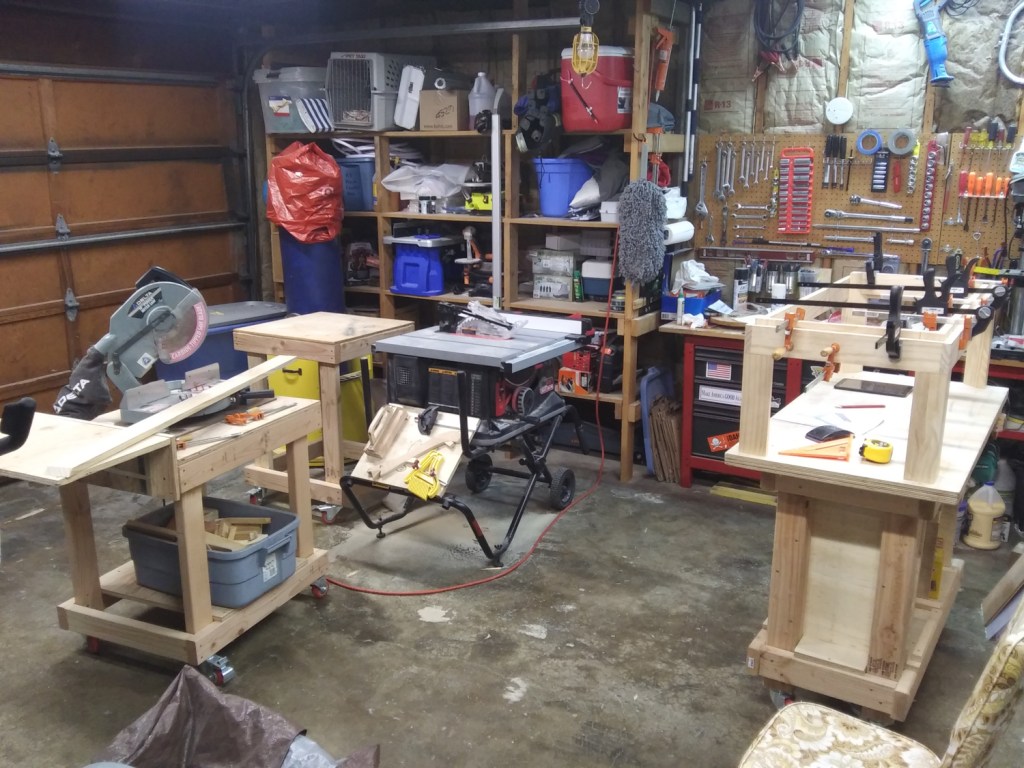
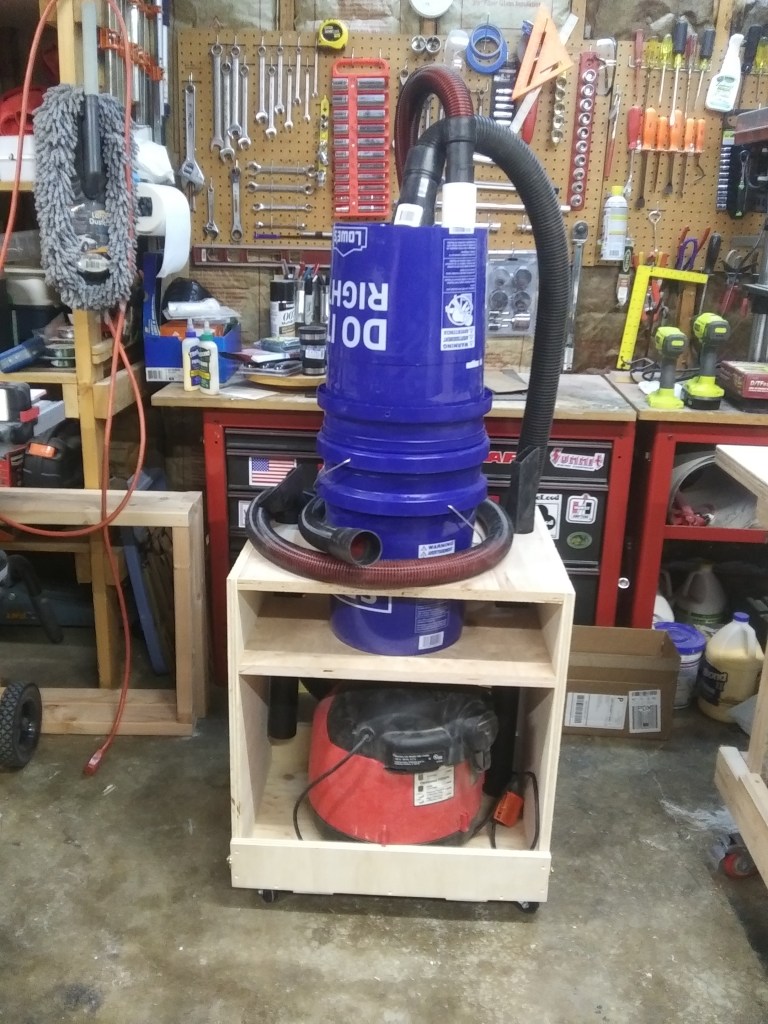
I’m still loving all the versatility of the roll-around tool carts. It’s so nice to set the tools where they work best for each project.

The little outfeed table I built for the table saw wasn’t as useful as I thought it would be, because it turns out the wing of the miter saw cart works equally well. So I got the idea that if I cut that table down, I could mount my router on it, and put the router table at the same height as the table saw, so with the saw dropped down, it would also double as an outfeed table.

I even added a drawer! Note: Navi is not allowed in the garage when tools are actually in use, or when things are dusty. Safety first!

So now all my router bits and accessories are in the drawer with the router. Perfect. And this project gave me the chance to practice routing the rabbet on the table top frame to inset the center insert. I did a bunch of proacticing on scraps before doing it to my work pieces. Now I’m pretty comfortable with the router too.

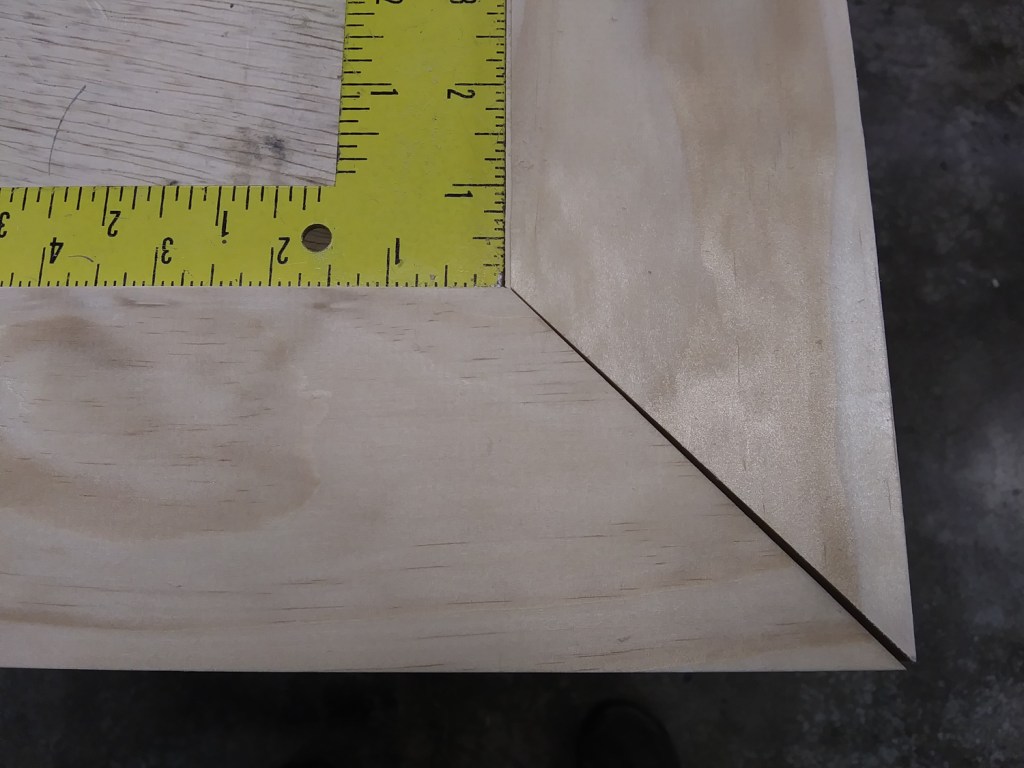
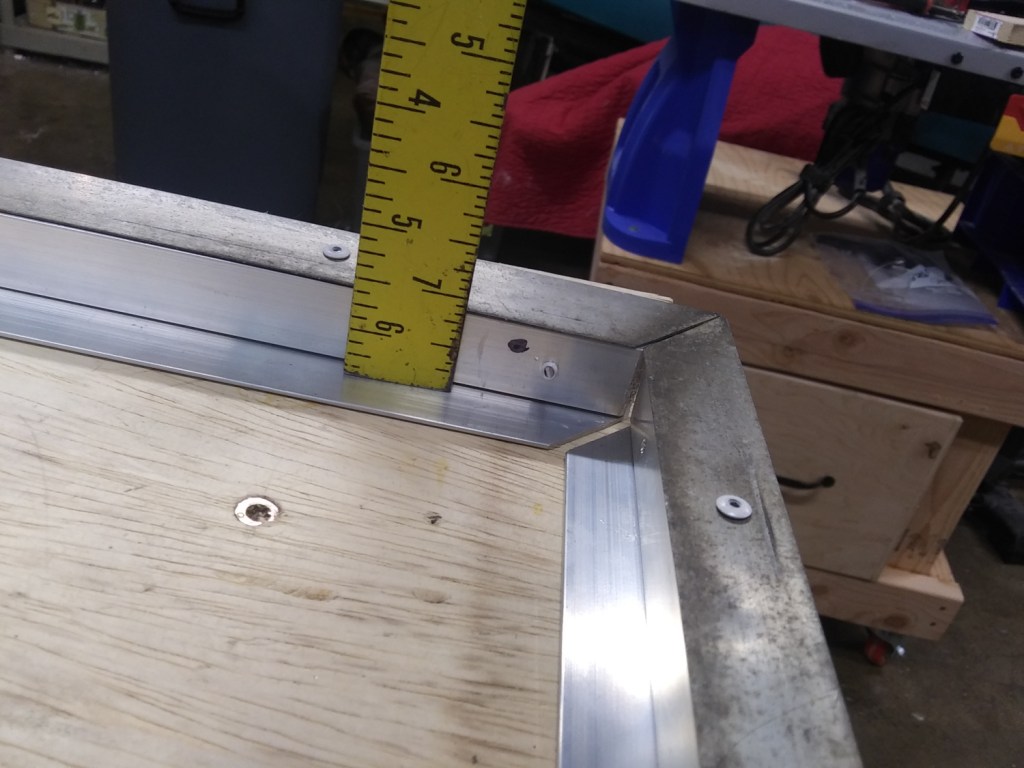
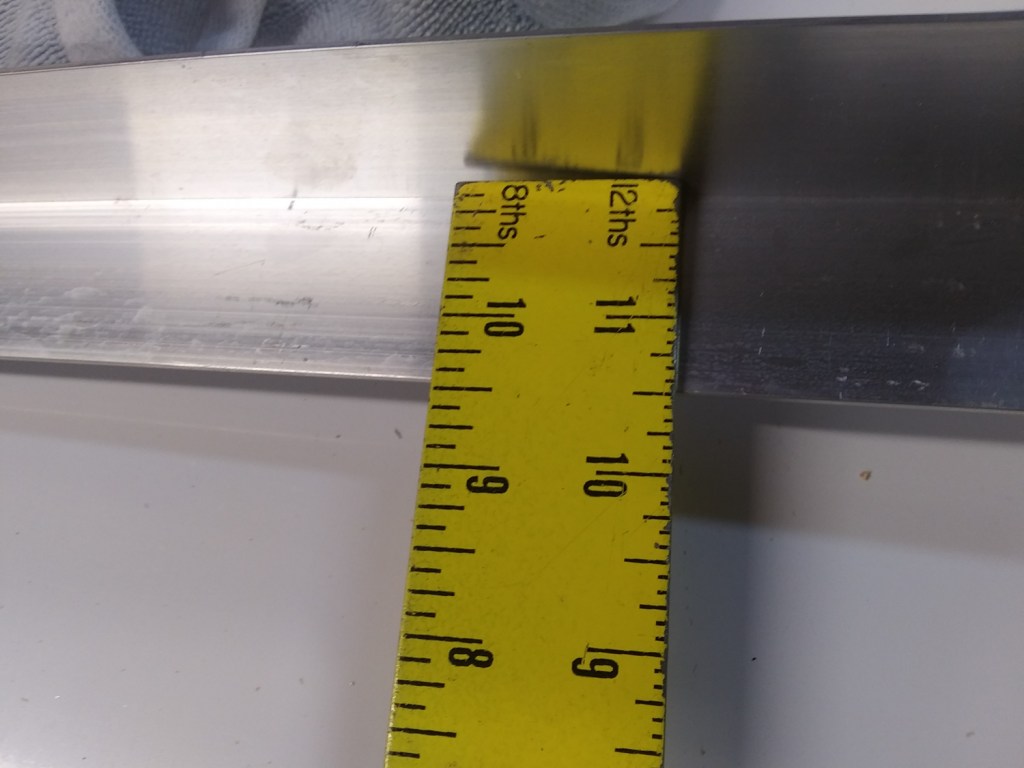
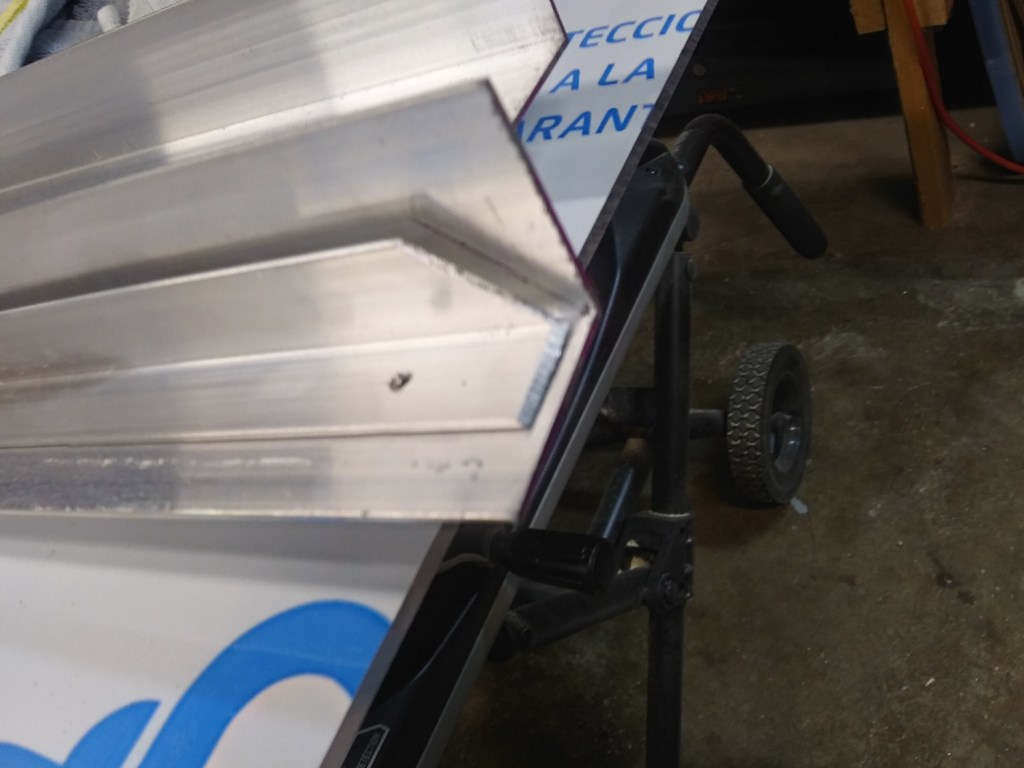
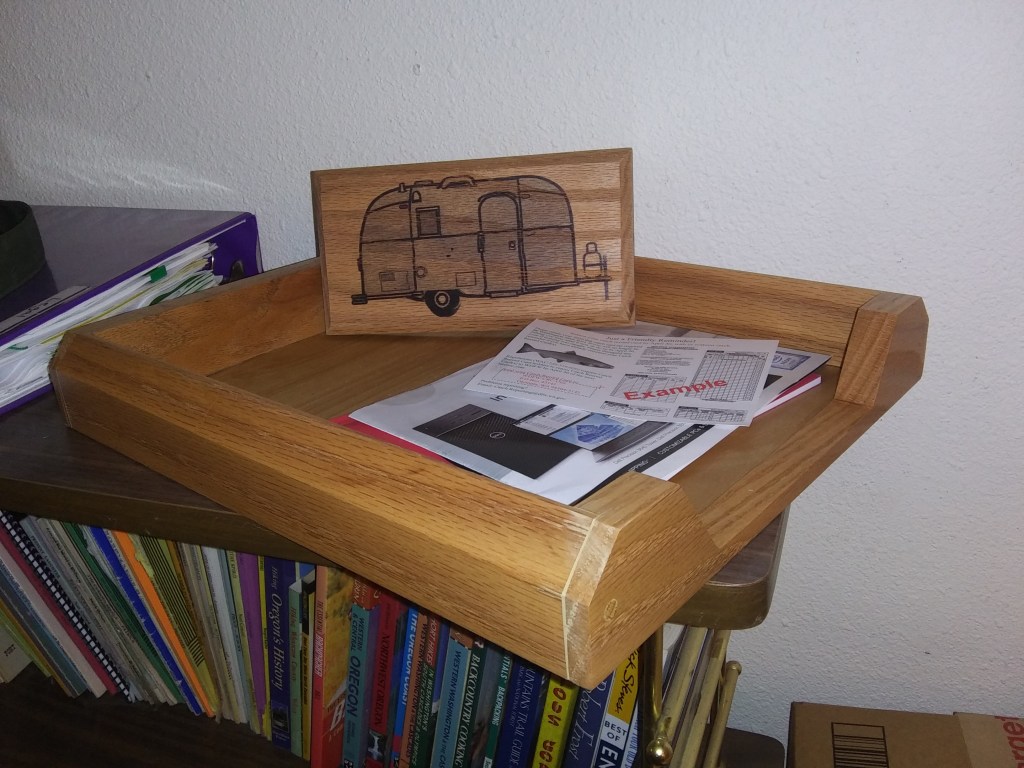
I tried really hard to get the mitre saw adjusted to get perfect 45 degree corners, but I couldn’t quite do it. It was close, I just filled it in with wood filler.

You WILL BE square!

Then I got creative and decided I wanted to add a lifting top to it. I wish I had decided this earlier in the project, the tolerances were a bit tight, and I ended up using a chisle to carefully cut away some wood that was interfereing with the hinges. But when I got done, it worked!

It has been just fine out on the patio so far, I may cover it up to protect it for the winter. I plan to add a couple new couches to the patio next summer, and then I’ll share a pic of the whole set. It’s a bit of a mish-mash right now.

Good project, I learned a lot, increased my confidence with the table saw, and the router, and produced a perfectly nice piece of real furniture! Success!

Cheese Cutting Boards

I took off on a little tangent from my woodworking class to try something different. Cutting boards – or at least little Cheese Cutting Boards! I found the hardware on Etsy, and they came with dimentions for the boards. I had bought a set of hardwoods for cutting boards on Amazon a few months ago. Time to make some cutting boards!

I decided to go with a ‘Hood Stripe’ type pattern, as I knew I wanted to give one to friends who are into classic cars. I ripped the pieces down to the widths I needed on the tablesaw.

Clampy clamp clamp!

These are Maple, Walnut, Cherry. Lots of clamps and then also clamped them between boards covered in plastic wrap (so they wouldn’t get glued together) to try and keep the whole thing flat.

I sanded it until it was buttery smooth and then rounded over the edges on the router.

I dipped it in Mineral Oil and let it soak in for a while, then attached the hardware. Because the pieces of wood were sized for full size cutting boards I trimmed off the edge, which left me with a nice little matching paperweight. I put little rubber feet on the cutting board and paperweight. What a cute little set!

But, I thought I could do better, so I flipped the colors around and did one more

So many clamps!

Same process, look at those colors pop! So pretty!

They came out really nice – one for me, one for my friends! Perfect!

Rasar State Park and the North Cascades

Third trip out in a year, pretty good for us. The Airstream had it’s new front window cover and we were ready to go!

We might not have gotten this trip in, as campgrounds were booked full early on, and I am a last minute planner. But I saw someone on the WA Airstreamers group on FB had reserved a spot at Rasar State Park they couldn’t use, and I jumped up and said I’d take it, not even knowing really where this park was, so it was my lucky find. It turns out this is a really popular park all summer, so this was a particularly lucky chance for us to try out a place during peak season when we would normally be home hiding from the crowds.

Mid-trip stop for lunch. It’s always nice to have the trailer to eat in while on the road, especially during these crazy covid times when many places still didn’t have indoor dining.

Nice, heavily wooded state park with big spots. Our favorite kind!

This was our first time up in the North end of WA, and it checked off one of our boxes for National Parks, because this is North Cascades country.

This was going to be a road trip within a road trip, because the North Cascades are different from your usual park. Many of the best spots are only accessable after long hikes. The views from the road are just peek-a-boo peeps at the beautiful rugged mountains in the distance. Much of the park is wilderness area, and has to be hiked into, and unfortunately neither of us felt we were up to hikes that long.

The first town we stopped in was Concrete, and the only activity going on in town so early in the day was folks lining up to pick up food at the food bank. A reminder that not everyone was doing so well in this post-covid world. We walked up and down it’s single main-street, and went to check out the historic bridge over the Baker River before heading on our way.

We stopped to check out some old-growth forests

It was really hot, like in the 90s, which was more than expected even for hiking in shady forests. We had a nice little hike around a park with old growth trees, and got a bit turned around, though we could hear the highway not far away so we finally found our way back to the car. I was starting to wish I’d brought water though.

We continued exploring along Highway 20, just stopping wherever it looked interesting along the way.

Had a pretty view for the eating the lunch I had packed.
Peek-a-boo views.
On the way back to the campground we stopped at a wildlife overlook and were rewarded with spotting a faraway elk!

Heading the other direction – towards Mt Baker, via Baker Lake.

They grow the trees tall out here!
Amazing views around every corner
Should have brought our kayak.
Hmm, maybe we’ll just stay close to the car!
Panorama from above the Mt Baker Ski Lodge – breathtaking!
Picture Lake

Super beautiful views up there, and I think that was all just the rugged mountains around Mt Baker, we didn’t quite get to where we could see Mt Baker!

We only had a couple days to explore, three nights at the park, then headed home. Definitly a fun place to visit, we could do it even longer next time. Maybe start at one end of Highway 20 and take the trailer to a campground further down as we go, just check out the entire N end of the state. This was a great little get-away though. I never get tired of looking at majestic mountains off in the distance.

1968 Airstream Front Window Rockguard

I caused the problems with our broken windows on our last trip (see previous post) by removing the old front window rockguard off of our 1968 Caravel so I could rebuild it, but I didn’t get it rebuilt in time before the trip. Here is a picture of the original rockguard. As you can see, it was completely opaque, but it started out clear, back when it was new in 1968. It also had a few holes knocked into it from rocks over the years already.

I removed it from the trailer, which was easy to do, as it was not riveted on, it was only screwed on. likewise the two extendable arms were screwed to the trailer, and then to the inside sides of the cover, near the bottom. The shape of the cover allowed the arms to sit inside the cover when it’s folded down. This was probably the trickiest part of the whole build.

Inside of the rockguard after removal

The rockguard needs about 1 3/4 inches clearance inside for the arms to fit under it.

So I removed the plastic insert from the thin aluminum frame of the rockguard, and built my new aluminum frame to sit inside of the original auminum frame. That original frame would be key to locating the original hinge and latches so the new rockguard would fit right back into place on the body of the trailer without drilling any new holes.

I picked up these pieces of aluminum angle
Two of them together make this sort of Z piece. I riveted those together.

Then I riveted those pieces into the original frame with pop rivets. It was all looking really good, until I thought about the arms.

Oh shoot! I didn’t think about the arms when I selected my angled pieces!

Back to the hardware store.

Off to the hardware store for 1 1/2 inch angle pieces.
The first attempt fit well, so I used those pieces to mark the new ones and cut them to length.
Rivet it all back together again.
Finally, lay in the lexan and pop rivet it into place as well.
Finally, reinstall it on the trailer!
Install the arms, and everything fits like it was meant to be there!

I also replaced the weatherstripping on that front window and glued the lexan sheet into the hinge (which still refuses to come apart) with ParBond. It seems to be solidly seated in there now, and I don’t think it will come out. It opens and closes just like the glass window did.

All done! It really wasn’t that difficult, and I wish I had finished it before heading out on that trip and breaking the front and side windows. It was mostly a gumption block – sitting there in the garage staring at it and trying to puzzle out the right way to do it. When I finally jumped in, I did it wrong by using that angle piece that was too small, but at least it was easier to do it the second time with the right-sized angle pieces! It fits, it looks good, and I can see out of it from inside the trailer without having to open it up. And to think this is a project I’ve been mulling over for the past 10 years or so!

Airstream Window Catastrophy

We planned a camping trip to Whidbey Island in May, to complete the vacation in October that got cut short for Barclay’s illness. So I started preparing the Airstream by tackling some of the issues I found on our last trip.

I polished up the old Plexiglass window

I replaced missing rivets

I lubed and tightened up the door latch.

I pulled off the broken front window guard so I could rebuild it. I didn’t get it done in time, but I figured that was ok, lots of Airstreams travel without front window guards. Surely we could make ONE trip without ours.

We were all ready to hit the road for an adventure. But when we finally hit that road, we were cruising along about 50 miles from home when I looked in the rearview and wondered why the curtains were waving around inside the trailer?

OH NO!

And the broken front window let in so much air going down the highway that it also blew out our old plexiglass window!

OH NO!!!

We pulled over in Castle Rock and carefully cleaned up all the broken glass we could with the limited tools available in the trailer, swept debris up off the road. Then considered our options and turned around and headed home.

Once we got home I started taking stuff apart while Dave ran to the hardware store and picked up some lexan.

I easily cut it to size on the table saw and installed the side window. It could probably use new weatherstripping as well, but good enough for now.

The Front window had other ideas. Nothing we could do could get the hinge apart. You need to take the two piece hinge apart to attach the new window with adhesive tape to the hinge. But the hinge was absolutely not coming apart.

Dave and I tried impact drivers and screw drivers and soaked the screws in penetrant and even tried to drill them out, and nothing was working. So we called Scott over.

He tried everything from special screw extractor bits to the dremel to heating it with a torch, and still nothing was working, and we didn’t want to set the trailer on fire, so as the sun was getting low we pried all the broken glass out of the hinge and slid a piece of lexan cut to size up into it, put the clips on the bottom, and because of how much flex it had, we fastened a piece of aluminum across the middle to hold it in place (since the top wasn’t actually stuck in with adhesive like it should be).

So we had replaced 2 windows in 5 hours, and were completely exhausted. We slept at home that night and the next morning we were ready to roll again.

Whidbey Island in May

With our newly replaced windows, we headed up to our reserved campsite at Fort Casey on Whidbey Island. We were a bit worried we would loose it, as the campground was fully booked, and we were arriving a day late, but the nice lady at WA State Parks assured us it should remain ours as long as we arrived by 2pm, so we made an effort to scoot up there with a bit of expediency.

Typical grey Seattle day. You can just see the Space Needle peeking over the stadium.

We got there and got our spot in the back row, furthest from the water, and it was..unimpressive. We didn’t have hookups, and we didn’t have a view, in fact our door faced a row of bushes away from the water. And there were three rows of RVs to look past to see the water. So, not as exciting as I had hoped. I had gotten the impression online that the rows were tiered, but the park was quite flat. So it was ok when we first parked, and we had a nice view across the Sound, but it quickly filled in.

Once we arrived we went and explored Fort Casey a bit. We had seen the Fort itself last time we were there, with it’s massive WWII gun turrets pointed out over the Sound. This time we went by the Admiralty Head Lighthouse, which is a pretty old Lighthouse, no longer in use.

Once we were settled we had a pretty nice trip, exploring around the island. We went to a beach and watched eagles fishing.

That dot halfway down the beach is a blad eagle. I wish I’d had a longer lens.
Dave stayed in the warm car and snapped a picture of me freezing trying to capture the eagle passing overhead.

We also saw this:

We had a chance to chat with some fellow Airstreamers back at the park, since there were 5 Airstrems there! A Basecamp, two newer trailers, and a couple Class Bs down at the end! That’s a lot of Airstreams! Chilling out reading a book one afternoon I heard people walking by saying ‘look at the old one, it’s so little!’ That’s us alright!

Fort Casey is right next to the Coupeville/Port Townsend Ferry, which was pretty exciting.

We did take the Ferry over to Port Townsend for a day, which was fun. Drove all around, looked at the cool vintage buildings and neat little houses. We also drove out to Point Wilson LIghthouse. I wish we could have stayed for a perfect shot, since we had such dreary skies. It looks like you could get a really neat photo with the right skies and Mt Baker in the background.

My photographic goal for the trip was to get at least one really good photo with a lot of negative space. I kind of lean towards that style anyway, and then this old house caught my eye, out by itself on the end of a row, right up against the ocean, with this beautiful big field in front of it, and not a cloud in the sky.

Perfect.

So ends another fun little trip in our trailer. Sometimes I feel like folks want to know more about camping in a vintage Airstream, but it was nothing to talk about, since everything worked, it was just a cozy place to read and take naps, and cook dinners between explorations, and it kept us warm at night.

On the way home we stopped for doughnuts, and easily fit trailer and truck into two parking spots end to end, which is the greatest arguement for keeping this trailer anyone could make. Easy peasy, and we were off on our way in no time. Whidbey Island was a real treat, very beautiful, lots to see and do, and I’m sure we will be back.

Camping at Silver Lake, WA

First trip of the year, just a short run from home to see if everything was working. It was! Trailer kept us warm and cozy even though we had constant downpours. There was a tiny little drip at one of the windows, but no big deal. It was raining like a car wash outside, so not too surprising.

I had intended to do some fishing, because in the winter the perch and crappie all come hang out in the canals like the one behind the campground. I came here for a WDFW fishing clinic a couple years ago and caught a bunch of fish! But the constant rain made fishing sound like less fun than what we decided to do, which is go explore the nearby towns of Castle Rock and Longview.

Longview has a neat museum that covers the history of the area, and quite a bit about the Mt St Helens eruption in 1980. The fellow at the museum was happy to answer questions and come by to add his knowledge to the exhibits when he wasn’t busy.

It felt really weird to finally be out camping and chatting with neighbors, and checking out each other’s trailers after all the time spent avoiding people during covid, but hey, we’re all vaccinated now, right? Well, so far, so good! The folks next to us had one of those faux ‘Vintage’ trailers, which looked really comfy inside. Looked vintage, but with all the modern goodies. I was a little jealous!

Vacuum Cart

My table saw is great at cutting wood, and even better at carpeting my garage in wood chips and sawdust. So adding some dust catching moved up on my list. I have a little shop vac which has been working fine, but it does get clogged up sucking up all the dust. So I needed some sort of dust separation to help it work better.

My woodworking group recommended this video on youtube by Chris Notap, where he builds a clever cyclonic dust separator system from parts available cheaply at the hardware store.

I assembled it and tested it out, and it worked great! Just as advertised!

So now I had buckets and hoses and a tiny vacuum, and it was sudden chaos in my tiny space! These things needed to be organized somehow. I searched my woodworking group and found instructions for a vacuum cart. My dimentions were going to be a little different because they had a bigger shop vac. So I adjusted them, cut everything out, put it all together in one long evening of work, puzzling over how to clamp things together so I could do it by myself, and in the end…

It rolls around easily, keeps the hoses under control, and has a fold down flap in front for removing the vacuum. I realized I needed that at the last minute, and by some miracle, I had all the hardware in my junk drawer!

When I got done I vacuumed up all the sawdust I had made, and the inside of the vacuum was clean, and the inside of the bucket…

Exactly as intended!

The next addition is an electrical switch which allows you to plug in your tool, then soft starts the vacuum a few seconds after the tool starts, and stops the vacuum a few seconds after the tool stops. This way you can get all the dust, while not having to turn it on individually every time.

I’m really happy with how all my mobile tools are working out. It makes for a very flexible workspace.

My Extra Fancy Paper Tray

The next project in my woodworking class was to make a papertray. Not because it’s cheaper to make a papertray than to buy one (it isn’t) but to learn a bit about precision by building something small that you will handle up close and notice the details, and to learn to use the table saw in a variety of ways.

I really like being able to shove my mobile tools around to the most useful places as I work.

The teacher recommended making the first one out of pine, which was a good idea, because I put the rabbets on the wrong sides of the tray, and it was almost square when assembled, and not big enough to hold a sheet of paper. Oops. I turned it into a drawer on my mobile bench, to hold my safety gear.

The second one was made out of Oak, and I was very careful with it. I still managed to have a litte gap to fill with wood putty, but overall I’d say it was a success. I’m definitly more comfortable with the table saw now.

For the paperweight I did a transfer from the inkjet printer of a line drawing of my trailer. It actually worked pretty well. Here’s how you do that.

And that’s it. I put a coat of laquer on the tray and paperweight, and it really looked nice when I got done. The ink didn’t react with the laquer, and everything is good. On to the next assignment.

Spring forward

I spent my birthday with friends and hanging around the house working on projects. I did a little garden clean up, and walking past Barclay’s grassy stickball area, where he spent much of his time chilling out and watching the neighbors, there was a single little purple flower coming up.

What a special find! I miss that boy every day.