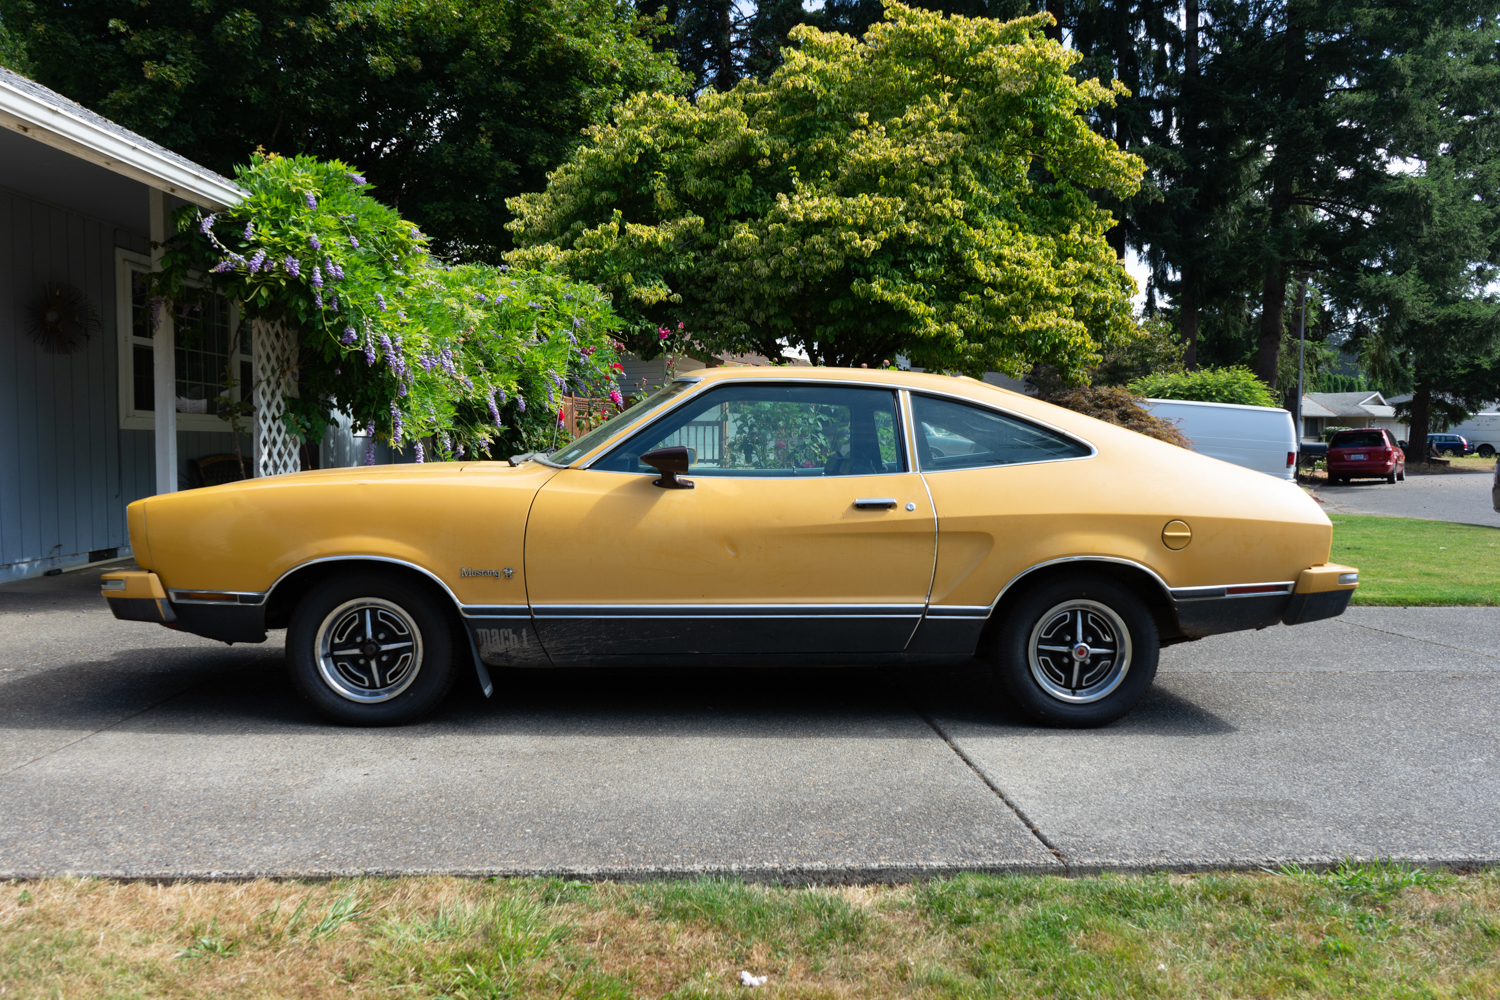
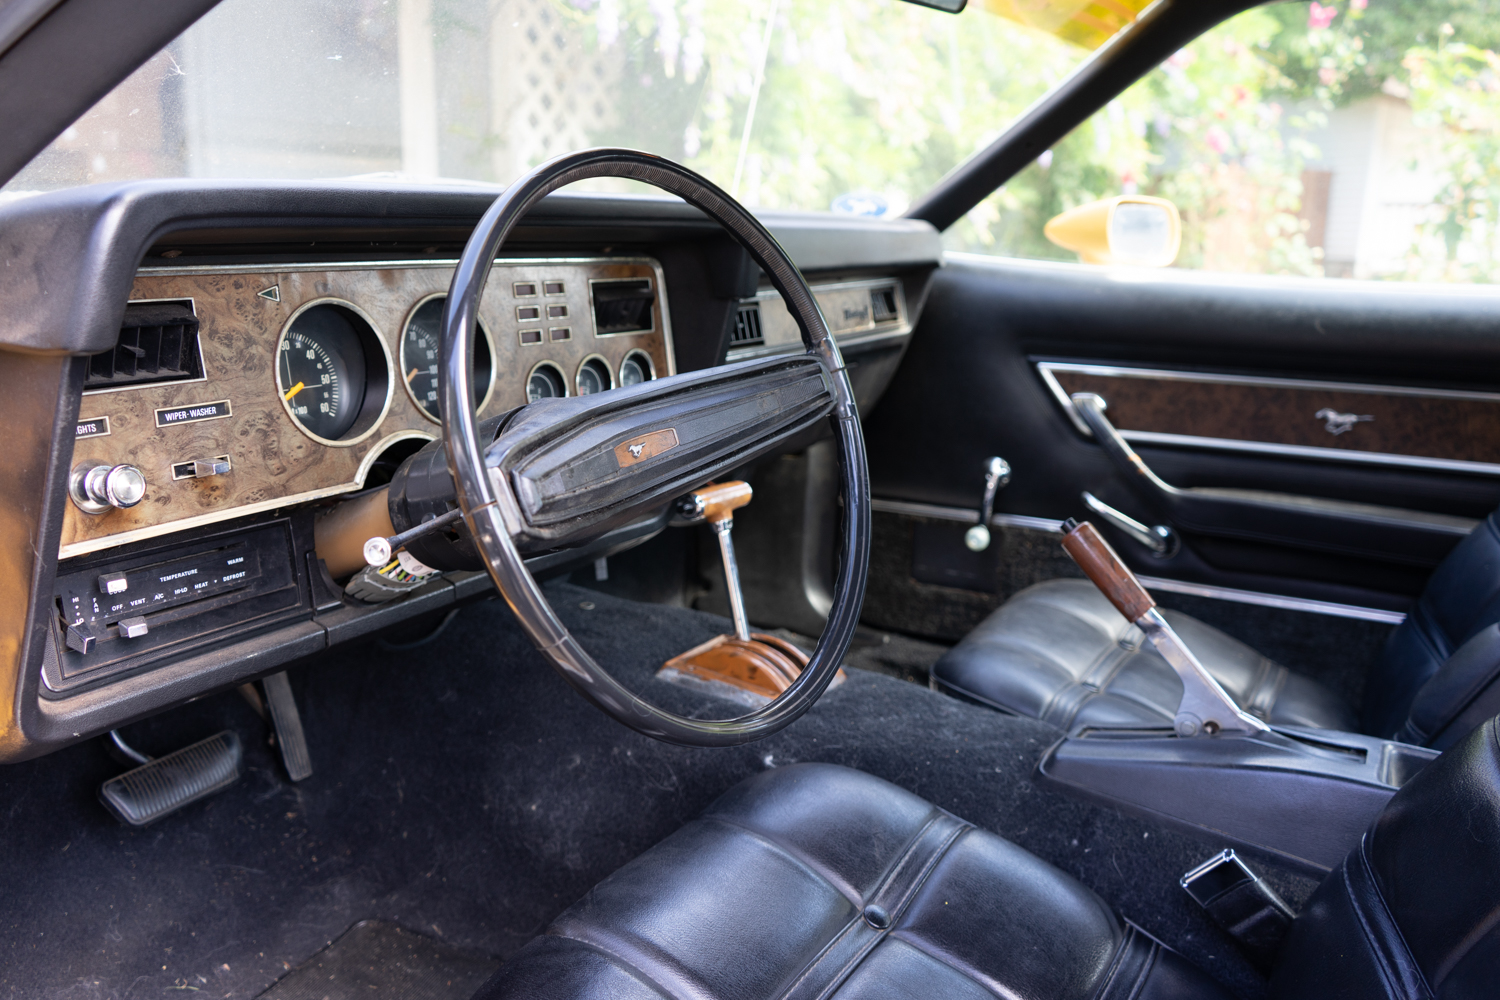
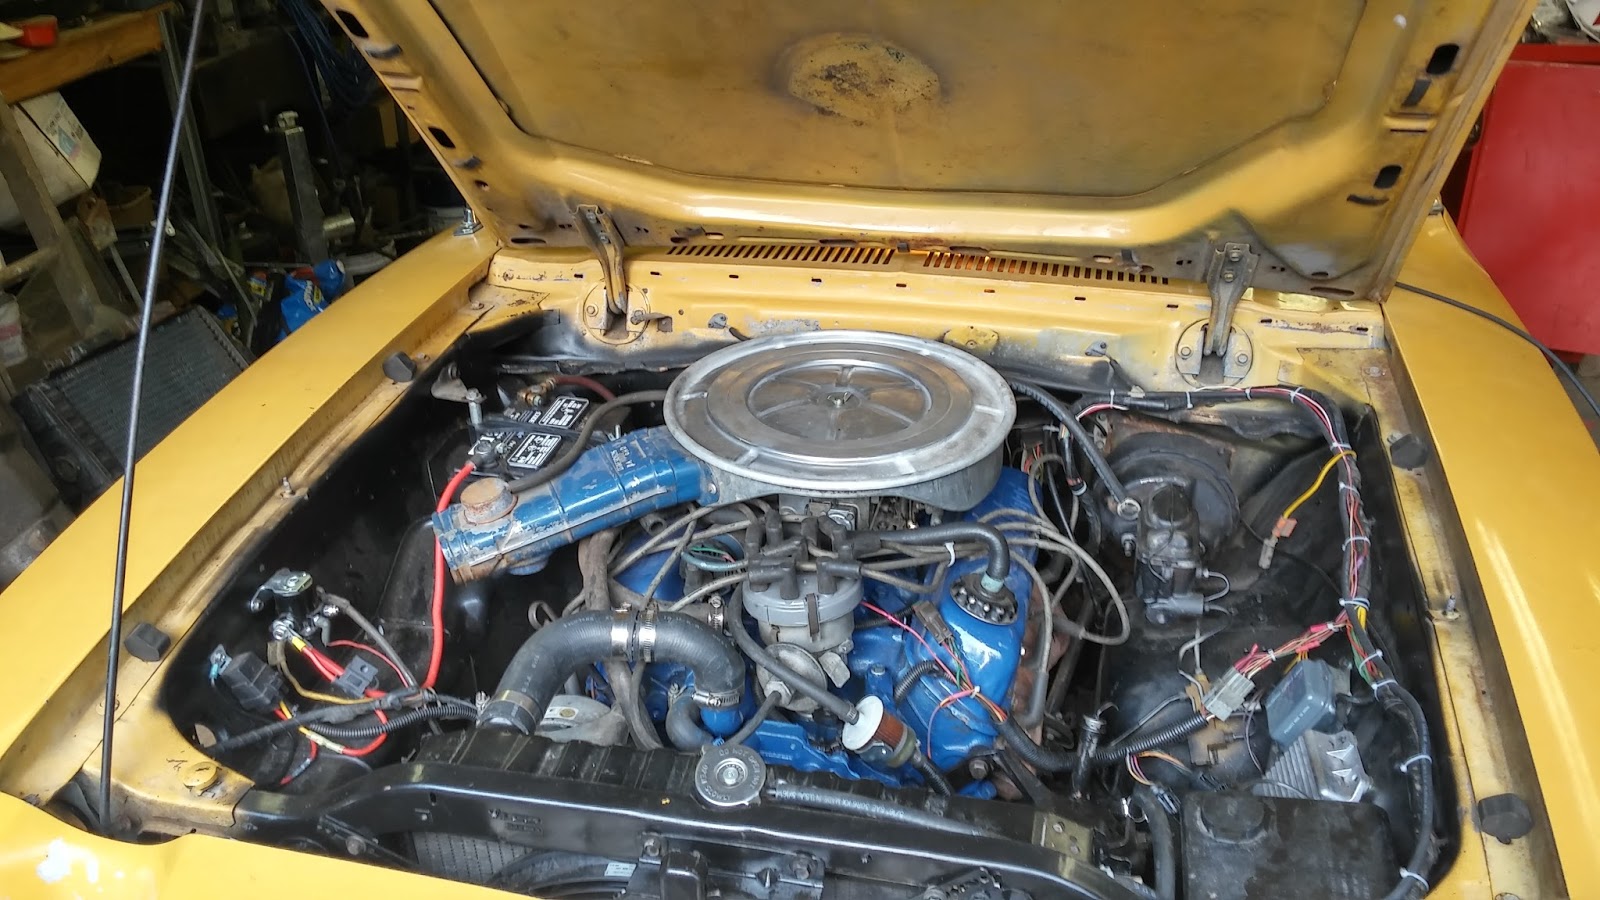
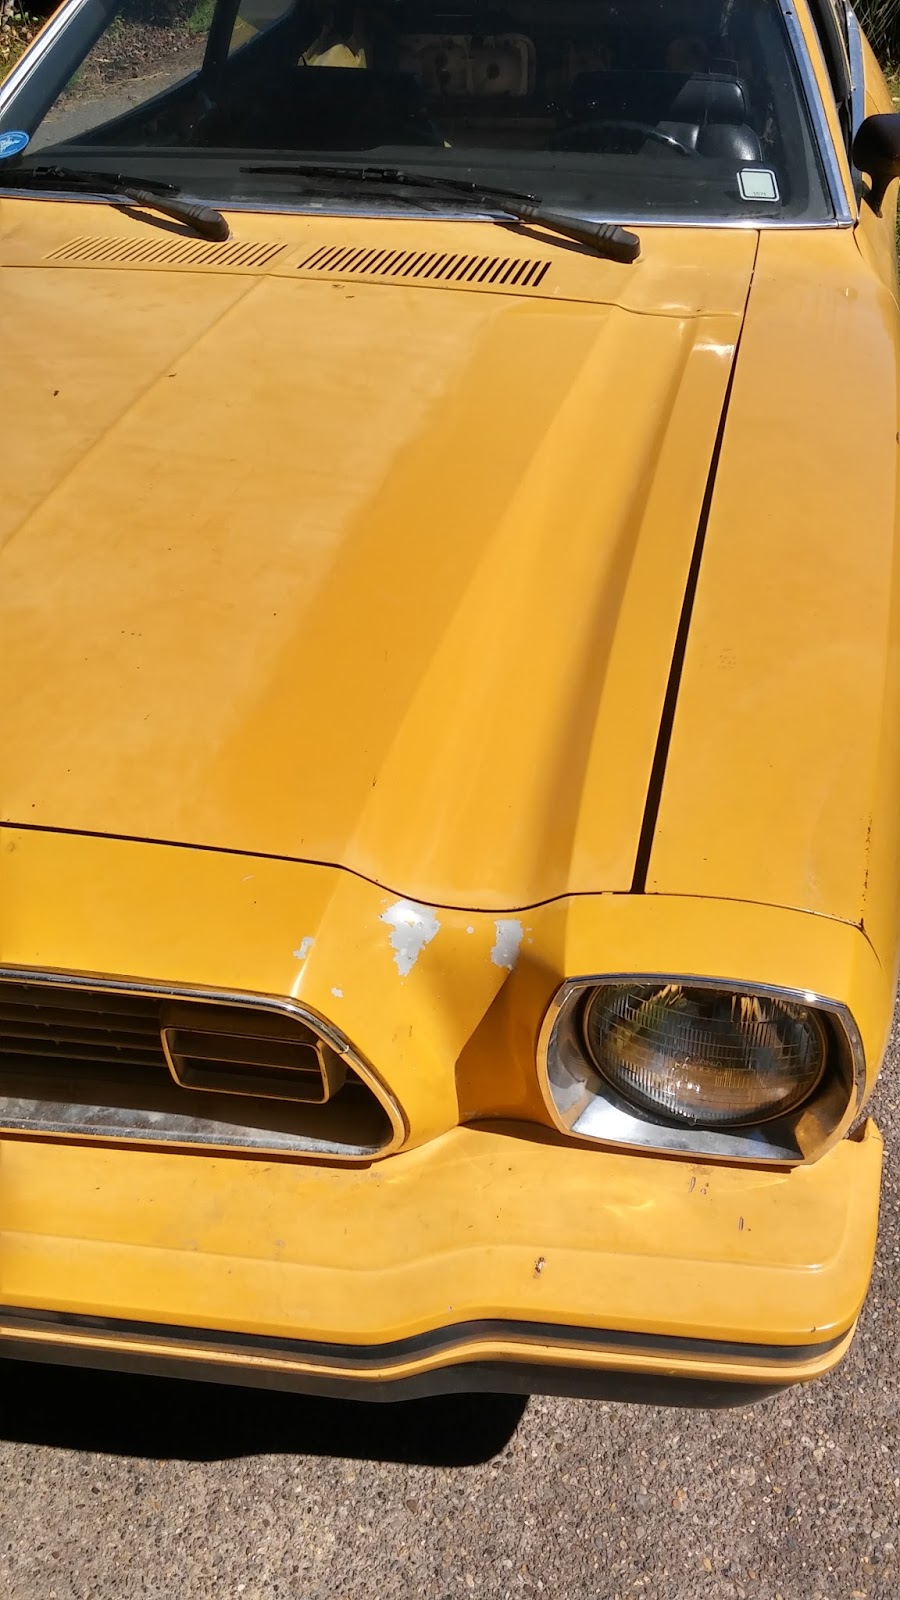
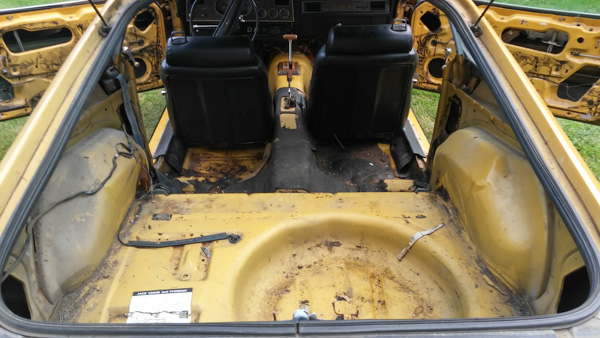
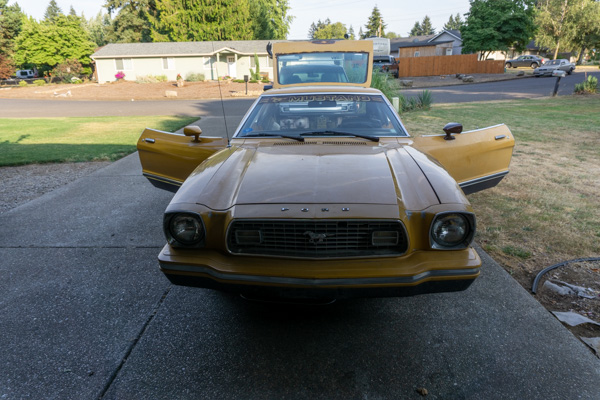
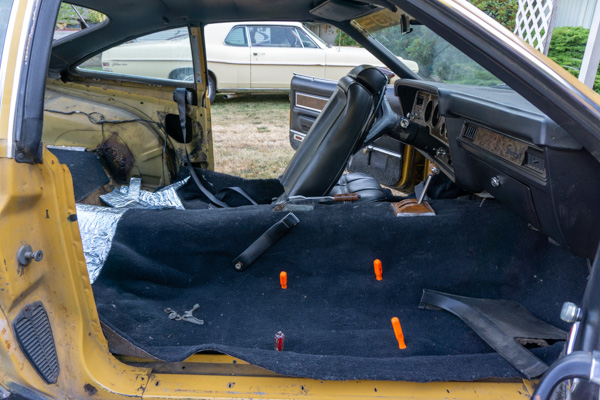
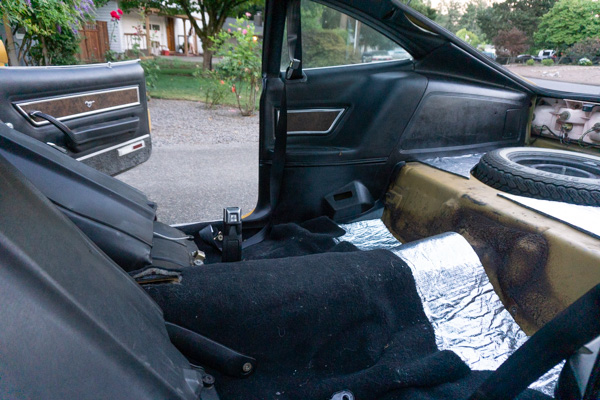
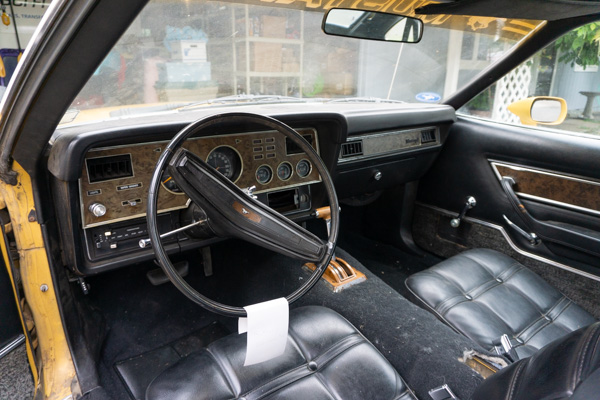
I have this Mustang. It primarily functions as a kayak rack in my garage, but that’s not really fair, because it actually runs and everything. It’s just that when I bought it in 2005 I stripped everything out to look for any rust issues. It didn’t have any! But all the parts went into storage, and ever since then it has looked like this inside.
Beautiful!
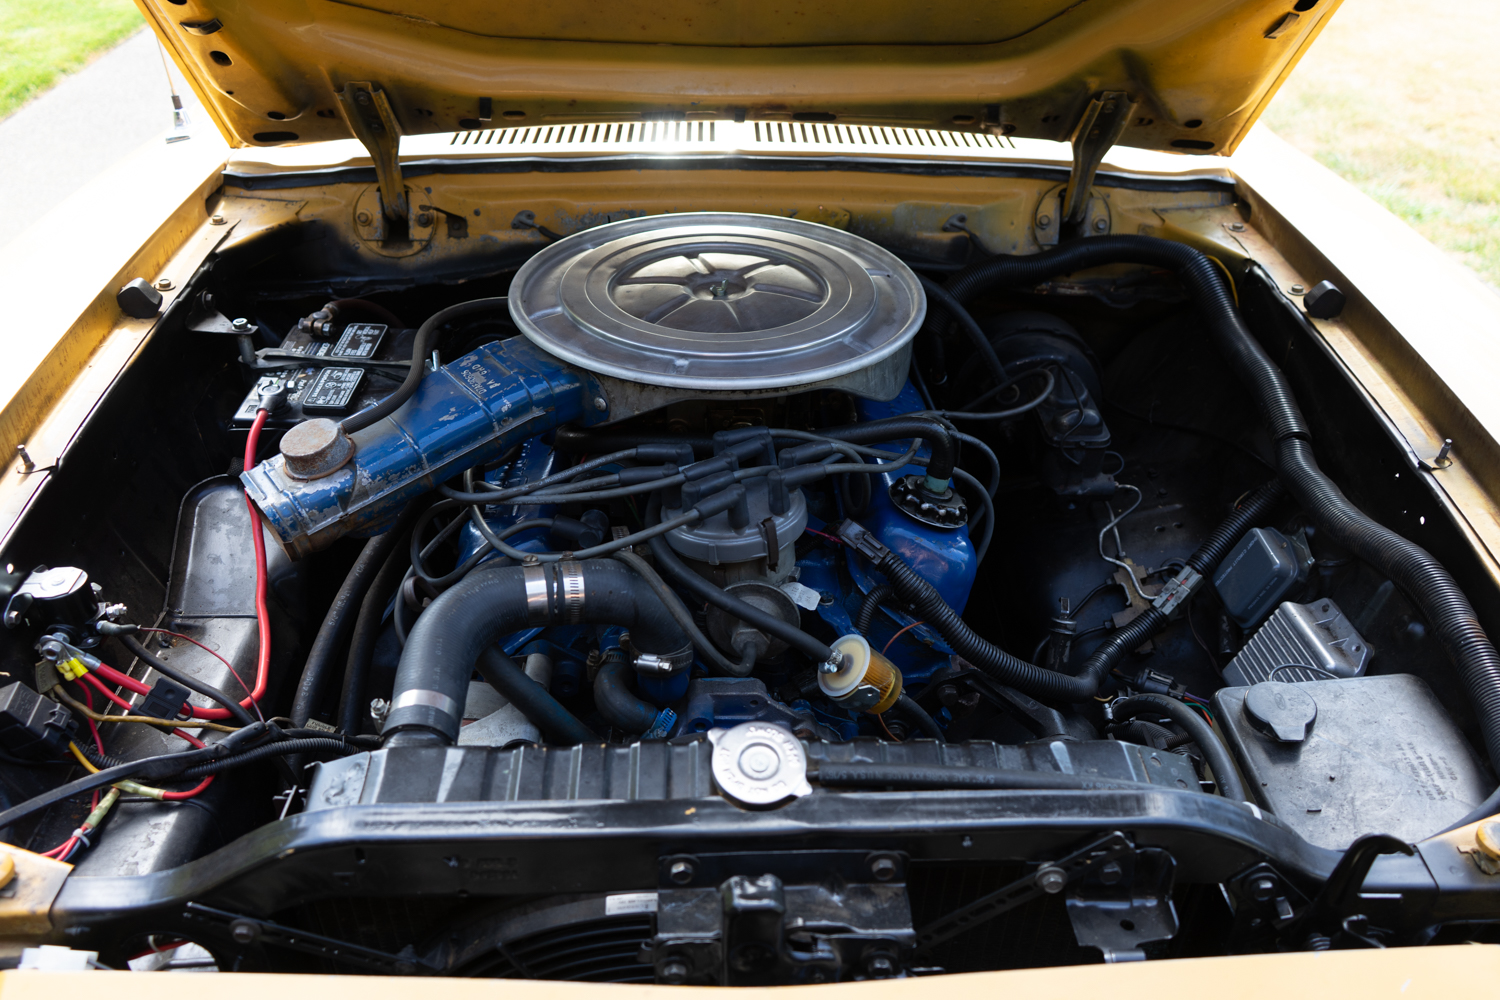
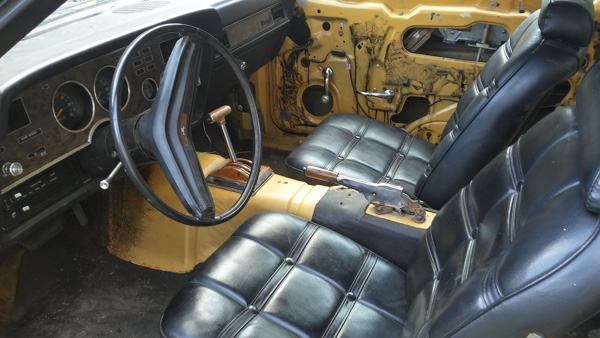
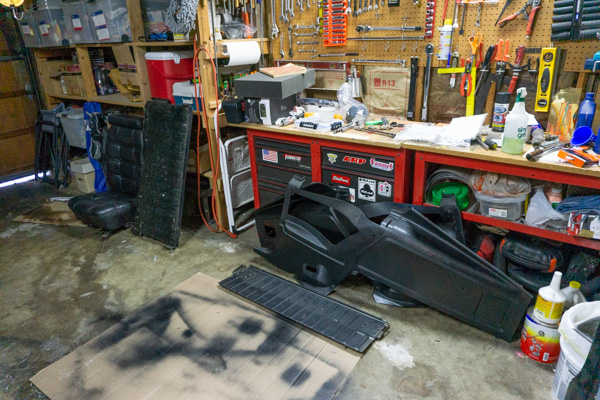
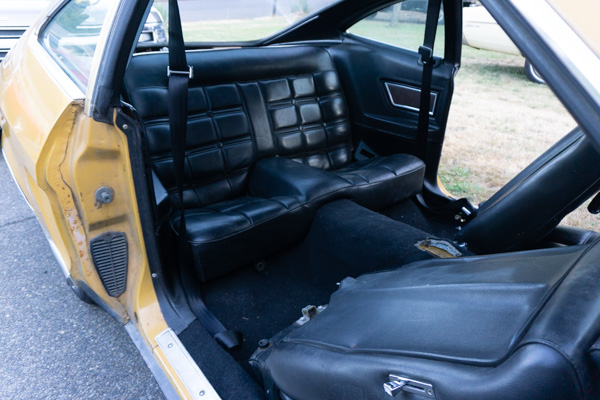
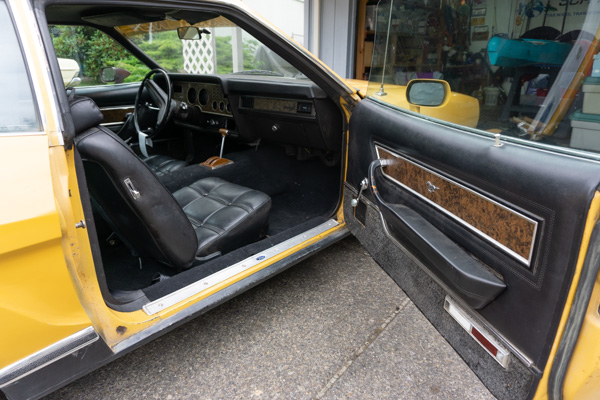
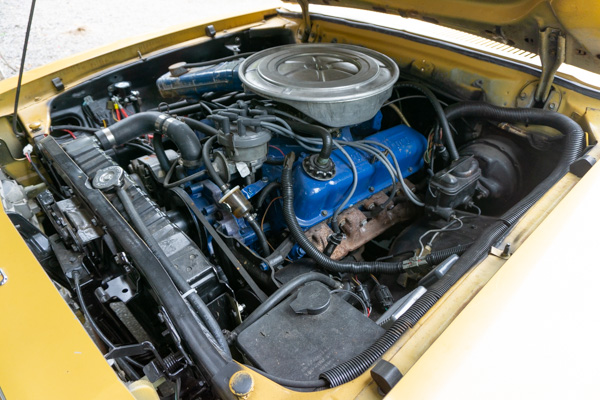
In 2016 my friend Jim did the lion’s share of the work to put in the new drivetrain and get it running again. I cleaned out the gas tank, put in new sending unit, painted the engine bay, and rebuilt the brakes, and handed it over to him to finish. So when I got it back it ran, but it looked like this. Still pretty exciting progress after ..ahem.. ELEVEN YEARS. Damn this has been a long project!
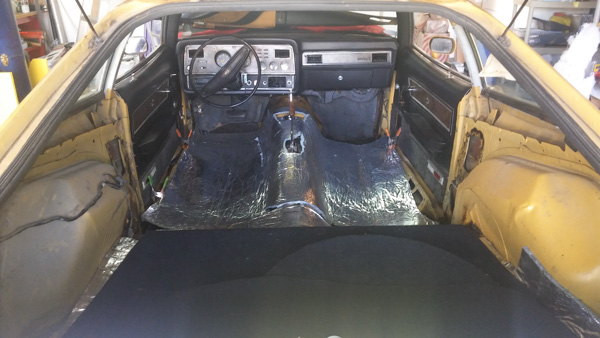
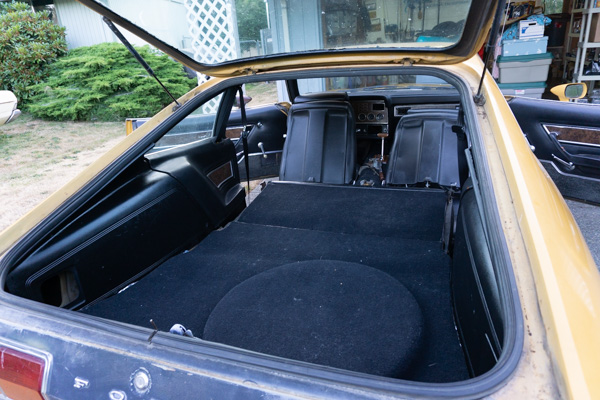
Last summer, I started putting in the new carpet. I started by laying down insulation.
And I got to work on the carpet, but it was super hot, and really hard work, and nothing seemed to be cooperating, and one day I just walked away from it. Done.
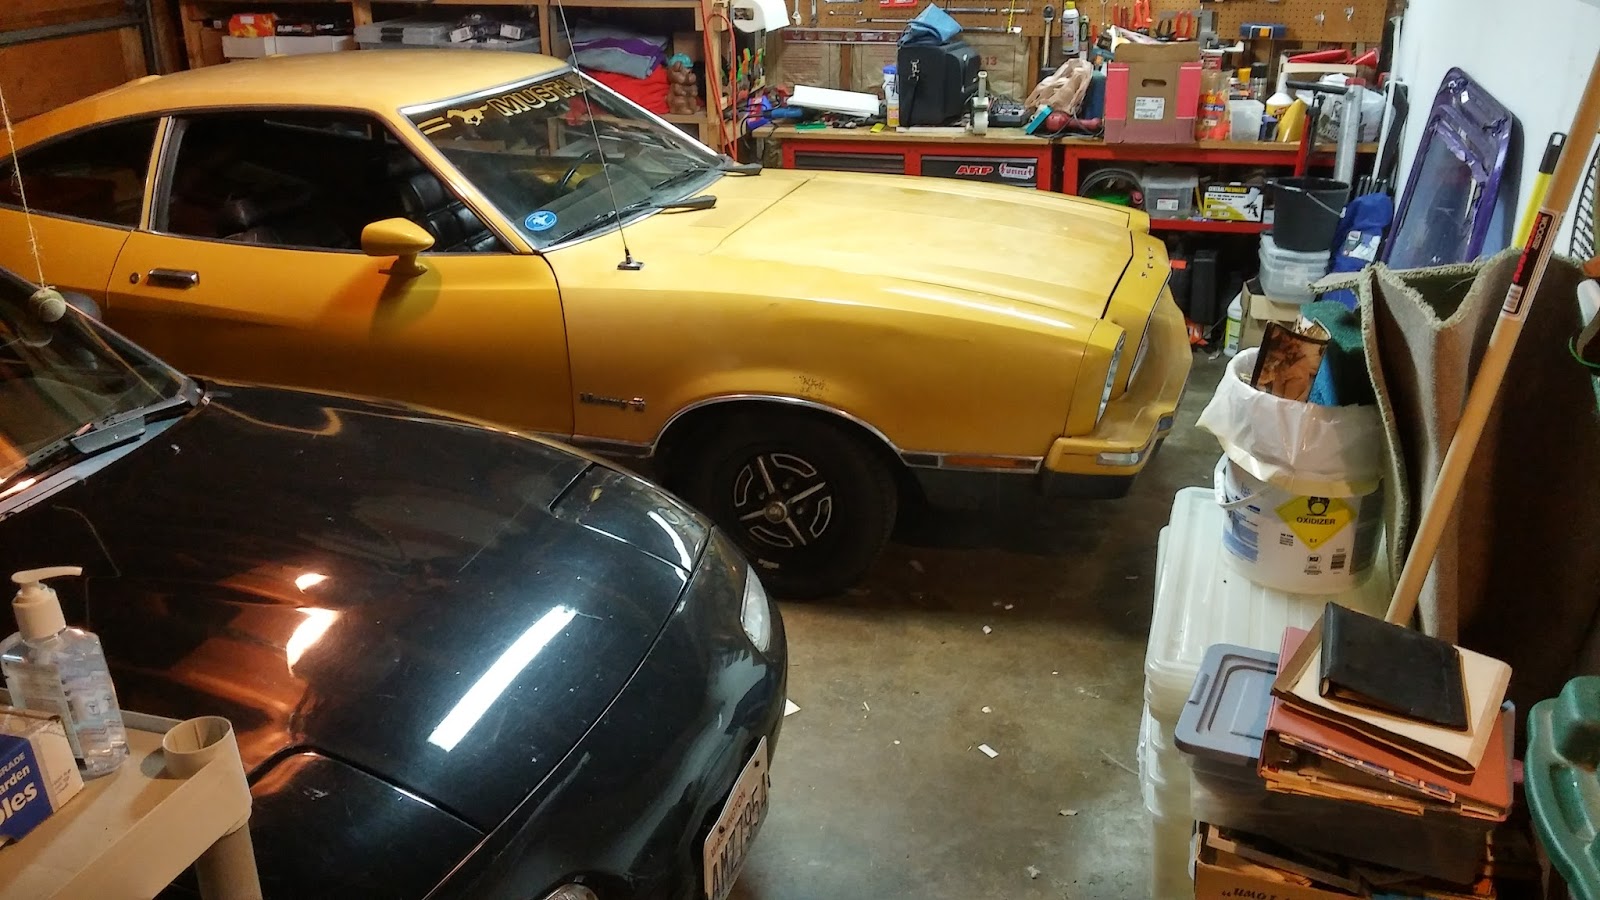
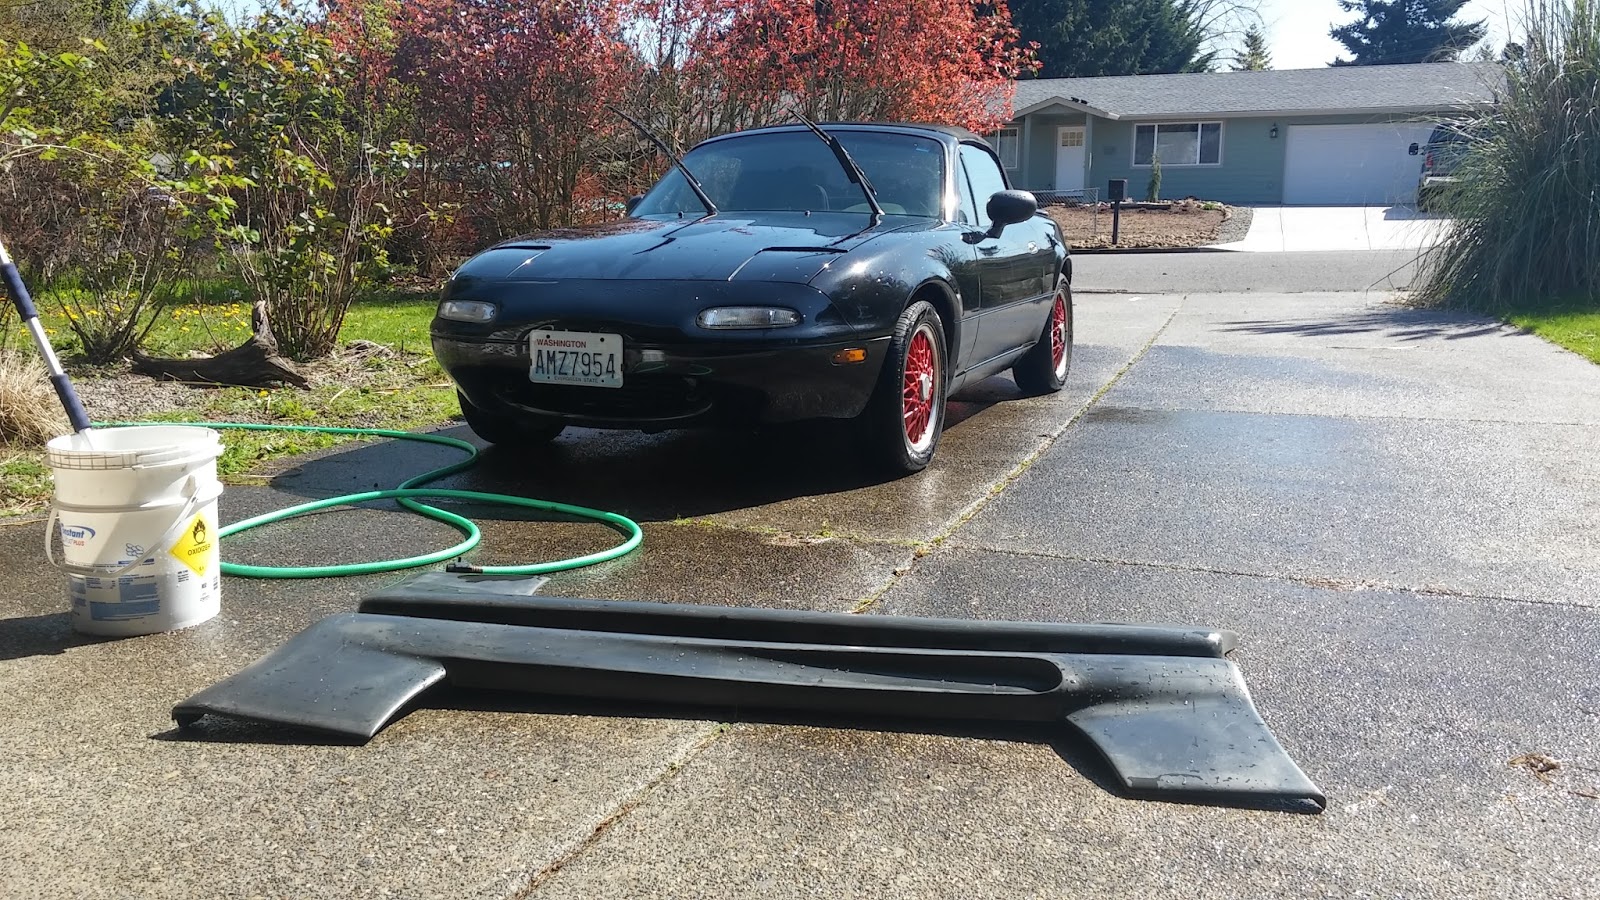
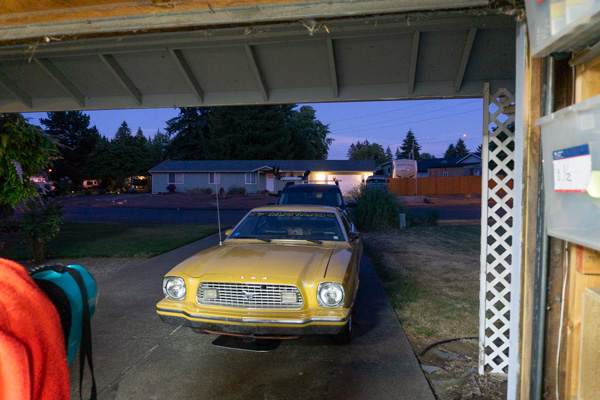
Last week I saw a Facebook memory pop up that said I had been working on my carpet install a year ago that day! Dang! A year already?! Ok, I’ll get on it. So we pulled the kayak off of it and rolled it out into the driveway.
My tools were literally still laying where I left them when I got frustrated with it last summer.
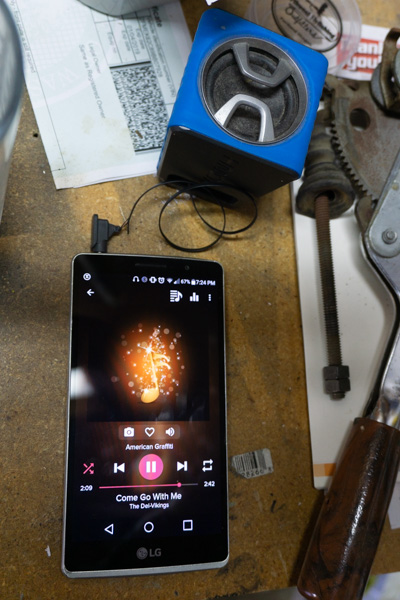
Fine, lets put on some tunes and get to work. Car music for car chores.
I found the holes in the floor for the seat and marked those off, and figured out how much extra carpet there was. I trimmed the excess and put down the door sill trim pieces. Then I realized my real challenge was going to be remember how all this went together. Now it’s been 13 years since I took it apart!
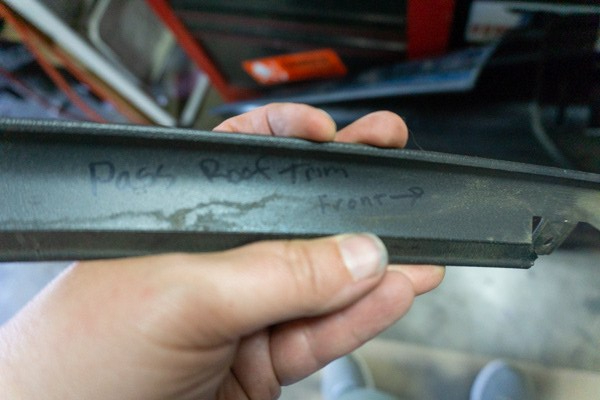
No problem, Past Me has it covered.
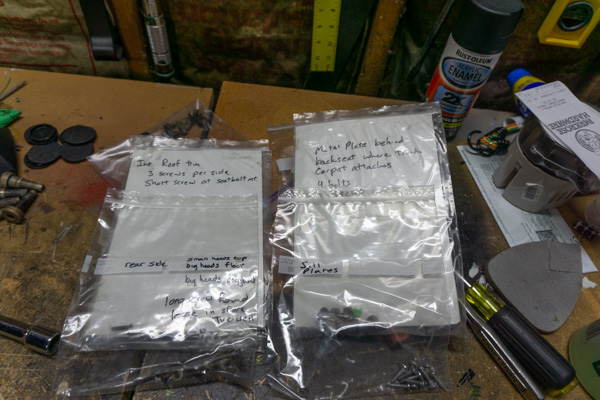
Every screw and bolt, meticulously documented and individually bagged. And I’ve managed not to lose any of it.
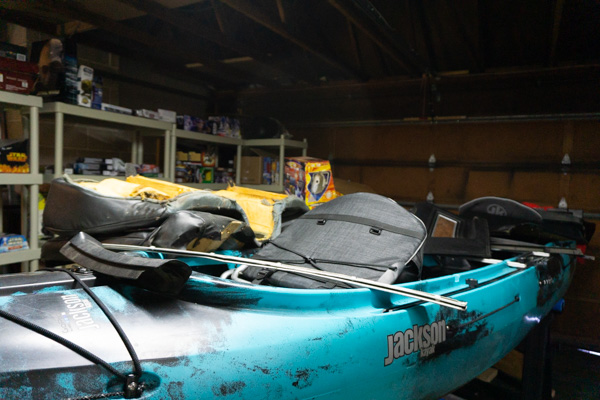
But there’s so many parts, now my garage is full of interior parts I pulled down out of the rafters! My kayak is buried in them!
Like, what the hell is this?
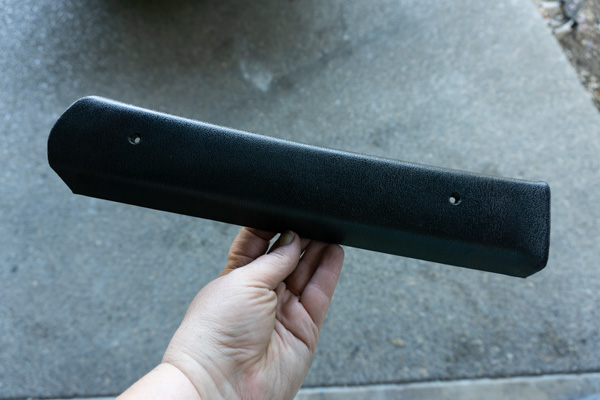
Damn, Past Me is rockin’ this organization thing!
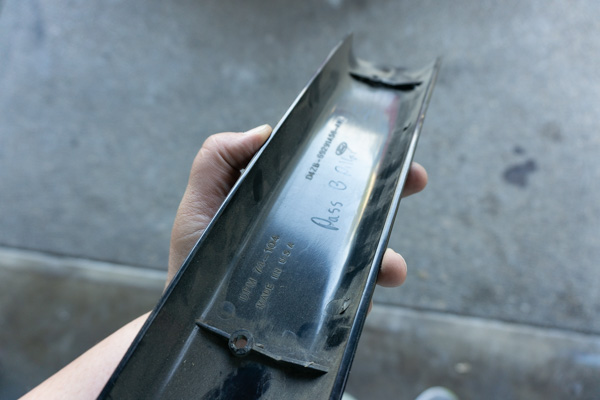
Passenger B Pillar. It even tells me which end goes up.
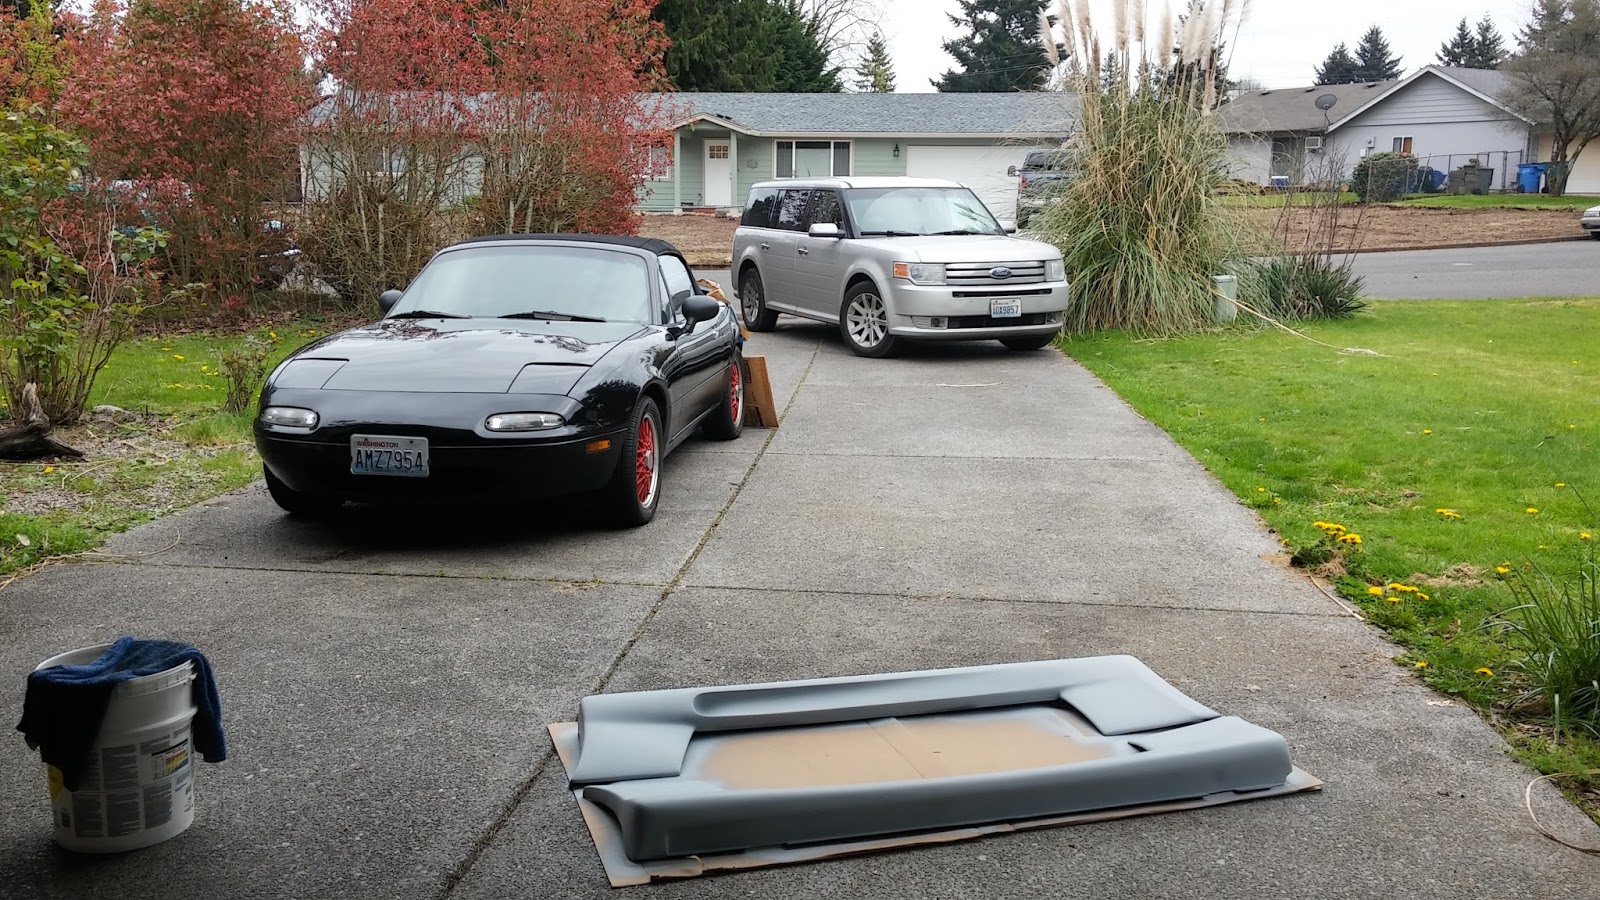
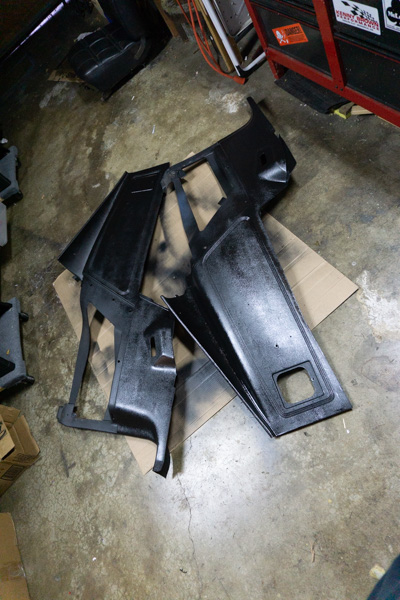
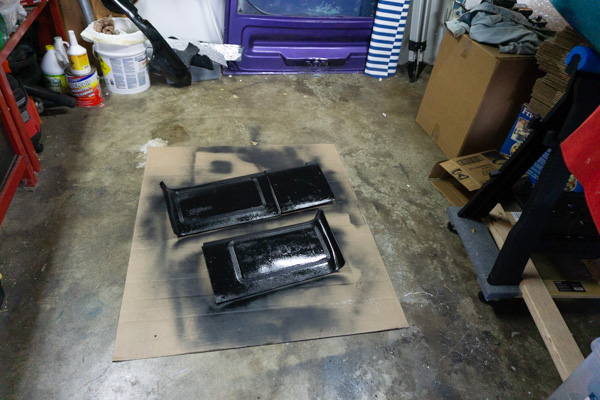
So I took my big interior panels, which I bought last year to replace my originals which were literally crumbling to dust, and cleaned them up…
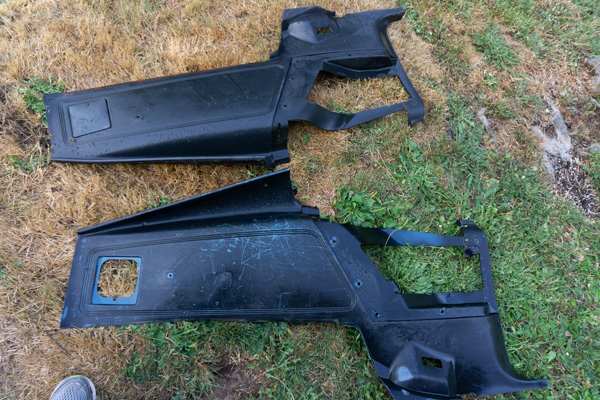
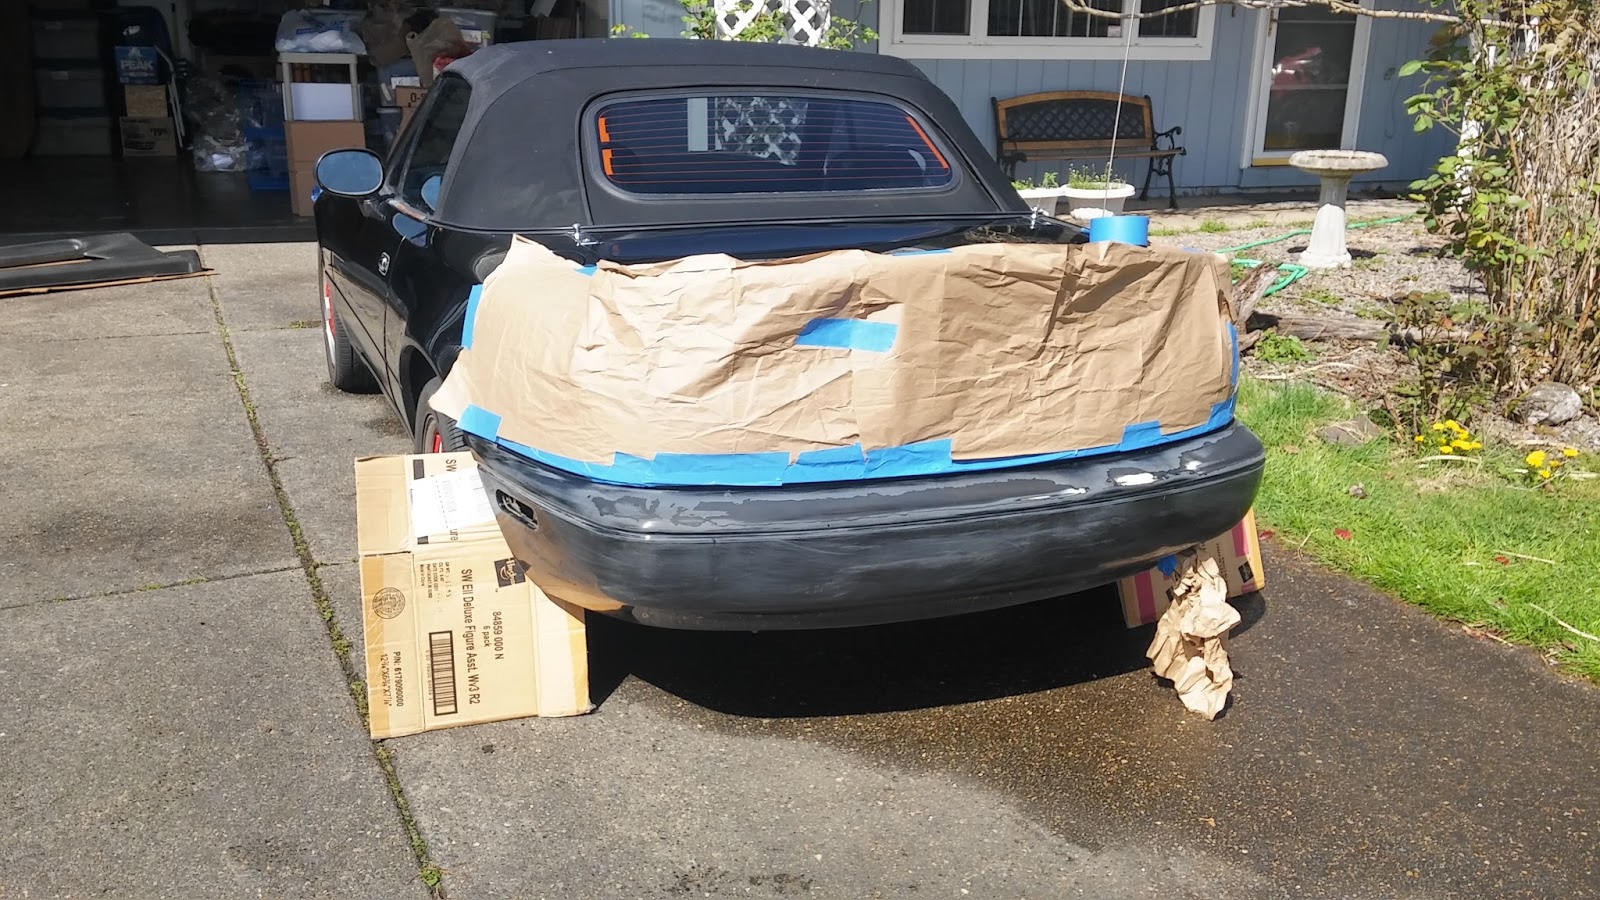
And sprayed a fresh coat of paint on them. One of them was originally blue.
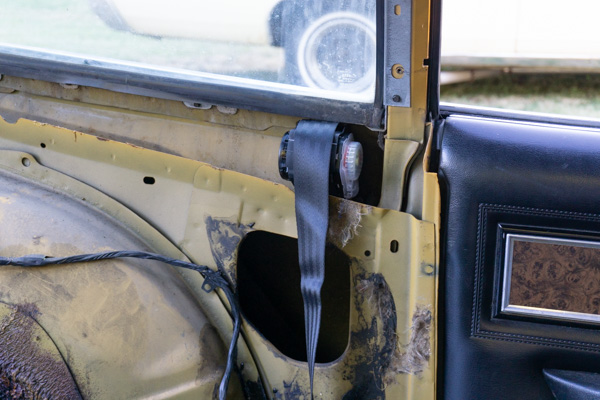
While that was drying I worked on the seatbelts. I think these are kind of generic seatbelts. They fit into the old location like they were meant to go there. It’s unusual something works out so nicely.
I wrestled the passenger seat into position and managed to get all four of the bolts through the holes in the carpet and the holes in the floorboard, and then laid down and reached under the car with one arm to tighten them completely by feel with the ratchet. This is the point in the project where I find myself laying on the ground, hot, exhausted, questioning every decision that has brought me to this point.
But finally it is in and fastened down, the carpet is trimmed, the kickpanels are in, and that is enough for one day.
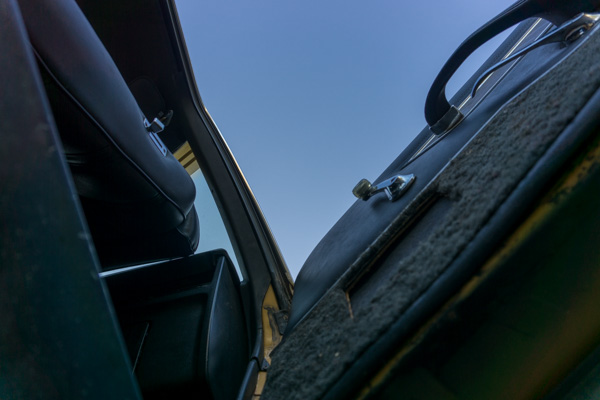
Day 2 – I put the rear quarter panel inserts from my original panels into the newly painted panels, because they were in better shape. These are deluxe interior panels, with burlwood inserts. They look snazzy and match the dash and door panels. It takes a bit of work to get them fitted and route the seatbelts, and finish installing those.
Strangely enough, everything is fitting together nicely. I mean, I know it all belongs, but I’m still surprised.
I manage to install the upper trim pieces, since they are easily marked for me. Thanks, Past Me. You rock.
I run out of daylight, but got a lot done.
Day 3
With a little help from this:
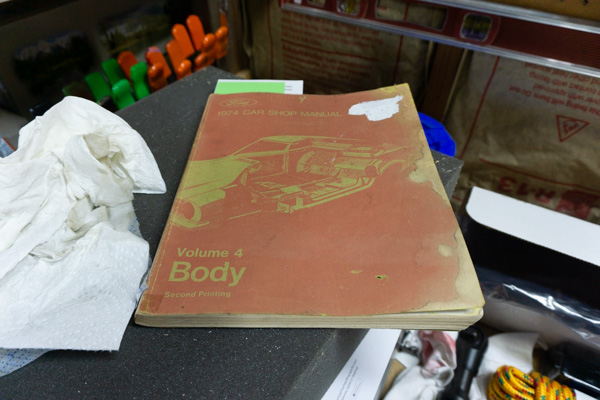
And a lot of trial and error

I start getting the backseat installed. It is four pieces. The seat bottom, the seat back, a hinged metal panel the seat back fastens to, and a third piece that that panel locks into in the up position, and covers a gap when it is folded down. Plus these pieces have carpet attached to them, but the new carpet pieces do not have the reinforced attachment points the originals had. I make do by attaching them with contact cement. Then, after a bit of head scratching…
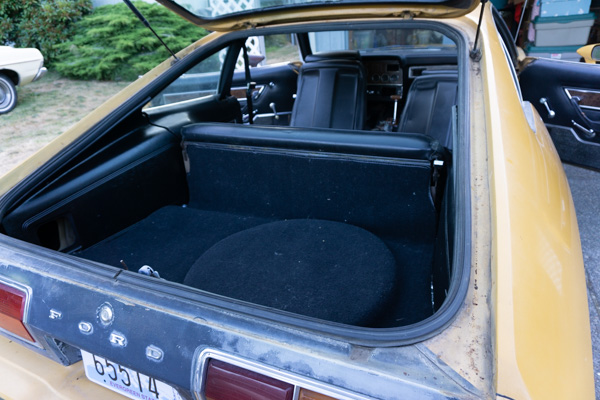
That’s how I got my stuff to college back in the day. Everything I needed fit in the massive back end of the mustang!
Two more pieces for the way back, just needed a little touching up to hide the scratches.
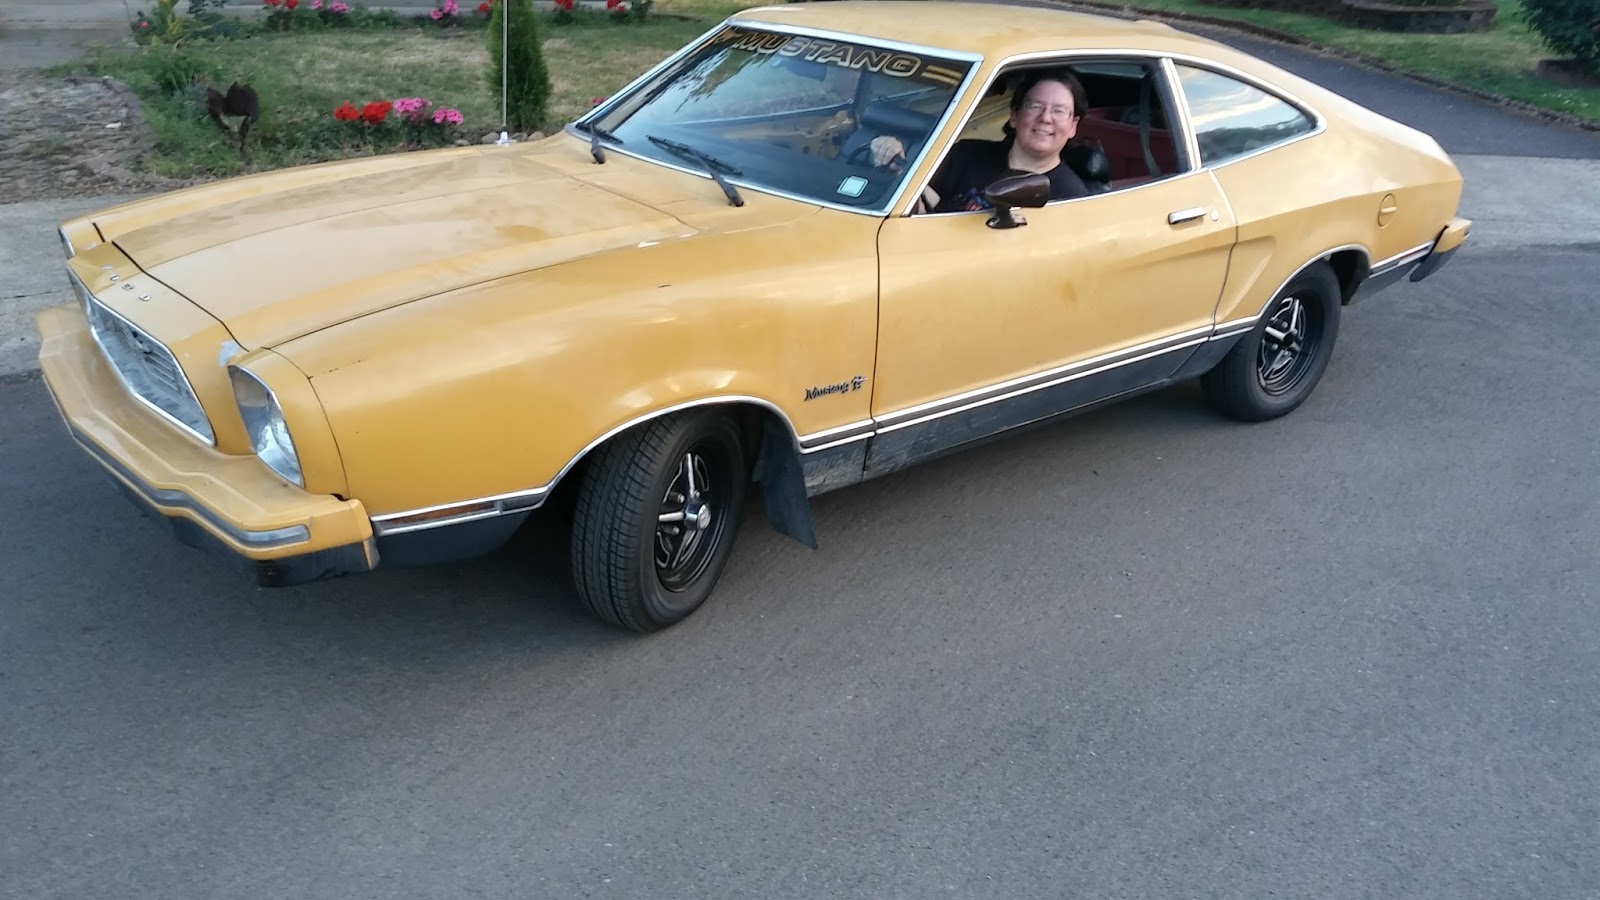
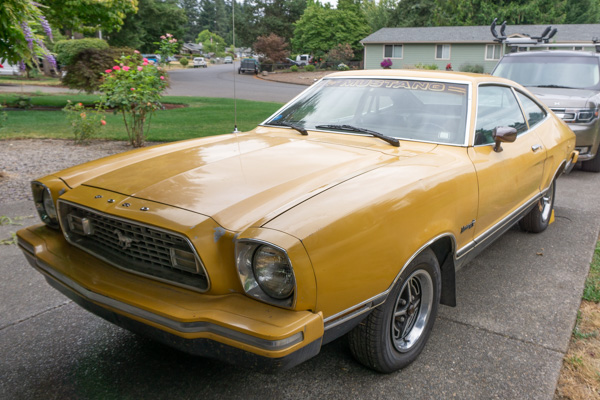
And (except for the missing parking brake) it actually looks like a legitimate car again.

Before the weekend is out I need to put more transmission fluid in it and test drive it, then Monday it is going to a shop to get it’s leak fixed. I’ll see if they can put the parking brake back in as well. And that’s most of the major stuff. Next I guess would be suspension rebuilds. And if we all survive that, and I win the lottery, maybe someday I’ll get it painted.
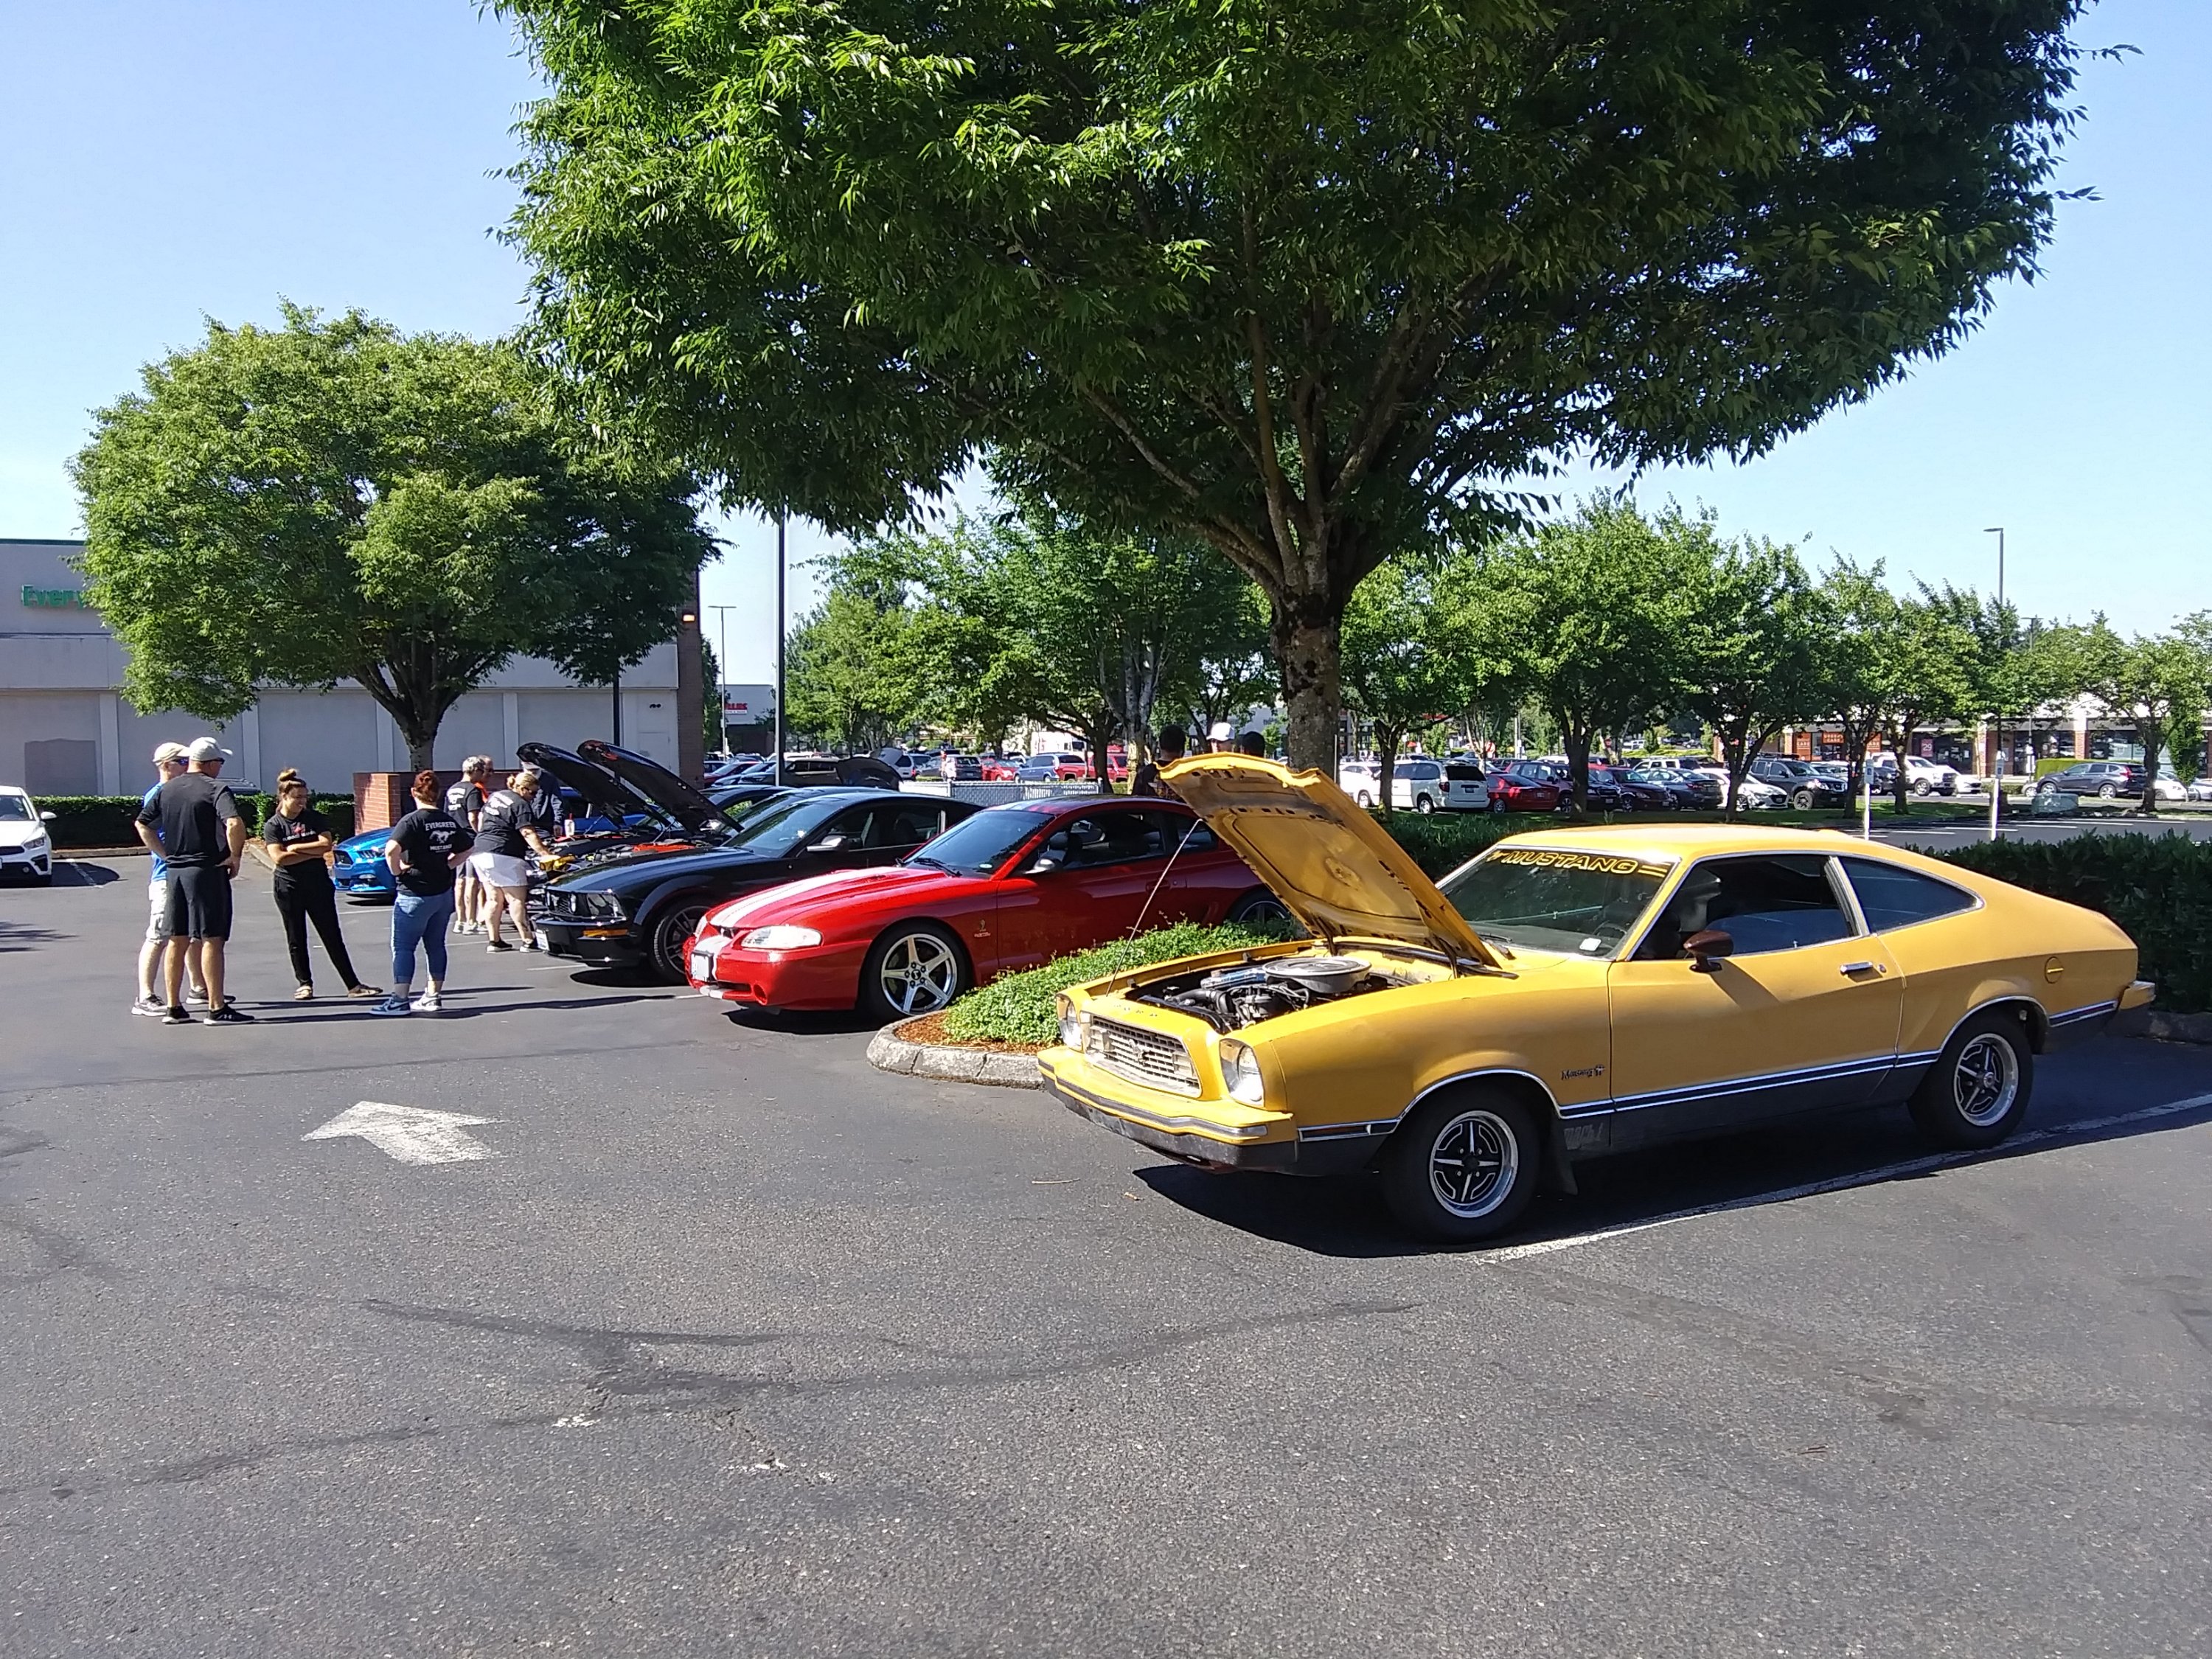
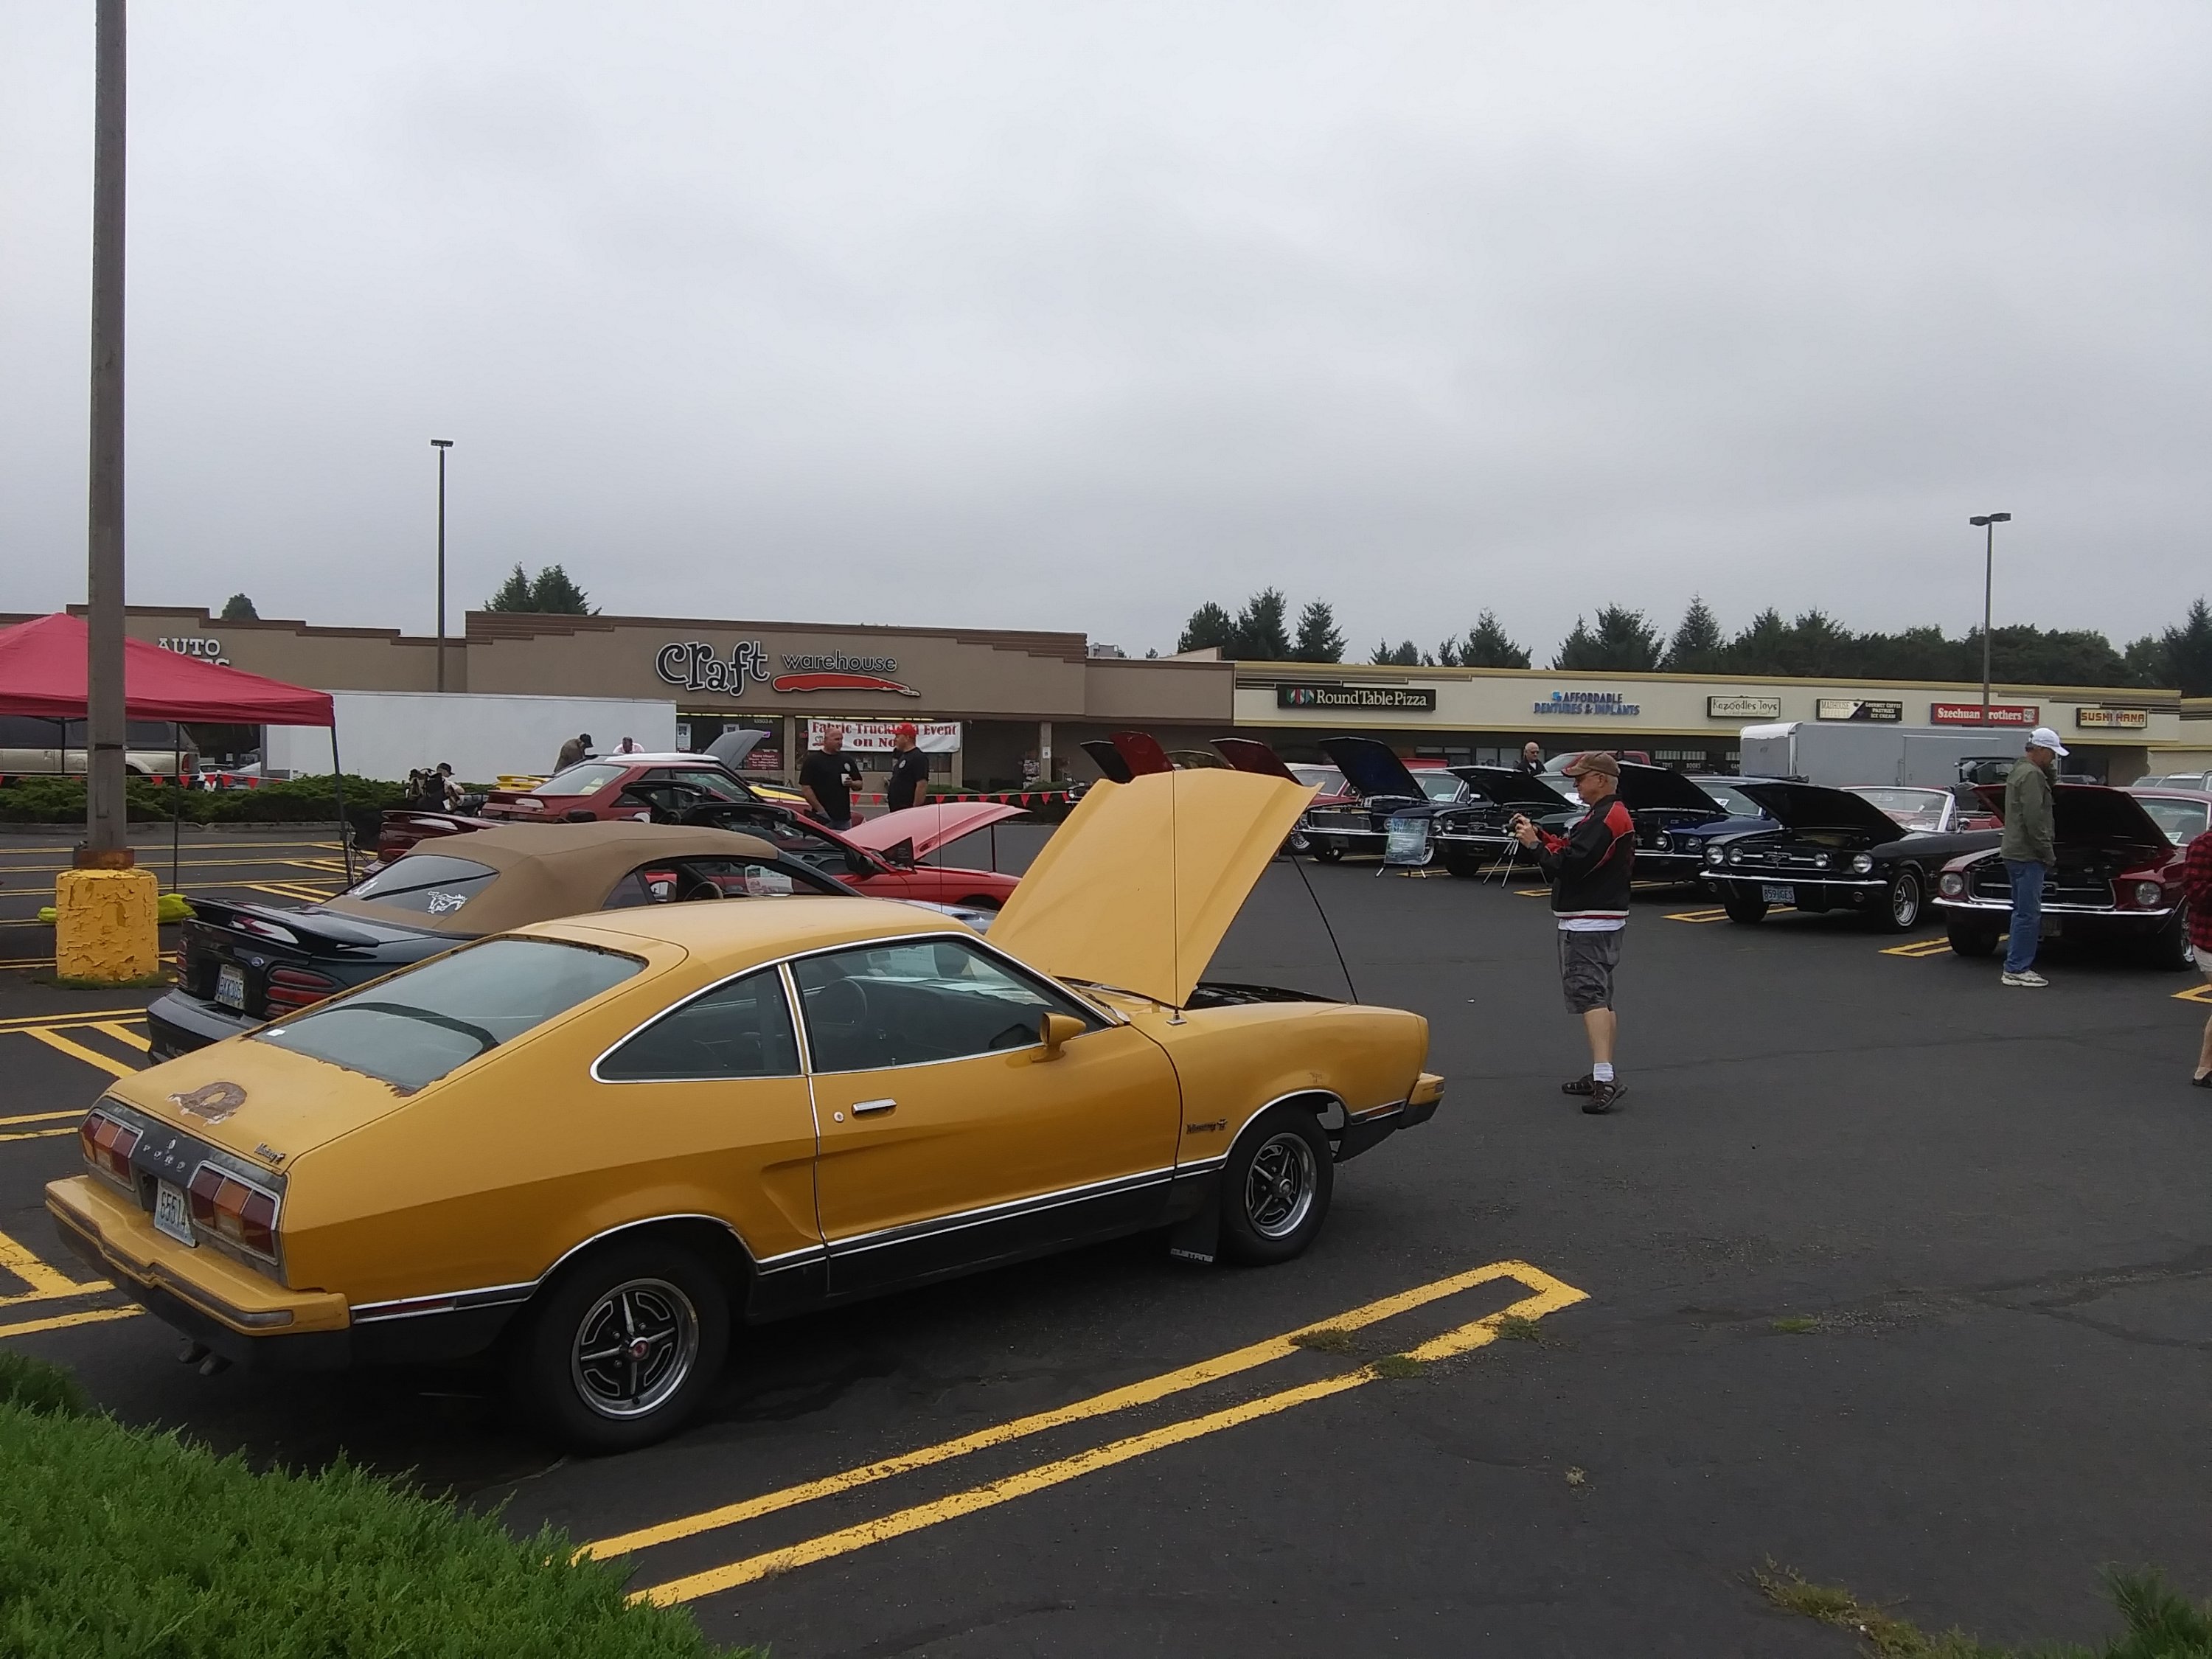
I feel pretty accomplished for three days of work in the evenings between after work and sundown. Thank goodness for long, hot summer nights. They feel like they were made for car projects! Maybe someday soon instead of working on this car, I can cruise down the road in my yellow/gold ponycar, wind blowing through my hair, Eric Carmen singing ‘Make Me Lose Control”. It will be 1988 all over again.