Woodworking Project: Pin Looms

I do not know much about weaving, but my friends in 4H do, and when one of them said they needed some pin looms for the kids to use to learn weaving in the new Fiber Arts Workshop they were organizing, I thought that sounded like a job for my new workshop. And also an excuse to go buy a drill press.

Going with pictures online, and the plans on this website http://adventuresinpinloomweaving.com/2018/08/02/pin-loom-templates/

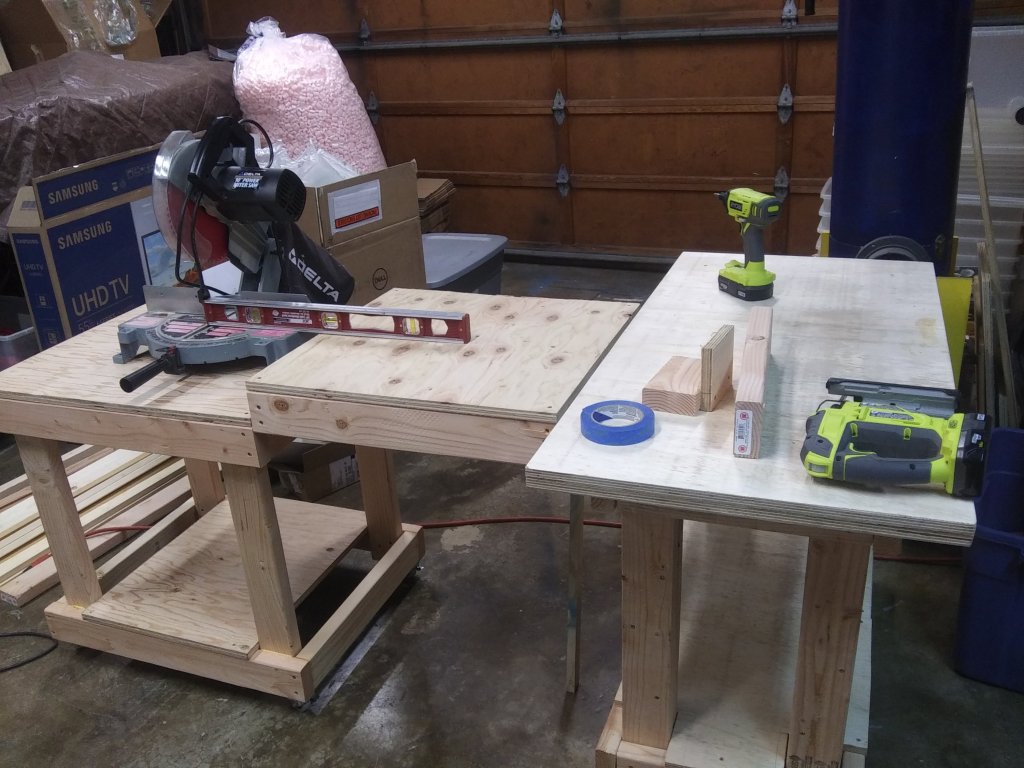
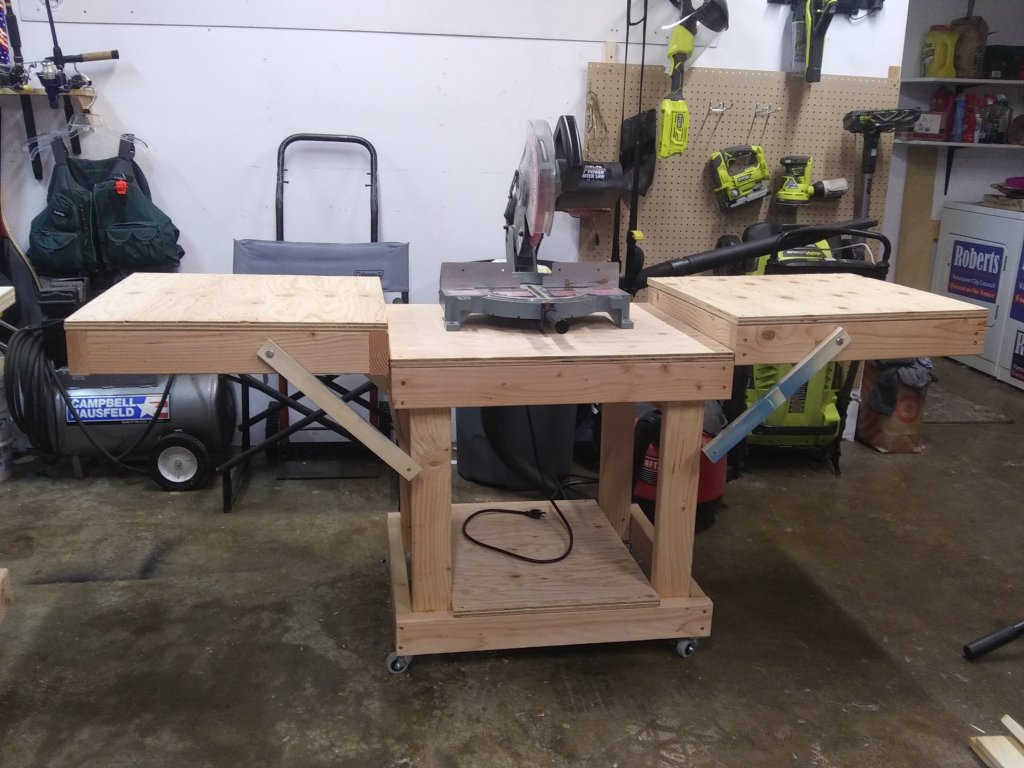
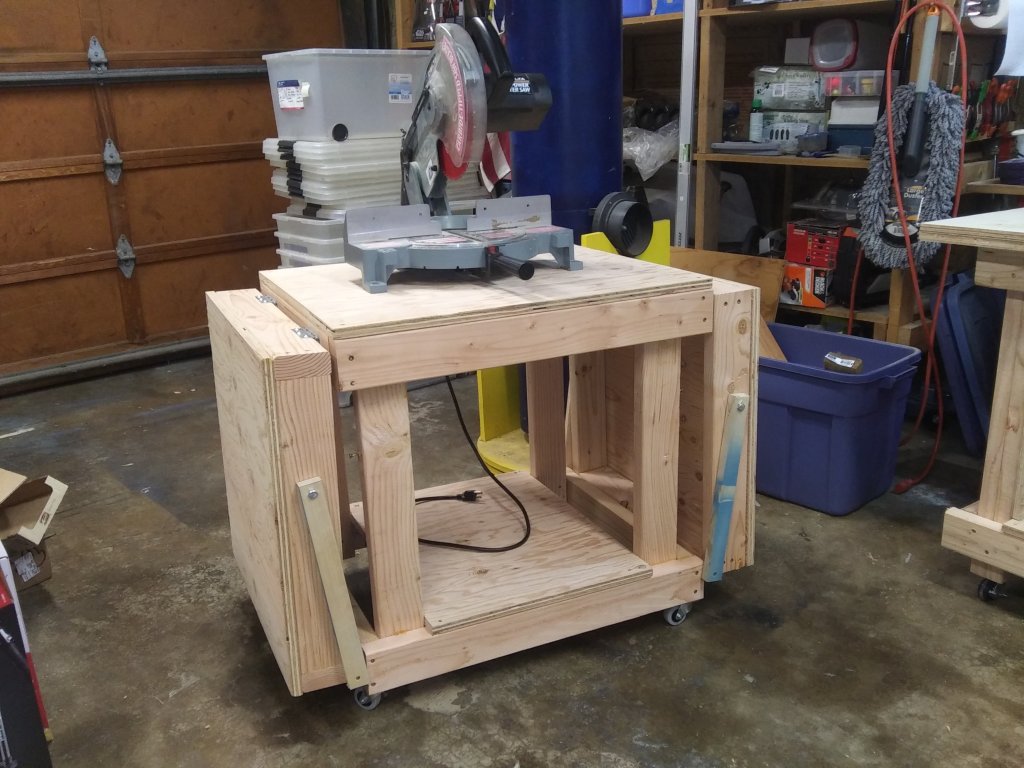
I set out to make 15 5.5 inch pin looms. I started out by taking 1 x 2s and ripping them in half on the table saw, then I cut them on the miter saw, using a stop block to make them all axactly the same, and cut the 60 sides I would need.

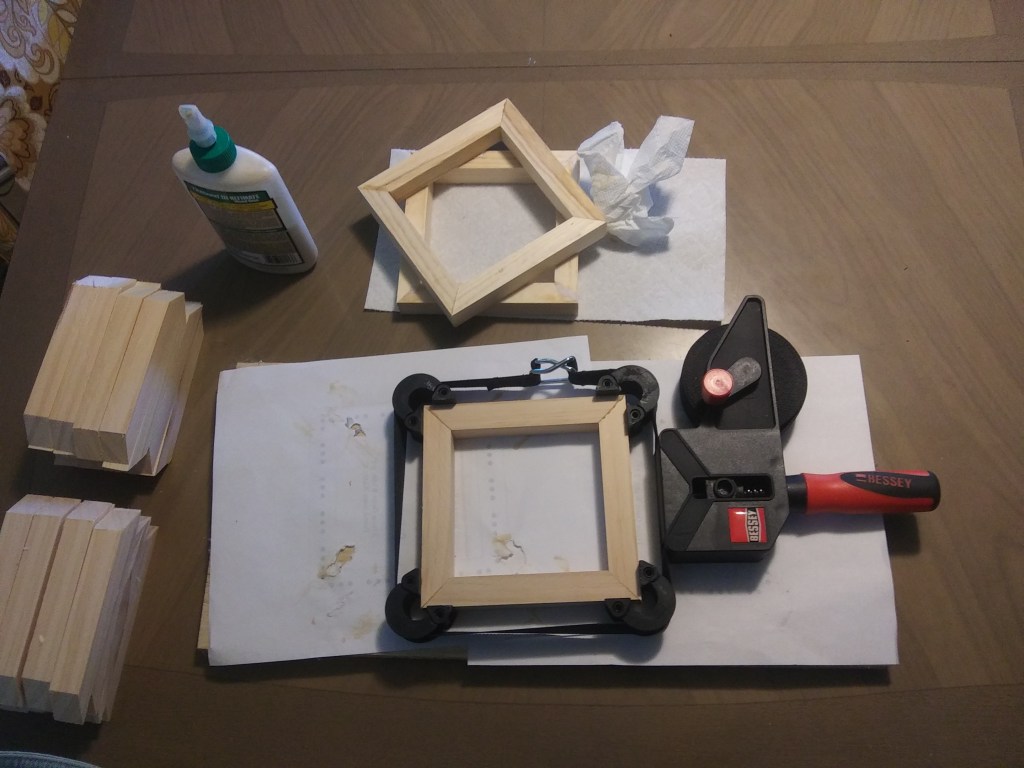
I glued them together using this neat frame clamp, but I had to bring them inside and do it on the dining room table, because it was too cold out in the garage for the glue to set. Then I drilled a hole in each corner and glued in an oak pin, to help hold them together if the kids dropped them, which is sure to happen. I sanded it all smooth so hopefully nobody gets any slivers. To sand them, I created another little jig on my bench that I could set them on to help hold them still while I sanded without risking having the sander whip them out of my hand, or sanding my fingers.

Then, using a guide clamped on my drill press table I used the template from the website, printed on heavy cardstock, to drill the holes in the correct positions, and the guide on the table ensured they were all in a neat line on each side. Then I just had to gently tap in about a million wire brads. The pre-drilled holes made them go in nice and straight without splitting the wood. The benchtop jig was again handy for keeping the frame still while I tapped away.

And in no time, it was done:

I was happy to be able to do this for the 4H club. I think its such a great program and helps the kids learn all kinds of life skills in addition to the animal care and craft skills, while having fun and making friends, of course. And I know the club would be hard pressed to have paid for these looms at a retail price, especially since they didn’t get to do their Christmas Tree Sale because of Covid this year. They cost me less than $20 and a bit of time, and I got to use ALL my woodshop tools, including the table saw for the first time(!) and I got practice using stop blocks and guides, I got practice creating a thing and then figuring out to make 14 more of them in the easiest way possible, and I got the satisfaction of a job well done.

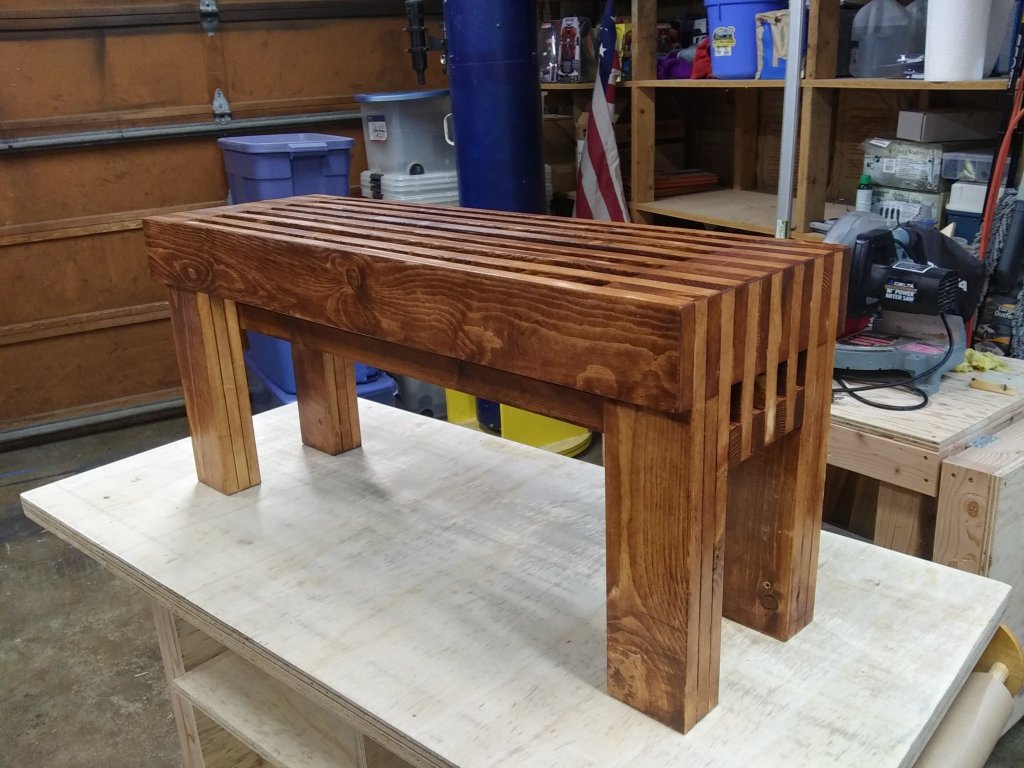
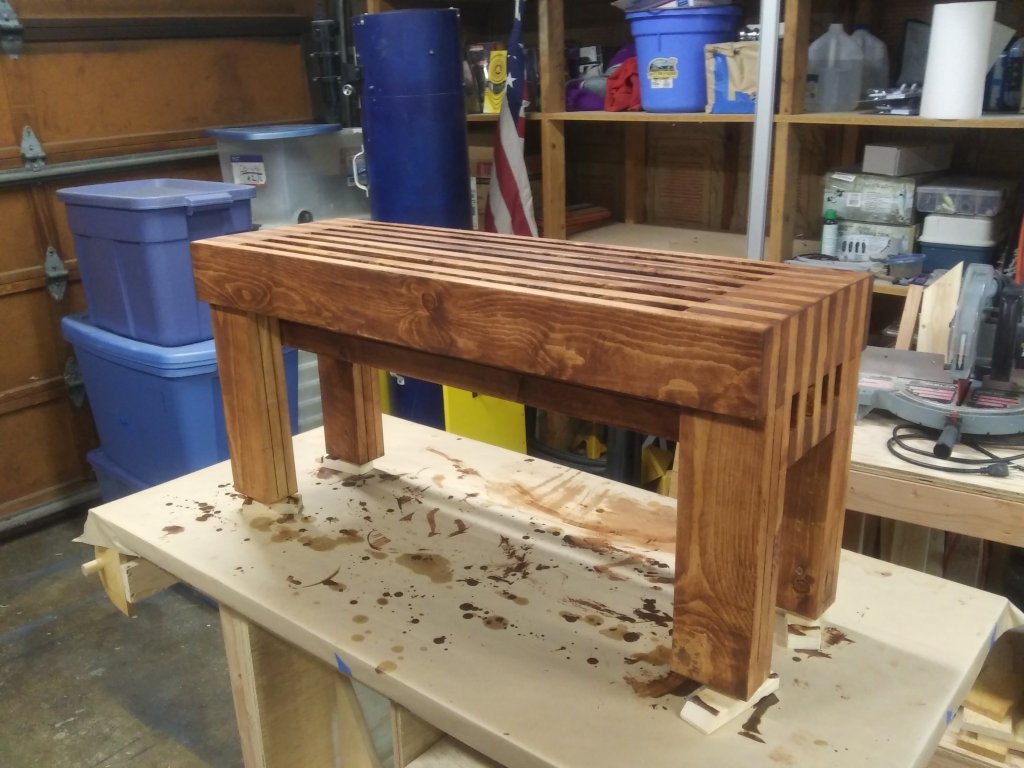
Also, the last time I worked in my woodshop was when Barclay was sick, I finished staining and finishing the Garden Bench. He liked to come hang out with me in the garage and sleep on the floor because it was cool, even before he got sick. I didn’t really feel like getting back out there without my buddy. Then Christmas came and Dave was using the shop for his toy business, so there was no hurry. This was a nice little project to do to warm back up to it all.

I couldn’t have done this without the Weekend Woodworker course teaching me to think about jigs and stop blocks and things like that. I have owned my miter saw for about 20 years, building stuff on stage and around the farm, and not even once did I ever thinking of using a stop block! So the course has already made me a better woodworker, and I’ve only done three projects! I can’t wait to proceed to the next one!

The Harmony Garden Bench

Continuing my weekend woodworker course, I just finished the Harmony Garden Bench.

This presented a few challenges along the way, one being that although I tried to build it accurately, it came out jagged as all git out after the assembly was complete.

Nothing a LOT of sanding couldn’t fix…

Then I wanted to stain it walnut color. But although I planned to wipe the stain off quickly, it took longer than I anticipated to get around all those slats.

I finished it off with a few layers of poly, and it looks very nice. I wouldn’t do it again, but this one turned out very nice, and was a great project to learn on.

Miter Saw Table

The next project in my woodworking class is a bench with many slats, all of which need to get cut on the miter saw. After the patio table I had realized how inconvenient it was to have to clean stuff off the mobile bench every time I need to use the saw on there. So before starting the bench, I wanted to build a miter saw table, on wheels so I could move it out of the way when not being used.

I saw people in the woodworking group building this one from https://www.bitterrootdiy.com/easiest-diy-mobile-miter-saw-stand/. It looked straightforward, and even though I couldn’t find the folding shelf brackets locally, I decided to pay the very reasonable $3 for the plans.

By Saturday night I had a decent table done. One important criteria was I wanted the saw height to match my existing mobile bench height.

By the end of the evening, after brainstorming ideas, I was sitting out on the floor next to my new bench, trying to figure out how to hold the wings open. I finally went inside and started watching videos for inspiration.

I had watched quite a few when I found Steve Ramsay’s shop remodel video, where he showed his miter saw table, which was similar, but had a simple hinged prop support for the side tables. Tah dah!

The props were made of scrap wood, so the are a little short, but they work, and they are solid. I’m happy with the solution. Now I’m finally ready to get to work on the bench!

Woodworking

Just a month or so ago my shop looked like this, and getting to my bench required crawling over stuff including the tongue of the boat trailer, tripping over boxes for my husband’s toy business. Once I got to the bench, there was barely room to do anything.

2019-11-17 20.25.14

But then I decided to overhaul the Mustang, and I sold my boat (without ever getting it in the water! That’s the 3rd boat I’ve sold without ever using it!), we installed new LED lighting in the garage to brighten things up, and my husband cleaned up his stuff in the garage and re-organized. Then I unexpectedly sold the Mustang. Suddenly I had an empty, clean, well-lit garage.

I decided that now I have a garage back, I wanted to do some woodworking. Quite a few years ago I used to do scrollsaw work and intarsia and woodburning, and I wanted to do more. I like building things. Someday I’d like to build a new vanity for the bathroom, and do new countertops in the kitchen.

This spring I built this potting table to put on the patio and organize my gardening supplies. I found the plan on https://www.ana-white.com/woodworking-projects/simple-2×4-potting-bench

2020-07-03 15.40.39

So that really lit up my desire to build more things. For a long time I have had my eye on Steve Ramsey on Youtube – https://www.youtube.com/user/stevinmarin and his Wood Working for Mere Mortals channel. So I finally signed up for his online woodworking class – The Weekend Woodworker – https://theweekendwoodworker.com/introduction/

2020-08-21 22.39.49

The first project was to build this neat little rolling bench, which has been awesome! He includes project plans and how-to videos and videos on each skill and tool, and safety videos. It went together just as expected, except I chose not to install shelves because my old miter saw is so big it took up the whole bottom shelf by itself. Even though I already have two benches, having one I can move around has been really useful!

2020-08-29 23.44.43

Second project was this little patio sidetable. Each project builds on skills and introduces new skills. I’m really having fun, and I can’t wait for my next project. We are all still trapped at home during the pandemic, so it’s nice to have projects to work on. And my garage is so clean and roomy now. I’ve sorted through a lot of things I don’t need, some of which I’ve had saved for years and never needed.

I guess I am a minimalist. All the things I get rid of take a weight off of me. Although I loved the Mustang, we joked that it was my albatross, a la the Rhyme of the Ancient Mariner, and I was cursed to have it forever hanging around my neck. I couldn’t go forward and I couldn’t go back. It was so heavy, with the weight of being ‘my first car’, and the story that goes with it, one of the best stories a classic car can have! Now I have shook it off, and released myself from it. I have my garage space back, and I can do creative things of my choosing, and I am really loving it!