Garden and chickens

Laid down peat moss on top of the garden beds, one bale only covered a bed and a half. Guess I’m going to need a couple more bales before I’m done.

My sitting area next to the garden, looking out on the pasture.

The chickens were out in the backyard again today. I get such a kick out of watching them, they are so busy and look so serious about it 🙂

Garden update – 1 more row

One more row done – that’s three down and one more long row and one more short row to go. And of course this is just the compost layer. As soon as we get a chance to mow I’ll be laying on a layer of cut grass. On this latest row, halfway through I ran out of the chicken compost and had to switch to the llama compost.

And I moved the llama compost from the driveway to the garden with my new lawnmower! Yay! It also mowed a little path through the field to pull the trailer through, and did fine. Too bad it can’t shovel compost for me – I’m afraid I’m the weak link in getting more work done around here!

Rain, rain, rain and a new lawnmower

It’s that kind of day – wet and windy and sort of miserable compared to the beautiful week we’ve had. So no working in the garden. Can’t do much anyway because the van is gone and it has all my cardboard in it, and I can’t go pick up bales of peat moss  with the car.

But I can thin out my tomato sprouts and figure out what else I should be getting started in the house to plant when the time comes.

Out in the garage:

Our new mower! Not exactly new, in fact it’s at least as old as the last one, but it doesn’t have the baggage of years of frustration to go with it. I have decided I’m going to like it, and take good care of it so it will last a long time. It’s almost kind of cute.

Same kind of engine as the last one, except this one is 18hp with a 46 inch deck, so a bit stronger and wider than the old one. Automatic. Pretty much identical to the old one in every other way.

We struggled for a long time if we should spend the money on a used one, or twice as much money for a new one with fewer features than we wanted – but at least it would be new and have a warranty. That’s why I spent yesterday driving around looking for Sears refurb models, and visiting the local tractor dealer to check out their deals. The van breaking down sort of pushed us to do the cheapest thing we could get away with for the time being. This one came from a guy who repairs mowers on the side and resells them, he’s a friend of a friend, so they recommended we go see what he had, and this one looked good and had all the features we wanted. Either way, we had to get one soon, there’s just no way to maintain 3 acres without a lawn/garden tractor of some kind.

Another day of progress in the garden

Our van took a ‘personal day’ and refused to start yesterday, so it spent the day relaxing in the driveway. It’s back to work today though, ready to haul stuff around. That’s a good thing, because I’m going to need it to go pick up some peat moss and vermiculite for my soil mix I plan to put in the raised bed. Can’t exactly bring that stuff home in the car!

I got two of the beds covered in cardboard and chicken compost.

Same thing in the raised bed. The chicken compost is just the first layer, next comes grass clippings, as soon as I get some mowing done.

When I run out of chicken compost I have a big pile that was cleaned out of my friend’s llama stall, which has been composting since last year and it looks pretty well broken down now.

Barclay helped out in the garden and kept me company, and he enjoys chasing the water from the hose! Fun times! I closed the main gate and let him and Jack out into the front pasture to play while I moved cardboard from the van to the garden. I was in the garden working and suddenly here comes Barclay running at full speed, delighted to have found me! Then he stayed in the garden with me the rest of the afternoon, even while Jack was still out exploring the front pasture.

More progress in the garden

Starting with some 2×10 untreated pine boards, I screwed stakes on the ends and set it up and pounded it into the ground.

But before I got it pounded in, the screws sheared off! So I finished pounding it in and re-screwed the board onto the stakes. With the stakes in place I was able to put the sides on, and get them squared up and attached, then add the front board.

There’s my finished raised bed, 8 x 4. I’m going to make a cover for it so it will act as a cold frame this winter for growing greens into the off season.

Now that the raised bed is in place I can finish building the remaining rows. Next step is to gather enough newspaper to layer on the rows and cover that with compost followed by soil mix, and to get some wood chips to lay on the walking paths. I’m glad I’m getting such a headstart on the garden this year, there’s so much to do!

Busy Garden weekend

I started out by taking out a little tree that was in my garden, and in my way. We planted it years ago, but it never did take off, and a couple years ago the goats stripped the bark off it, and it really never had a chance after that. I poked a shovel into the ground all around it and didn’t hit any roots, so I gave it a good push and it pretty much popped right out – the root ball wasn’t any bigger than the day we planted it!

Then I began layering cardboard on the ground, outlining my beds and walking paths. Cardboard goes on the walking path, and it will be covered with wood chips. Newspaper and compost will go on the planting beds. This is ‘sheet mulching’ or ‘lasagna gardening’. It’s supposed to allow you to start a garden on a grassy area without any digging.

We have a lot of these red ‘landscaping timbers’ left over that we bought for a project years ago and they have been in the shed ever since. I got some stakes for them (they look like ten inch nails) and used them to outline the beds – just to help keep the wood chips and compost on the right sides of the line. If I don’t like them later they will be easy to remove. I like straight lines, so I think they will be helpful.

So that is the layout for half of the garden. The other half will have a raised bed/cold frame in the back, and a couple shorter rows in the remaining space. I’m also saving some space for a couple narrow beds up against the shelter where I can grow some lettuce and spinach without it getting too much sun, which was a problem when I tried to start them during the heat of summer last year.

So now I just need compost, and wood chips. I’m on the list to get wood chips from the county, still waiting to hear back on that. But for the compost…see the next post.

Getting ready for spring!

I finished installing the new gate to the pasture, did some more work on the fence between the garden and the shelter, and installed a board with pegs to hang my garden tools from under the shelter.

I also went down to the feed store and put a reservation on 10 assorted (buff, red, and blue) cochin chicks 🙂 They don’t come until the end of March, so I have time to build a better brooder box for them than my turkeys had last year. More projects, what fun!

And best of all, tomorrow a professional mower repair guy is coming over to try and get the cursed riding mower running again. Instead of finding myself swearing at it when the grass is a foot tall and needs to be mowed yesterday, I thought I would get a head start on it. This way if he says it will never run again, I can start shopping for a good used mower to take it’s place. Every year we fall behind when the mower won’t run, not this year!

Garden 2010

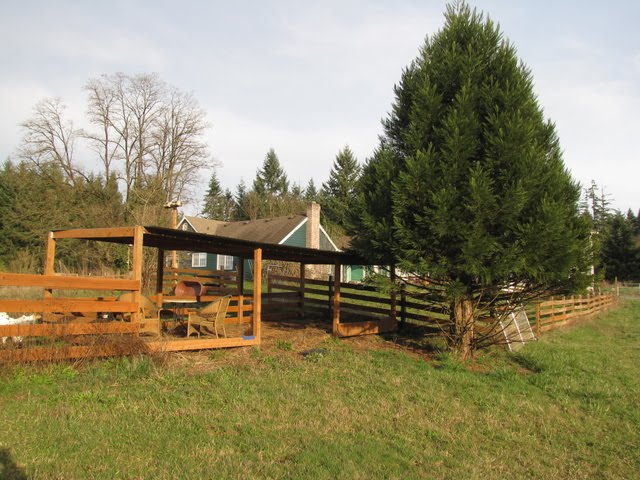
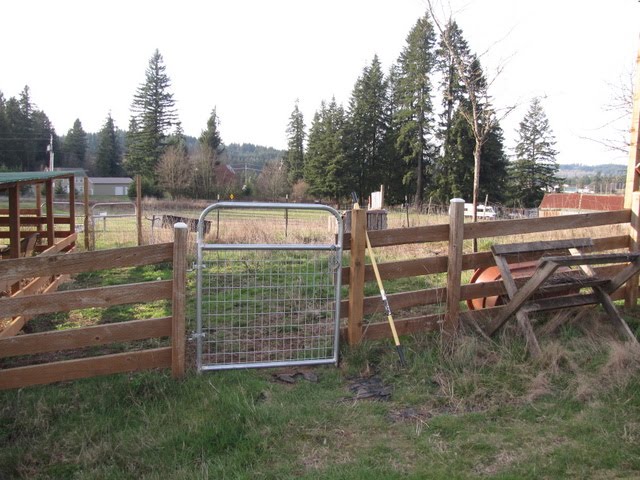
For the last year or so the paddock area has only been used as a pathway to take the dogs out into the pasture to play fetch, and I have set a little table and chairs under the shelter and I like to sit out there and read and watch the dogs play and watch the world go by.  I decided it was time to make some changes. Since I don’t anticipate having livestock again anytime soon, I rearranged the shelter. 
 
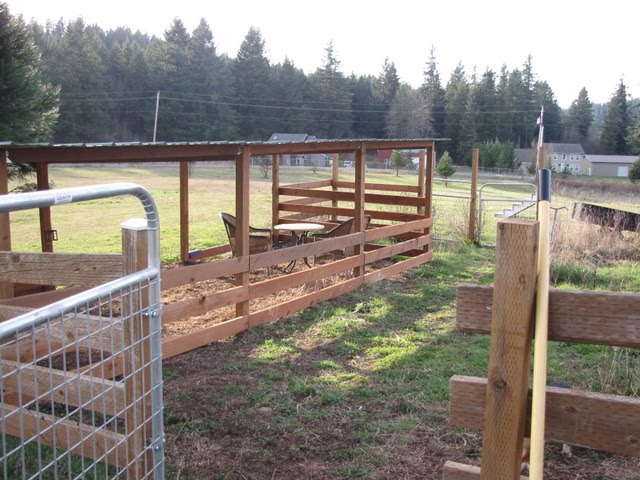
I removed the boards off the pasture side, and put them on the paddock side.
 
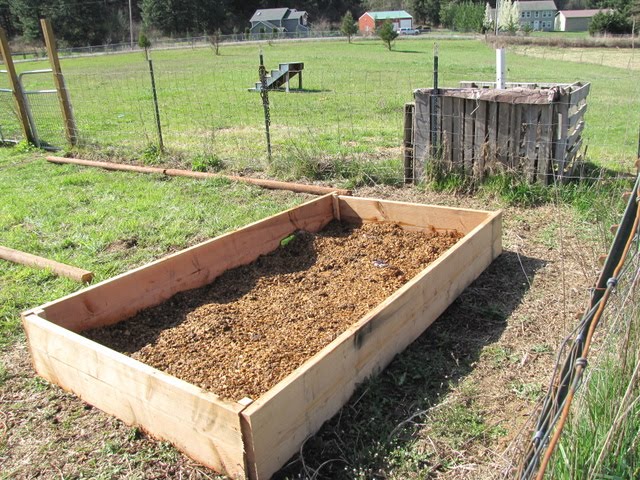
So now the shelter is open to the pasture. Which leaves the paddock area shut off from the pasture, except for the gated entrances. So that area will be my garden this year, and if all goes well for the next few years.

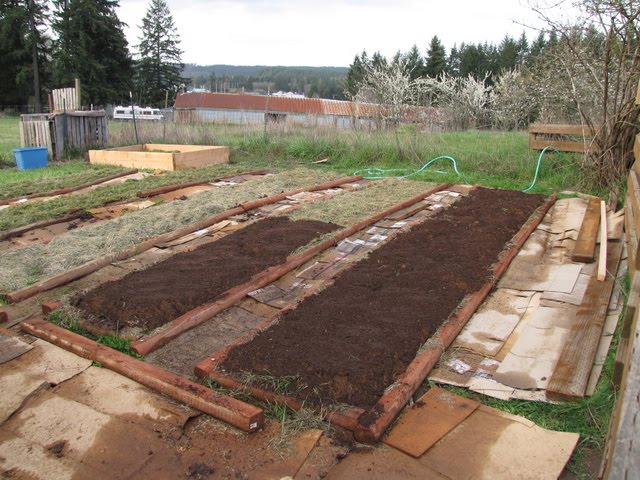
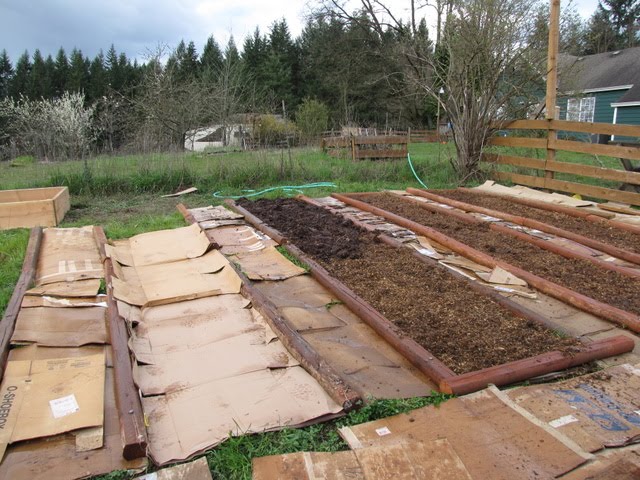
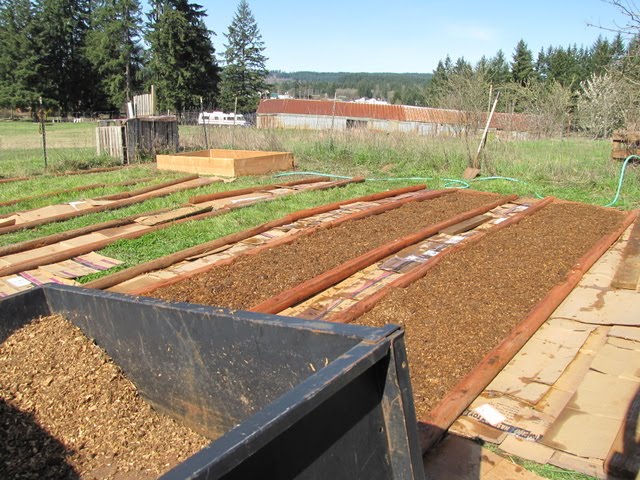
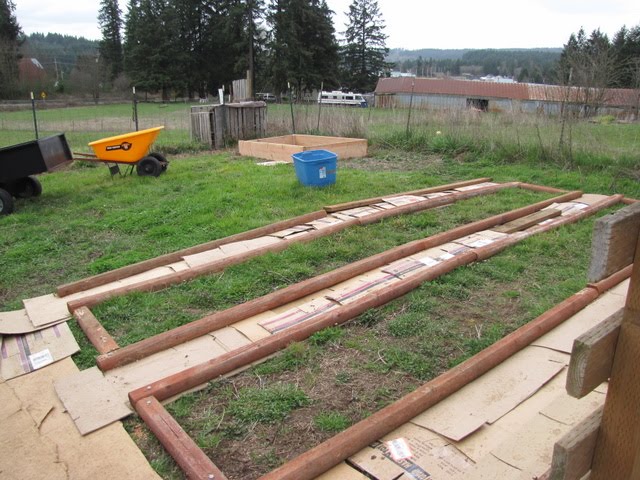
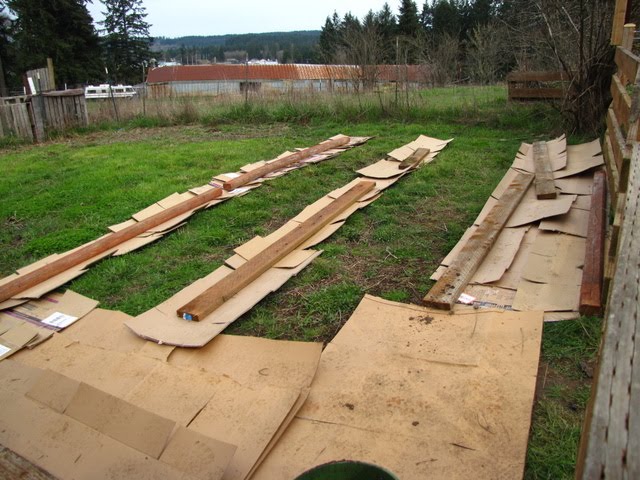
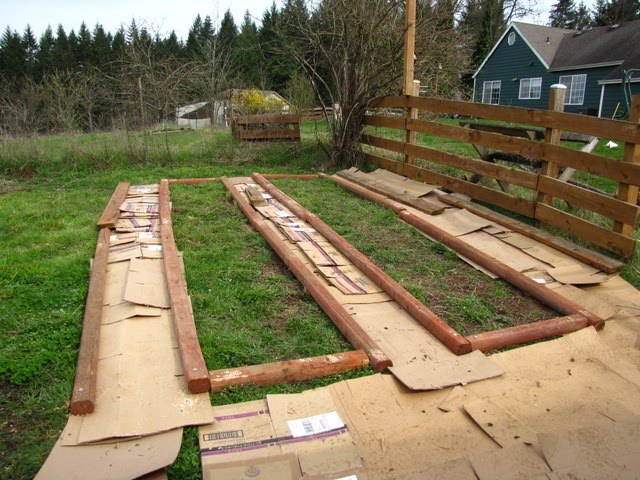
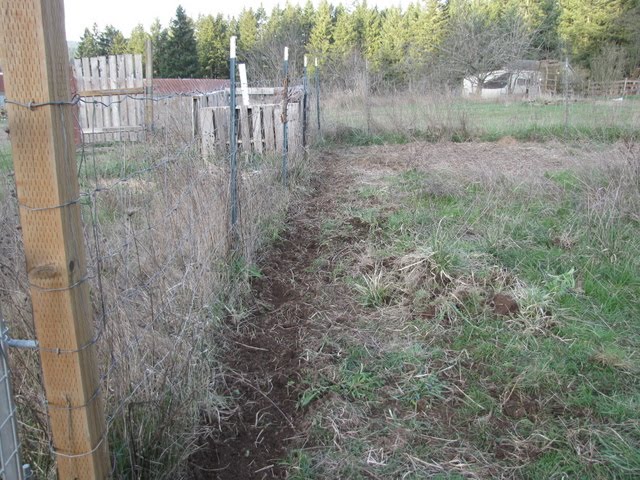
It’s kind of a grassy weedy mess right now, but it was well fertilized by the llamas and sheep so I’m interested to see how this works out. I think I will have better luck planting directly in the ground than I have had in previous years planting in pots or doing an intensive garden. I plan to give my plants lots of room this year.

It doesn’t look like much to write home about, but the turned over area along the fence is my row of peas. I planted them there so they could climb up the fence without having to add extra support for them. 
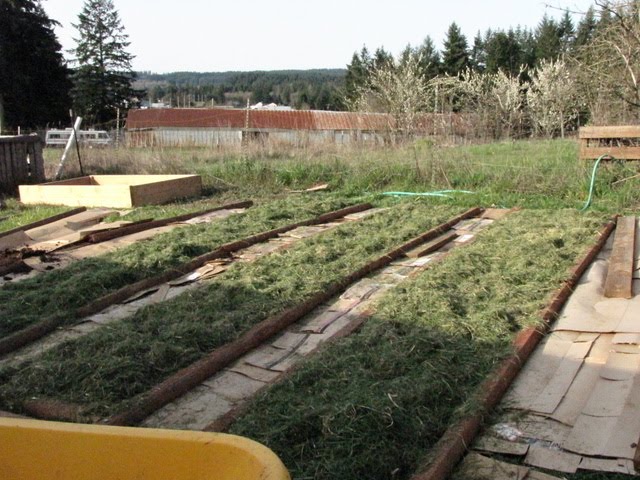
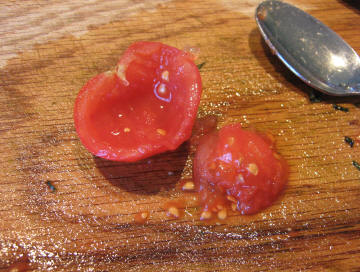
Luckily it’s still early in the season, so I have time to get the rest of the area in order. I’m planning to just work up rows where I need them, and kill the grass in the pathways and put down bark chips to walk on. I’m going to use organic fertilizer where needed. I’m hoping to get a good winter crop in this year as well so we can have Brussels Sprouts and Broccoli and Chard, and, using a cold frame, lettuce and spinach all winter. We’ll see how that goes. Big plans for someone who can barely produce a few tomatoes every summer!

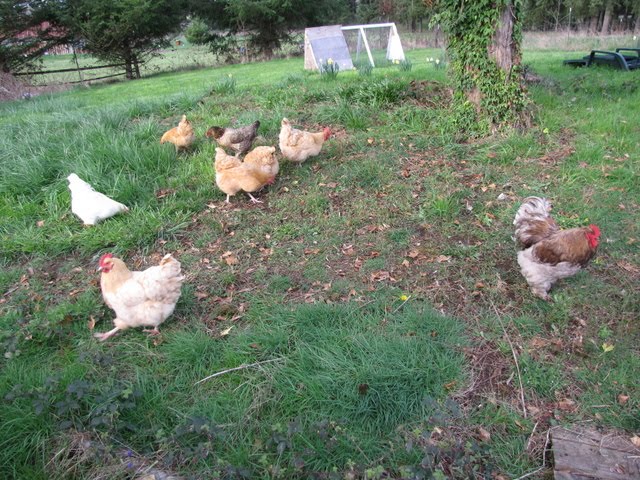
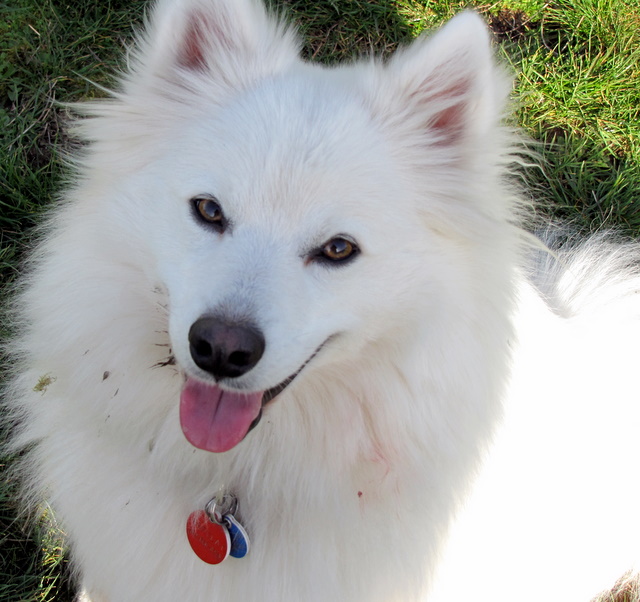
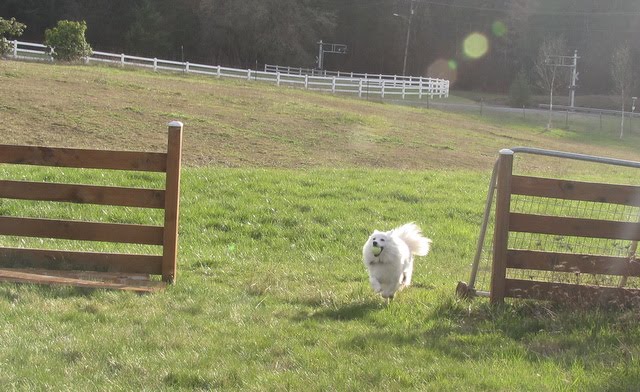
I opened a section of fence from the main yard into the pasture for doggie access. It’s funny how this makes the front yard feel completely different! Look how happy Barclay is to fetch a ball out of the pasture 🙂 I’m going to put a metal gate there so I can still have control over their access. Otherwise they can be real pests about going out in the pasture and barking at the neighbors.

My first attempt at saving tomato seeds

A friend grows these wonderful little tomatoes every year. They are small and sweet, like giant cherry tomatoes. She said her father ordered the seeds for them about 40 years ago from a 4H club up north that had developed them to be an early tomato for the NW climate. They grow on low bushes and are productive from July on throughout the season. Every year she saves the seeds so she can grow them again next year. He family has been growing these for 40 years – how’s that for a recommendation?!
 

Start by cutting a few tomatoes open
And scoop out the middle with the seeds (save the rest for eatin’)
Separate the seeds from the pulp as much as you can. and rinse them in a fine strainer, then put them in a small jar of water on the windowsill for three days. The pulp will slowly let off the seeds and float to the top. I pour it off and replace with fresh water every day.
Rinse them one more time to remove any leftover pulp, and dry them on a coffee filter. After they are completely dry you can put them away in an envelope for planting next year. 
I hope this works, I can’t wait to grow my own next year!