North Cascades VAC Rally

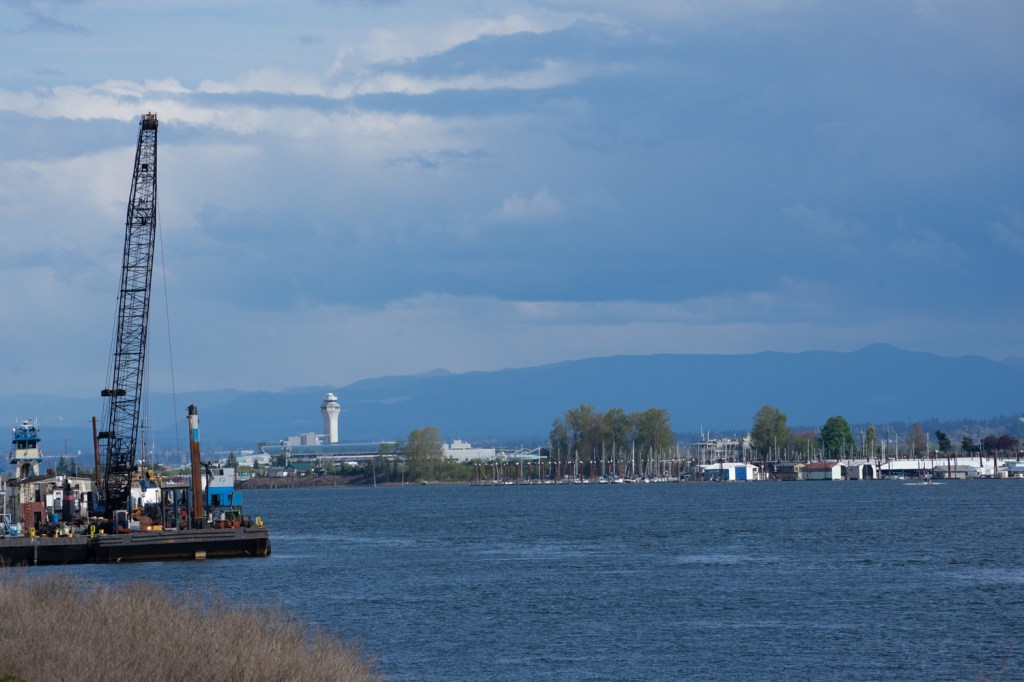
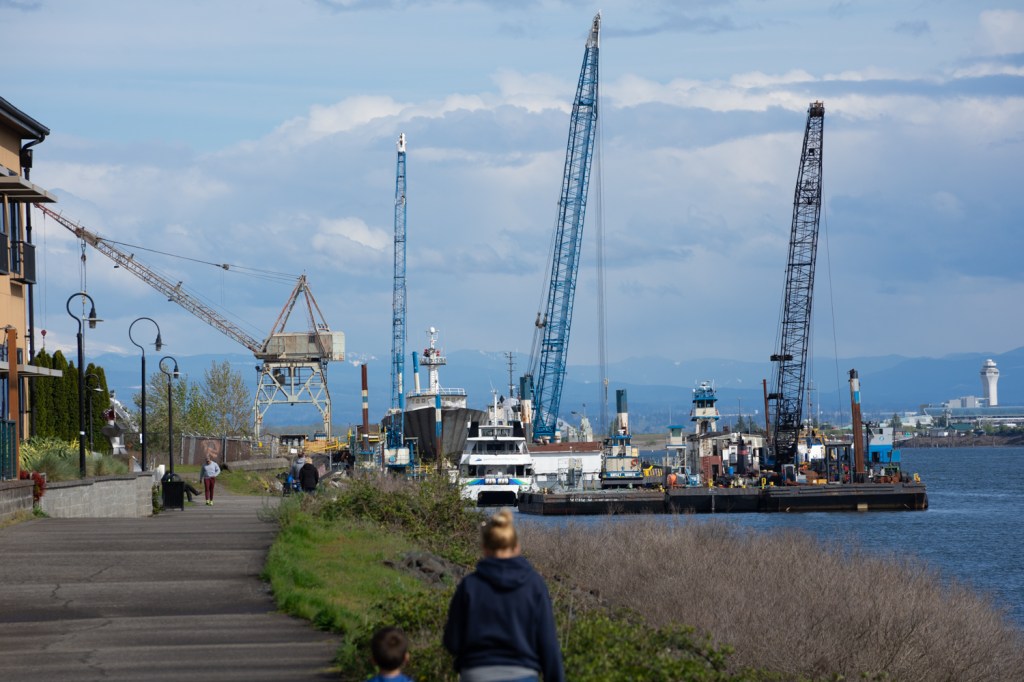
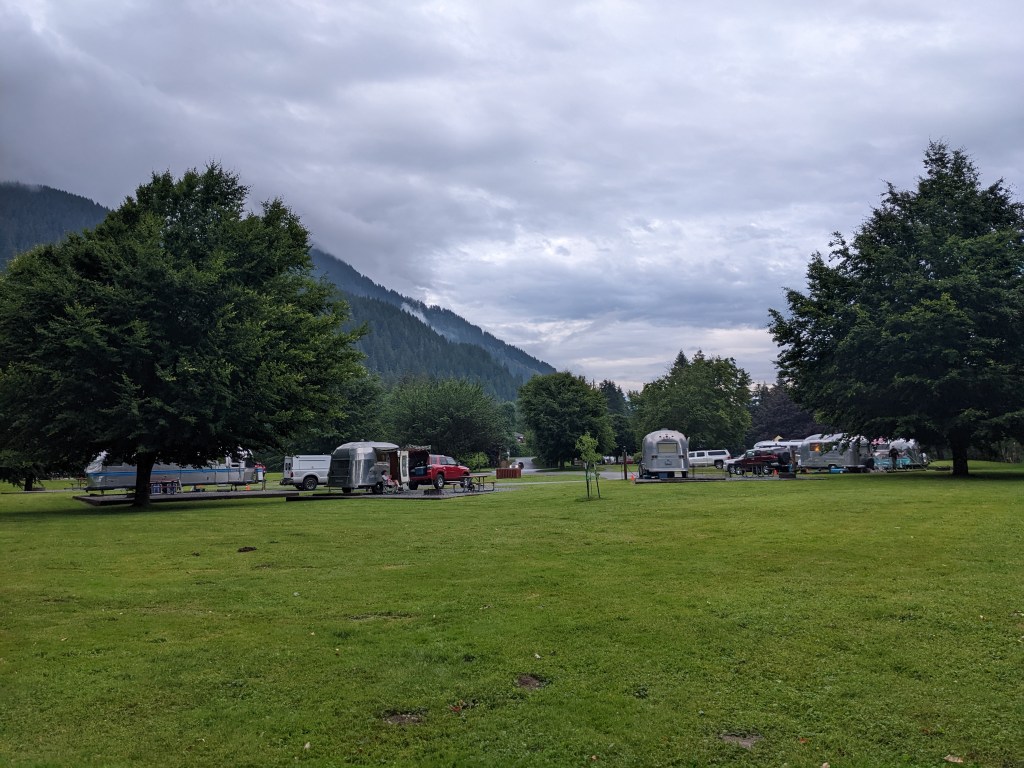
About a week after returning from Camano Island, I had fixed up the problems I found with my remodel (all minor), and we headed back up North to Rockport, WA for a Vintage Airstream Club rally. It was at Howard Miller Steelhead Park, a beautiful county park right on the Skagit River. We had two loops mostly full of Airstreams, with a big field and picnic shelter in the middle.

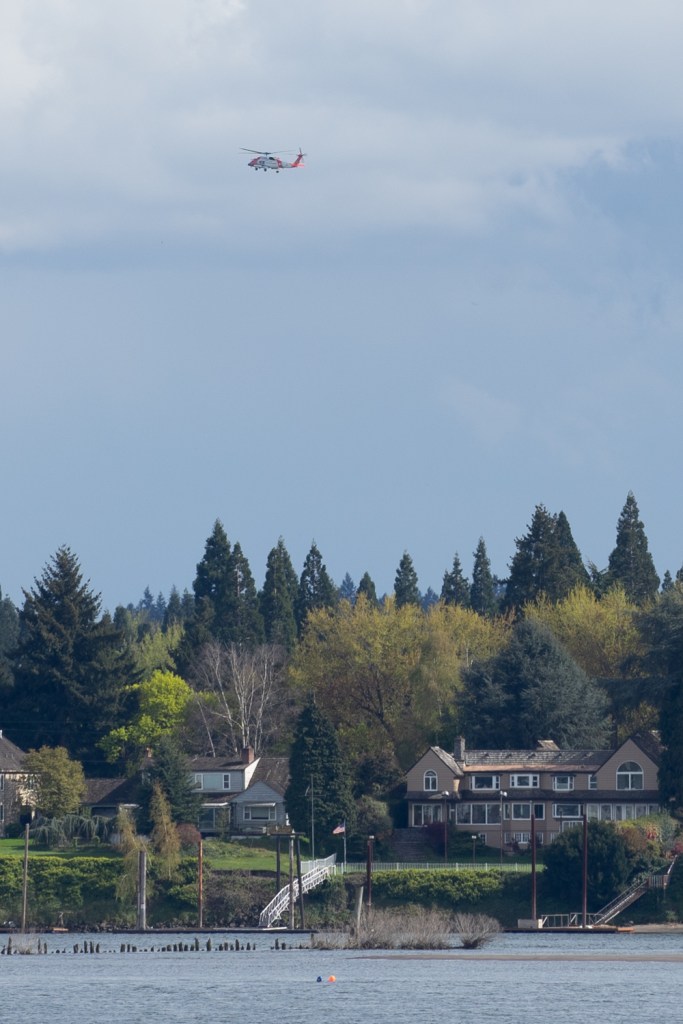
I was hoping to get some fishing in, I brought my fly rod and gear, but the water was so high from the spring rains, there were no banks to fish from!

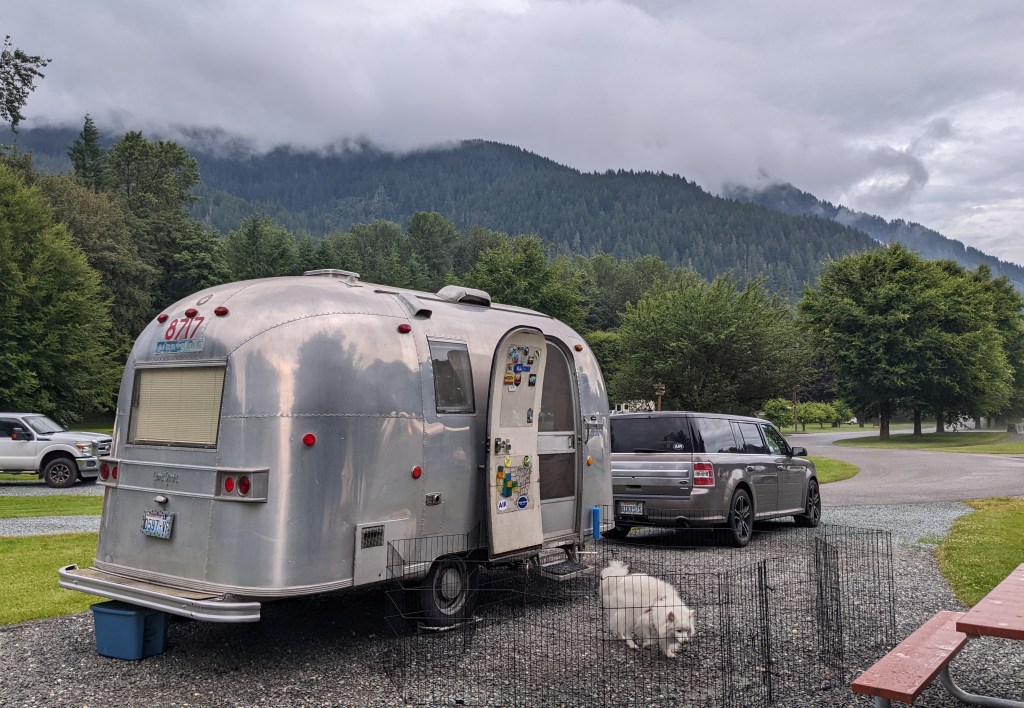
The hills around the campground were beautiful, with their heads in the clouds.

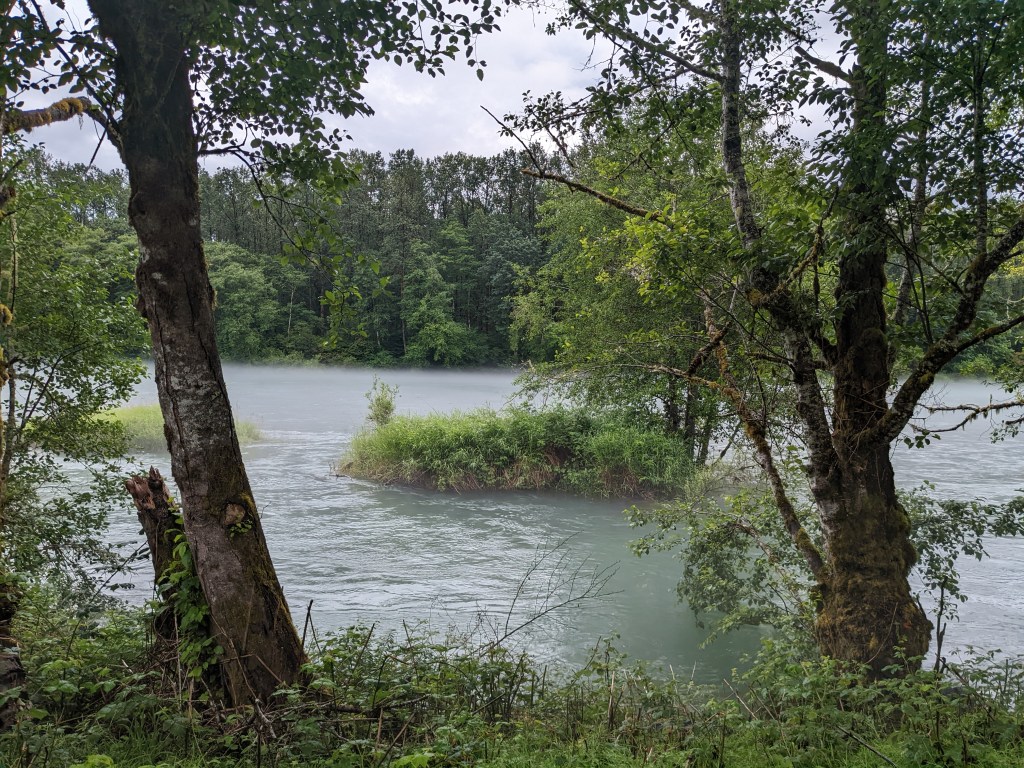
This is at a nearby campground we explored while wandering. Beautiful moss covered trees!

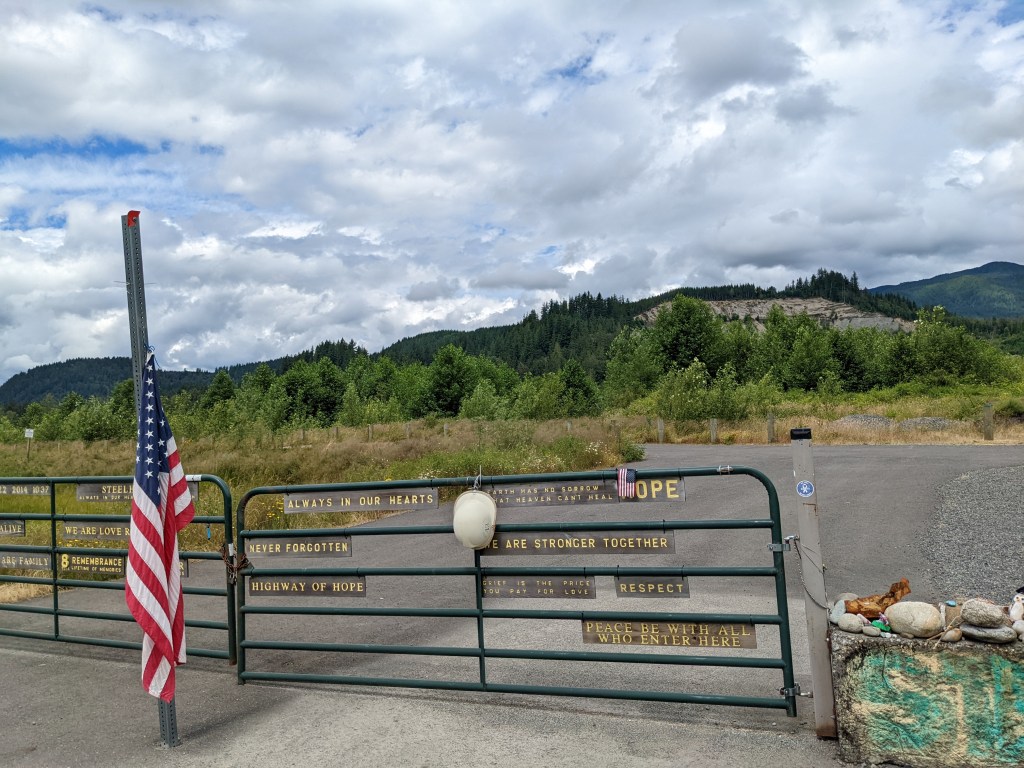
We stopped at the Oso Landslide Memorial. I remember watching this on the news. It’s so sad. Such a beautiful area, my heart goes out to those people killed, and the survivors, of the sudden, enexpected landslide that wiped away their neighborhood. That hill in the distance is where the land slid off the face of the hill, and came all the way out to the highway behind us, wiping out everything in its path.

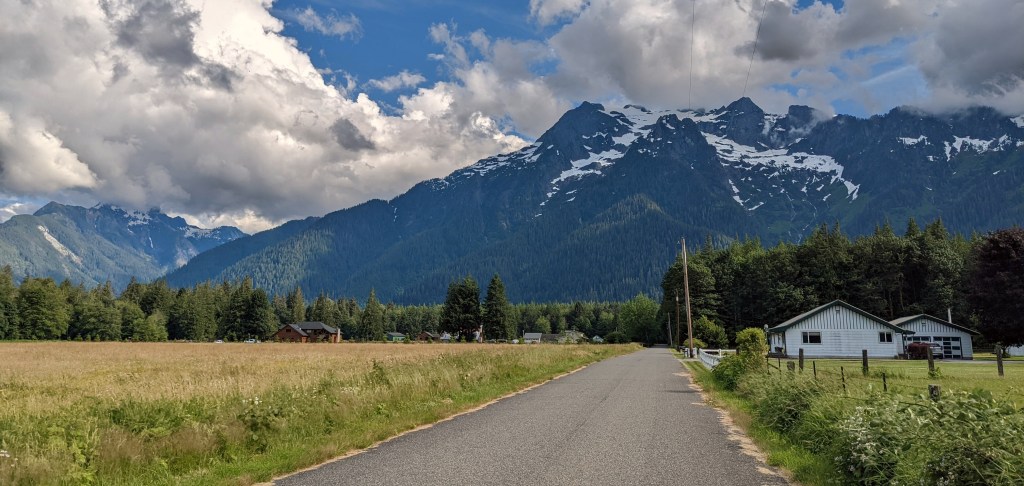
I don’t know what this mountain was called, I was thinking it was White Horse or something. There are amazing mountains everywhere around here. We headed South and did a loop drive around through Granite Falls to Arlington on Hwy 530. At one point we stopped for a quick nap and I took Navi for a quick walk, and there was a deer right by the road watching us! We stopped for lunch at a little thai place in some town and Navi was able to join us on the patio.

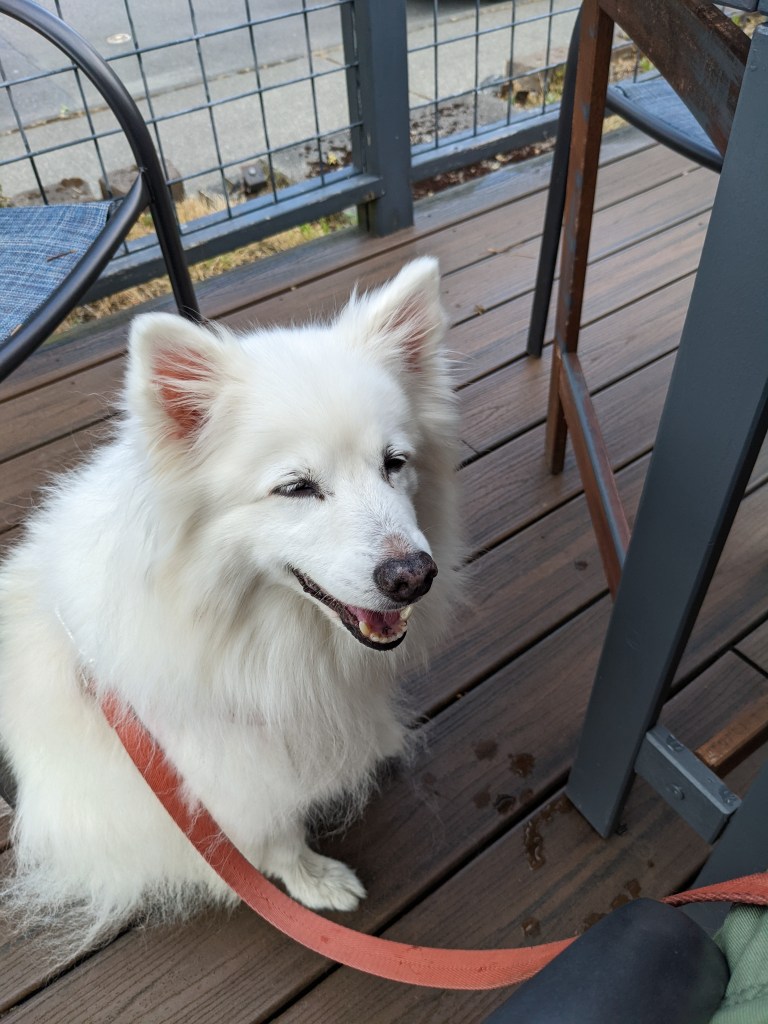
Her first time eating out!

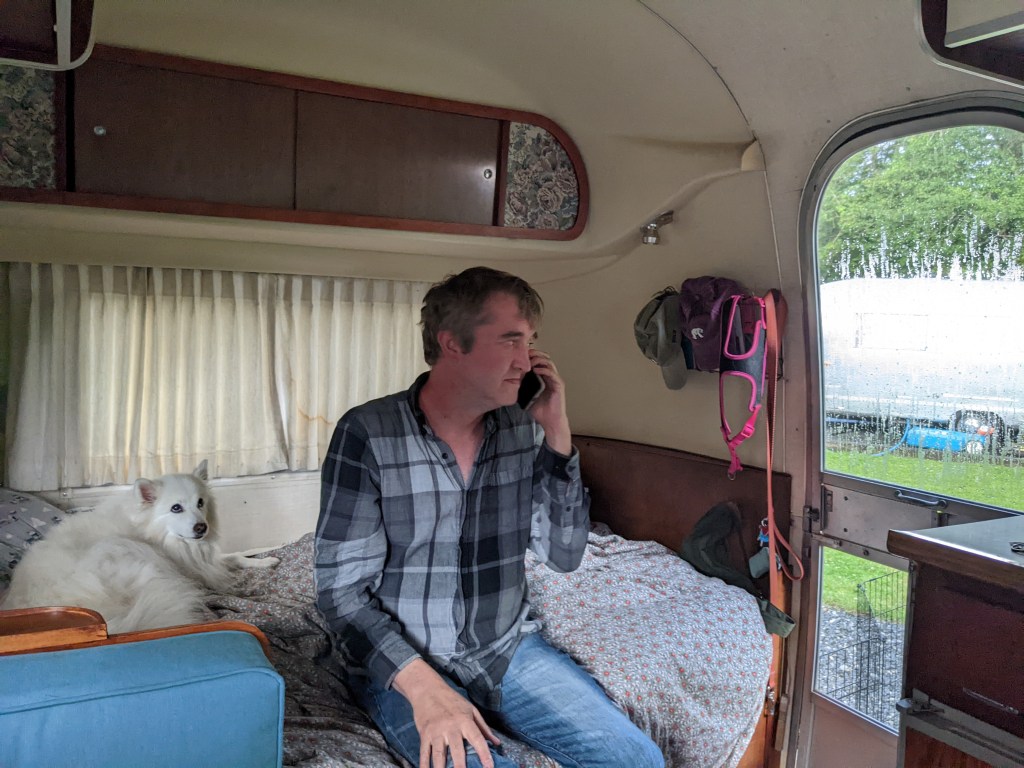
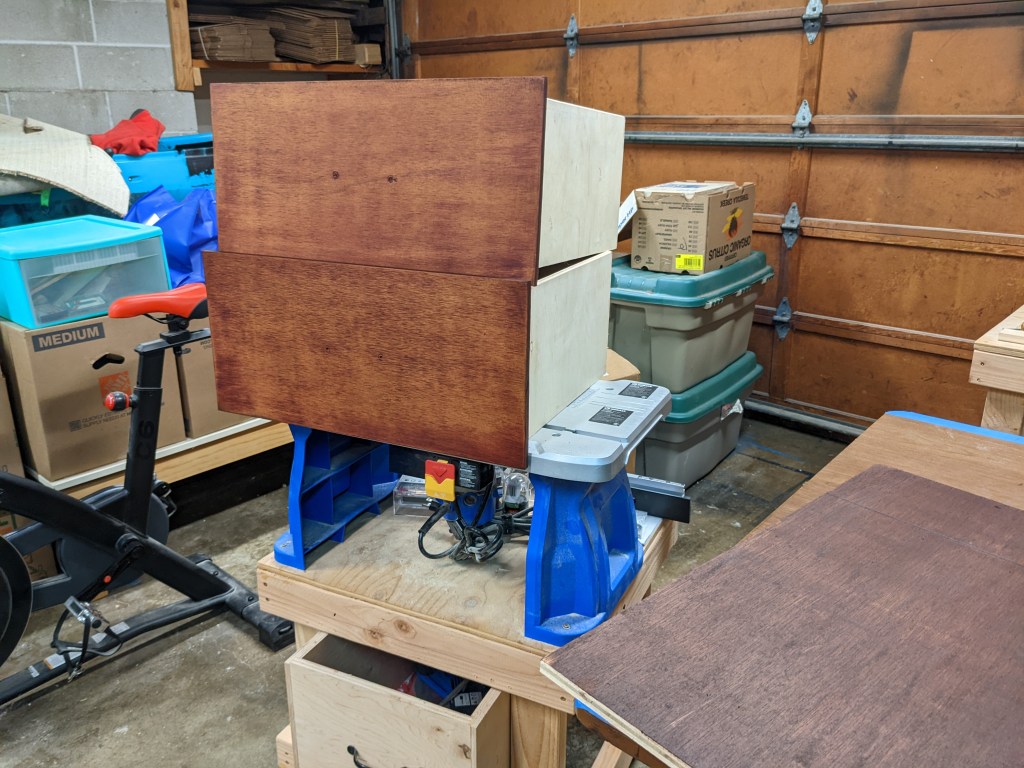
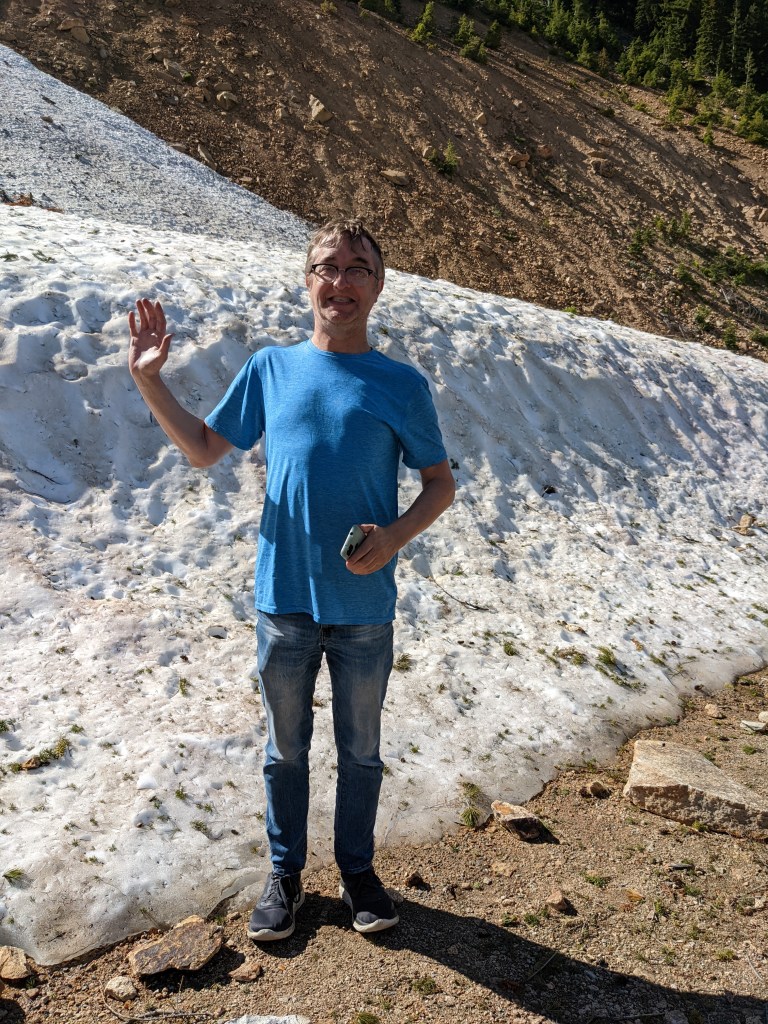
I think this was Dave after we got back from an afternoon of wandering, doing tech support for his Dad.

The next morning Dave woke me up at 5:30am to tell me there was a siren going off! Indeed, it sounded like an air raid siren, Id never heard anything quite like it!

It went off for a couple minutes then stopped, and silence! What does that mean? Was the river next to the park about to wipe us out? Did we need to evacuate? I looked outside and expected to see people standing around discussing it, but nobody was up.

So I dressed and took Navi out, and saw lights on in a neighbor’s trailer and knocked, and asked if she knew what it was, and she said she didn’t, but figured we would hear more if it was important. I tend to think a siren is always important!

So Navi and I wandered down to the next loop where my friend/coworker Janet was camped, and knocked to see if she was up, and she was, but she didn’t know anything either. Meanwhile Dave was looking online for emergency alerts and couldn’t find any. I ended up chatting with Janet about work and stuff for a bit.

Later that day my neighbor had gone into town and bought something at the hardware store, and the clerk told her a log truck had crashed, and the siren was how they call the volunteer fire dept out! Mystery solved!

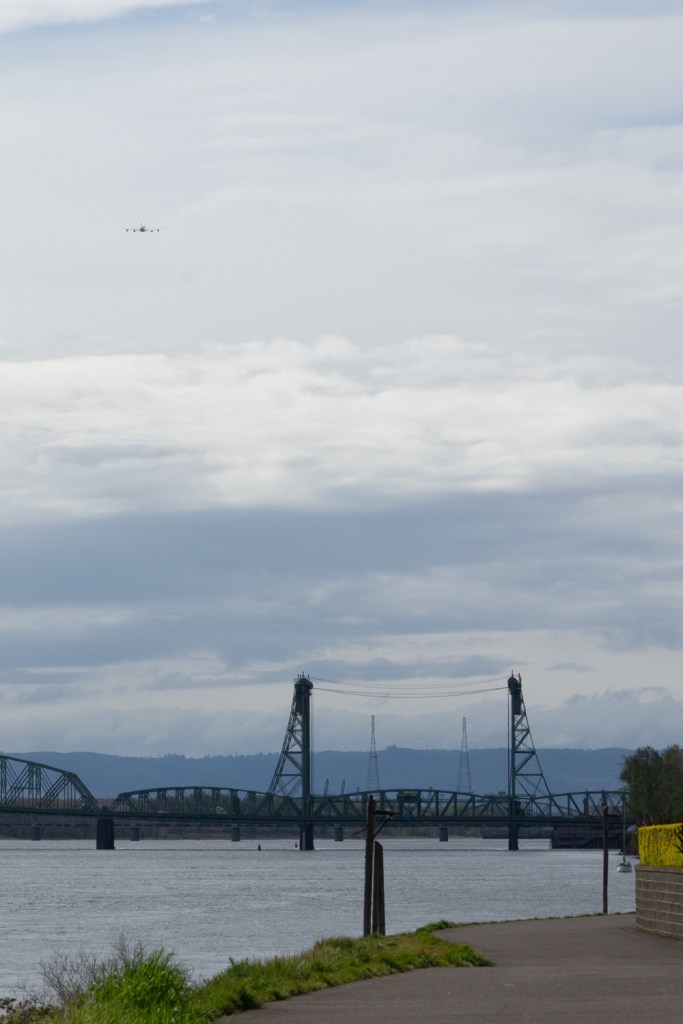
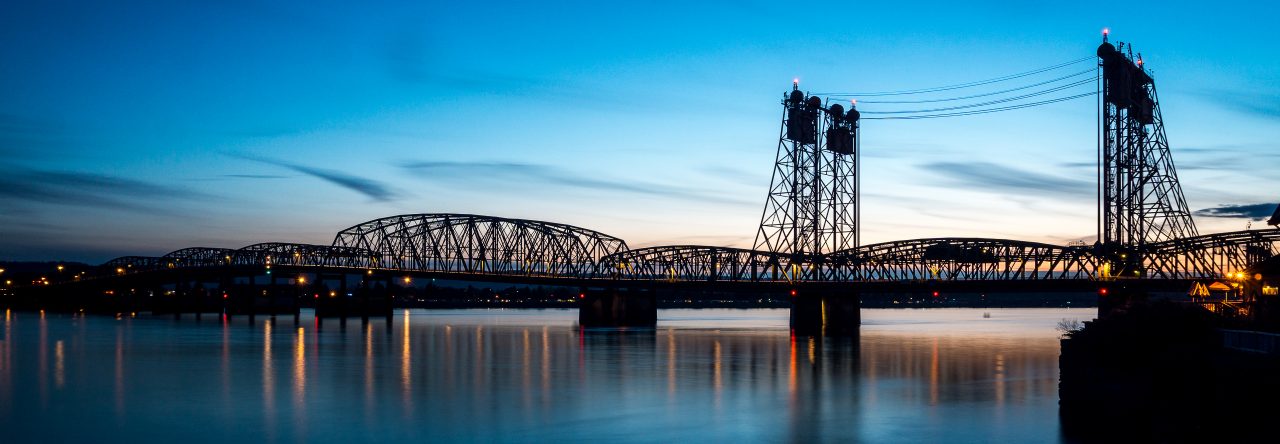
We decided to head East on Hwy 20 and explore more of the North Cascades National Park. Last time we were here we went as far as Diablo Lake, and turned back. Well, it turns out the best roadside views are juuuuust past it: Like, literally around the next bend.

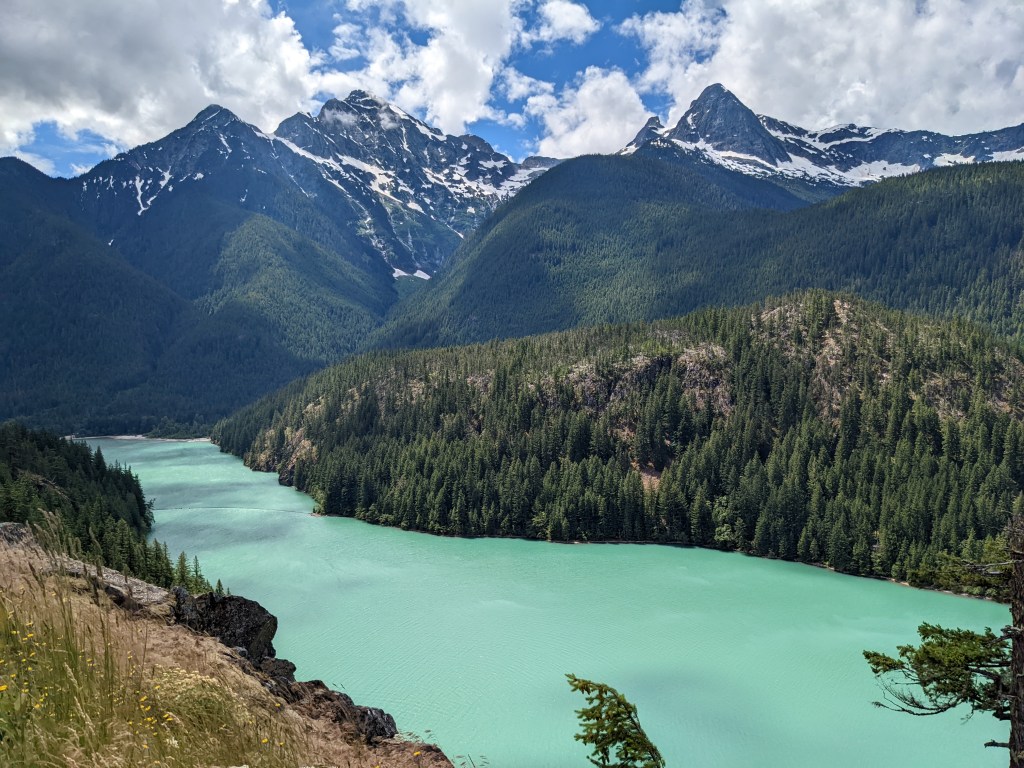
Oh my goodness, so pretty! The turquoise water is caused by glacial runoff. The mountains are so high and craggy! And this is only half the view!

Stunning!

Looking at the tourist brochure, I saw something called the Liberty Bell, and I wanted to see that too, so we kept driving. The good stuff is always just a little bit farther! And when would we ever be out here again? We kept driving until we were on the dry side of the state.
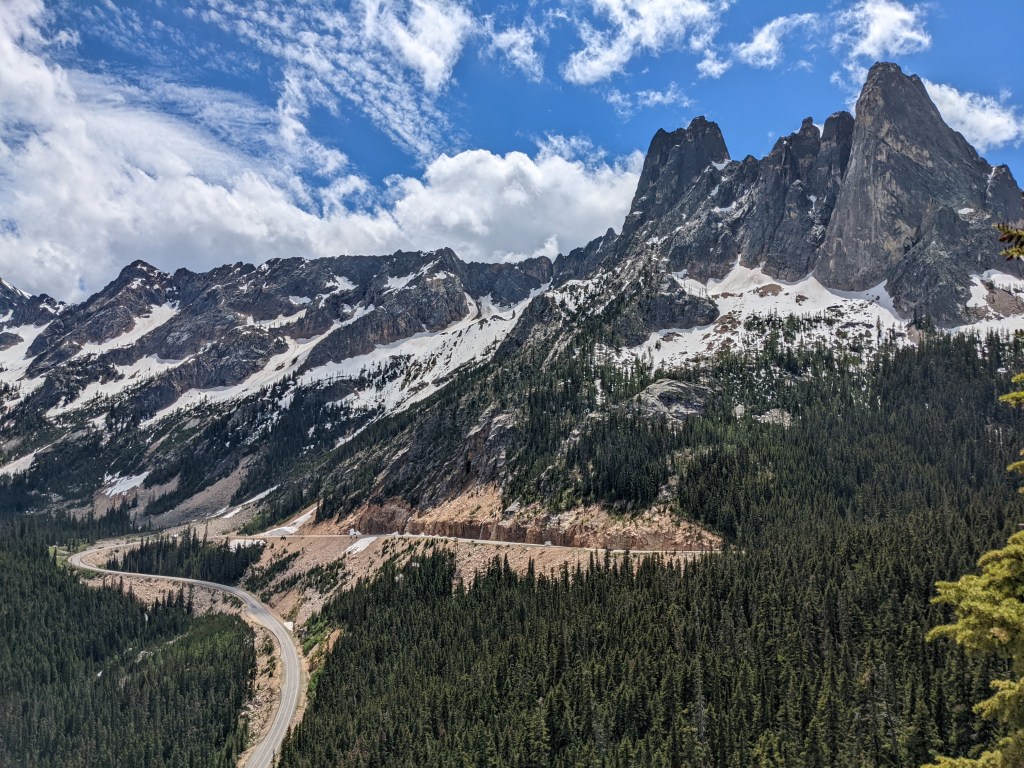
Totally worth it!

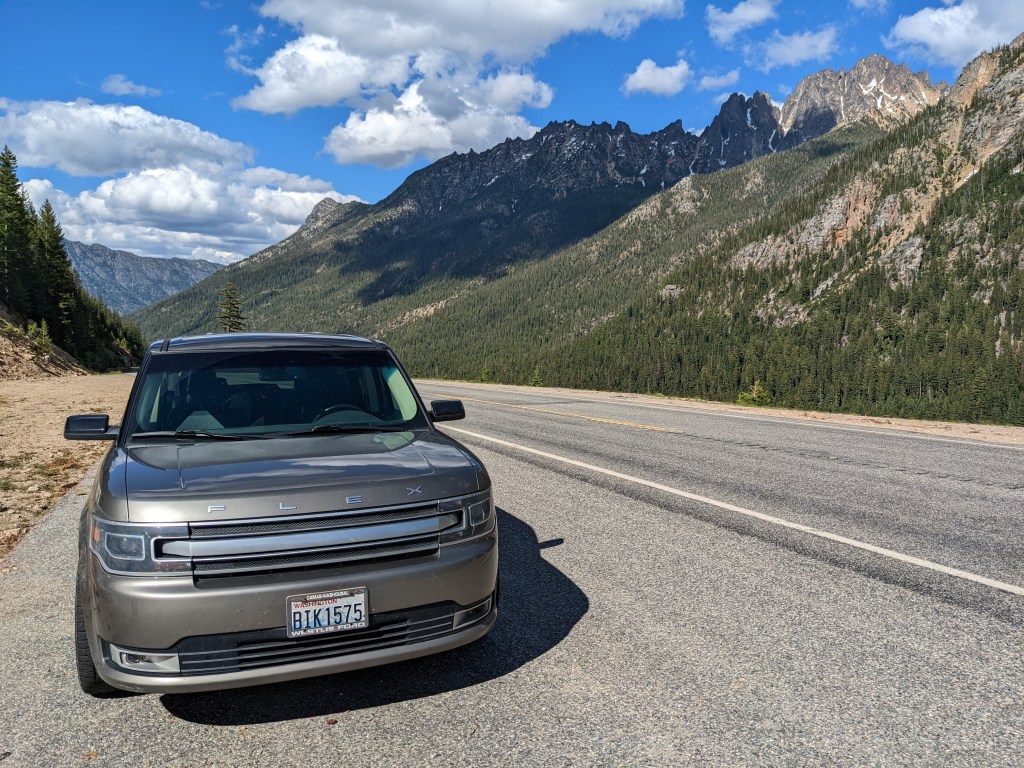
We stopped at a roadside viewpoint, and Navi did great walking around all the people, even with the narrow pathways at the stop.

We went all the way to Winthrop for lunch. It’s a little old-timey looking tourist trap. Old buildings and wooden sidewalks. It was packed even though it was a Friday. We got a lunch and went and sat in a shady public area with picnic tables to eat. We could watch people playing mini-golf down below the deck. And of course, on the East side, it was HOT, so I tried to keep Navi comfortable.

On the way back we stopped to play in the snow. I couldn’t believe there was still snow!

Dave being a goofball

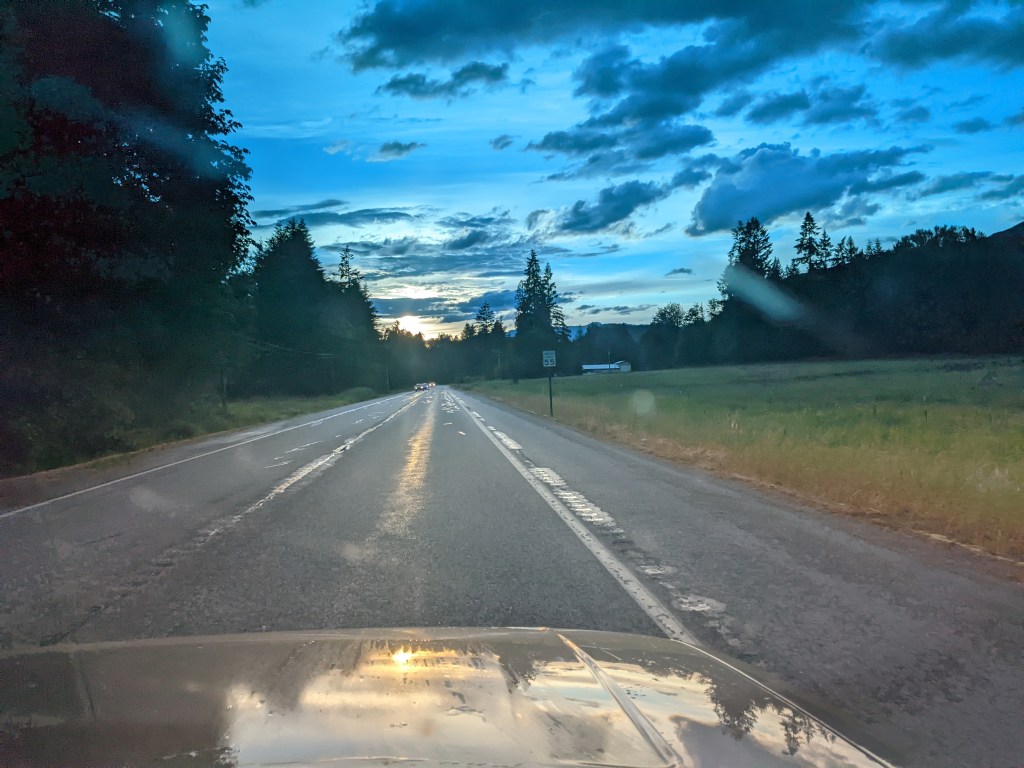
We got back too late to join our fellow campers for potluck, but boy did we have a full day!

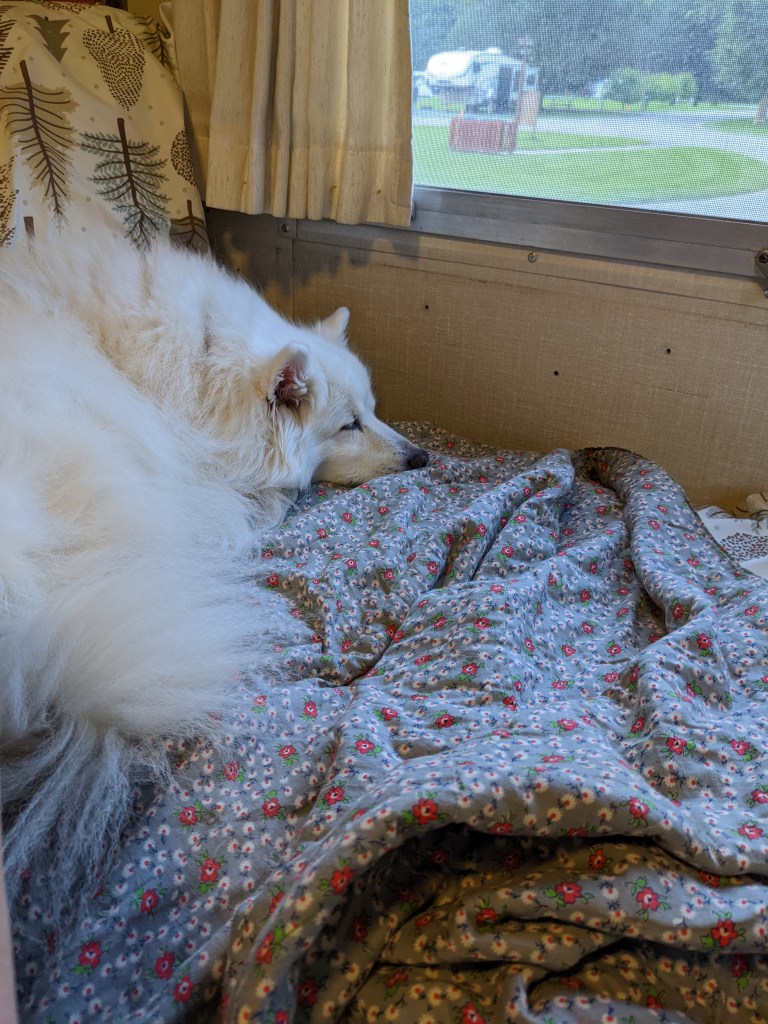
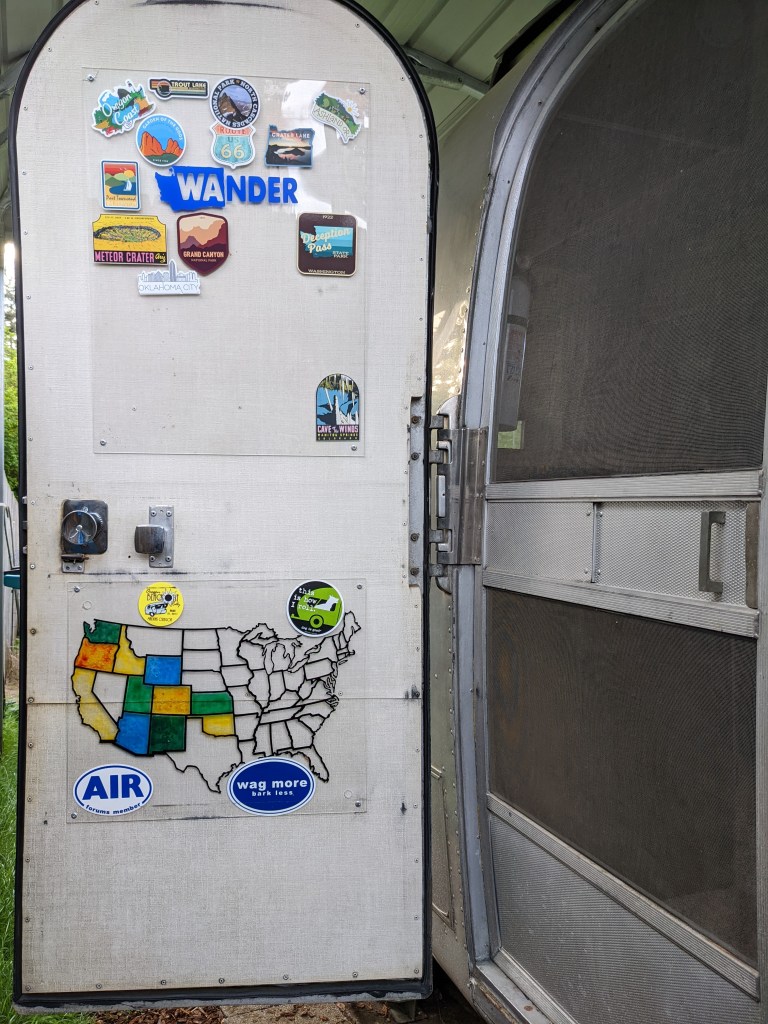
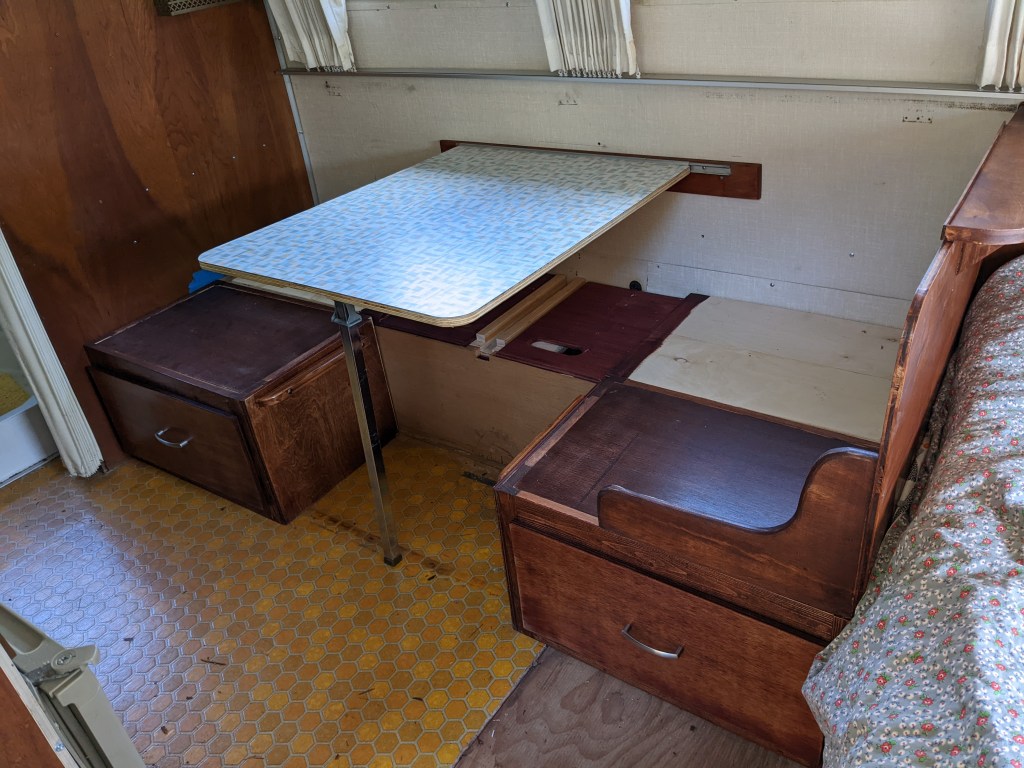
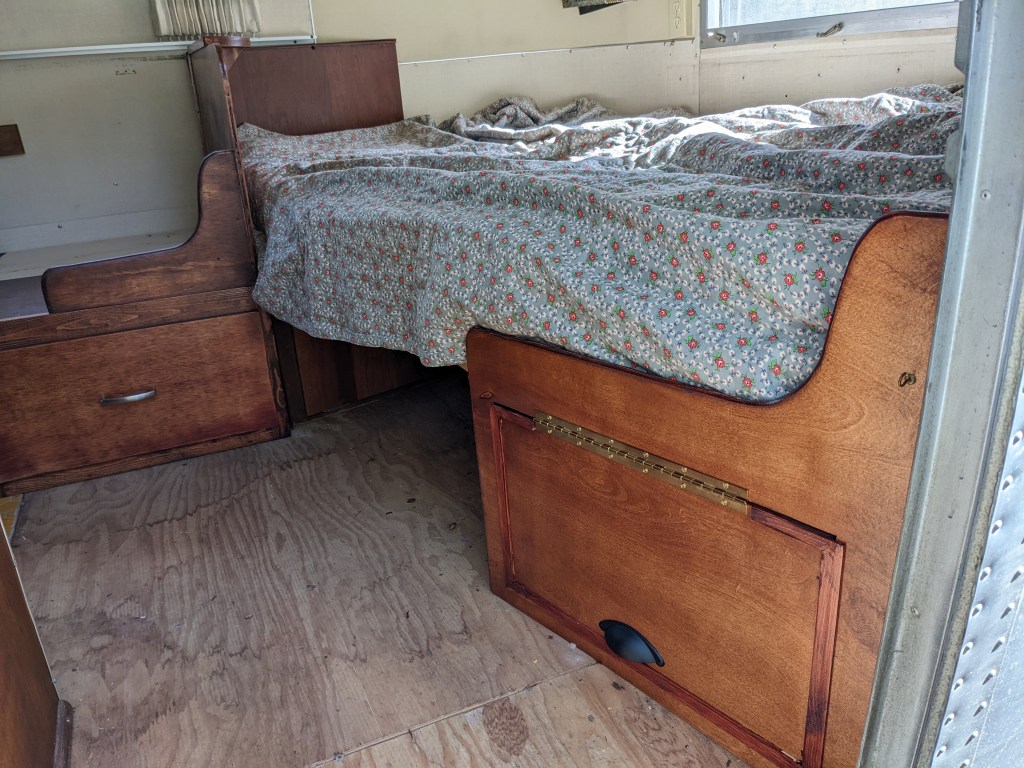
Navi did super on this trip, but by the end she was getting pretty tired of the whole thing. Tired of strangers coming into HER trailer to check out the remodel, tired of people trying to pet her, and tired of going for rides in the car! She really did good though. It is asking a lot of her.

Concrete is just down the road from Rockport, and they are, obviously, very proud of their concrete.

On the way home we stopped at a McMennamins and thought we would just grab lunch to eat in the trailer, but then saw they had a patio, and dogs were welcome! So Navi got to eat out for a second time, and she had a nice safe little corner next to our table. the hostess brought her a little cup of water, and even came back with a piece of bacon for her later!

So other than getting through all the usual Seattle traffic (which runs roughly from Everett to Centralia it seems) we had a nice safe drive home, and another adventure was in the books!

Camano Island

Our first planned trip with the newly remodeled trailer had to be scrapped because the Flex broke down and was in the shop having it’s rear end worked over. But finally we were able to make it out and try somewhere new – Camano Island, WA.

Because it was close to July 4th, Scott & Sherry were out camping, so Navi got to go camping with us. She doesn’t get car sick anymore, but she really doesn’t enjoy it, so we try to leave her home as much as possible, but this time she was trapped with us.

We got an amazing spot at Camano Island State Park. No hookup, and it could only fit a smallish trailer, but it was perfect for us, and look at that view! The park was pretty full, and this mid-week opening was the only one I could find all summer.

This spot was tight! I would not have wanted to try and squeeze a big trailer in there, the spot was curved and uphill. It was tricky even with the tiny trailer. The tow vehicle ended up side by side with the neighbor’s picnic table, but our spot, being behind the trailer, actually felt very private. The only thing we would have enjoyed more was if there weren’t so many mosquitos!

The new layout was a hit. It was really nice to have a bed always available for lounging, and the table for meals.

What a view from the door!

It’s hard to see but if you look out on the horizon you can see Mt Ranier.

We really enjoyed watching the boats go by on the straight. We spent a day cruising around the island from end to end, found a nice park to picnic in with a view one day. Another day we picked up lunch at a nice resteraunt at the golf course and took it to a nearby beach to sit on the logs and eat, but it was a bit awkward. I guess we are grown-ups now, we’d prefer a picnic table, at least! Still, we had fun exploring.

Seattle, on the way home. I always get a kick out of seeing the Space Needle!

Adorable dog planter

It’s rare that advertising works on me, but I saw an ad for this planter online and within ten minutes I had hunted down a seller (the ad was from a shady source) and bought it off of Etsy. After all, a Samoyed is essentially just a big Eskimo. I had to have one!

I didn’t realize PDFs have a mode of printing that allows you to print a large document, like these plans, and stitch multiple sheets together. I did it for this set of plans and it worked perfectly. Since I will be making more than one of these, I also decided to try tracing the patterns onto some extra lexan I had laying around and cut them out of that using the scroll saw.

The end result was reusable lexan patterns for each piece.

I traced the patterns onto a 3/4 piece of pine I bought for the project. One piece of 48″ x 10″ pine did the trick. I carefully cut them out with my jigsaw. It was too thick for the scroll saw, and a band saw probably would have been faster, but I don’t have one of those yet.

Oh man, it’s already cute!

Paint paint paint and start gluing stuff together.

And finish it off by painting the details

And with a jaunty little head tilt, it is just as adorable as I’d hoped! First one goes to my friend Sherry, and I’ll make one for our patio as well soon.

This pattern is adorable and could easily make a variety of dogs. Paint on a different coat, or swap out the fluffy tail for a skinnier one. I will definitly make more of these cuties.

Airstream Remodel Complete

And here it is! Just for a quick reference, here’s how it looked before – Dinette in the front, couch/pull out bed on the side:

And now…

So there we go! It took me all winter, but I think the result is a layout that looks like it could have come from the Airstream factory and will be more practical, and more comfortable to use. Hopefully the composting toilet will prove it’s worth as well! Next winter I will do the kitchen countertop to match the new table, but this time I did all I could with the time I had available, because now it’s time to go camping!

Airstream Remodel (Part 12) – Finishing up the details

Just a few things left to go – first off, venting the composting toilet.

The plan is to vent it out this hole in the floor, which is where we used to feed the electric cord out of the utility area. The rim on this hole stands up about 1/4 inch, which is a little bit of a problem.

So I measured it and cut a 1/4 inch riser for the fan – just enough to lift it up and clear that lip.

I took that out and it fit perfectly over the hole.

Ignore that gaping hole in the floor, it is stable. That is the original floor, everything forward of that was replaced in 2004.

I attached a couple more wires to the fan so it would reach over to the junction block. I wrapped them in a plastic wiring loom to protect them and tucked it into the channel below the door opening, and fastened them down to the floor.

Over at the junction I added them to the last open spot on the fused block, and attached the ground to the ground block. I also finished hooking up the 12v plug over the bed and got it plugged in and fastened down as well. I don’t want anything shaking loose while going down the road.

I know it looks chaotic, but it’s all pretty stable. The stupidest thing there is that towel, which I put there to soak up some water from a tiny leak in that water hammer device, but putting the towel under it lifts it up just enough that it makes it stop leaking, so as long as the towel stays there, everything stays dry!

Looking down on my new fan install, I was able to hook up the vent tube, which goes to a section of hard PVC back to the battery compartment:

The flexible tube then goes through the wall into the closet:

And goes out through a hole I cut in the fiberglass bathroom shell to the toilet. And I’ll just add that hole was hard to cut, in fact the hole saw gripped that fiberglass and STOPPED and the drill body turned so hard I thought I’d sprained my wrist, but it seems to be ok. Scared me though! I turned the clutch way down on the drill to stop it from doing that to me again as I finished the cut, and went at it very gently.

And then the vent attaches to the composting toilet. The fan at the other end will pull air from the toilet, to help keep the composting container at the right level of moisture. It’s also supposed to help keep bugs from finding it. There are screens on both the intake on the other side of the toilet, and inline in the ventilation hoses close to the fan. So that completes installation of the composting toilet.

While I was hooking up the fan, I looked over and decided that the new electrical outlet needed to be sealed around the edge to help keep water from leaking in and getting inside the walls. So I carefully put a bead of Par-Bond around it, which is an aluminum colored sealant.

The cushions arrived last week, so now that everything is finished, I can do a quick clean up, get the water refilled and check for leaks, and put everything back together.

Airstream Remodel (Part 11) – Composting Toilet

Let’s talk about toilets! Our Airstream’s original owners manual from 1968 explains how to find a campsite by pulling up to a farmer’s house and asking them if you can have a spot in their field for the night. And it also tells you how to dig a ‘gopher hole’ and put your trailer over it so the black tank can empty directly into it! And because this is how they camped in 1968, they must have thought they wouldn’t need a very big black tank – 8 gallons ought to do it.

Well, in this modern world where you can only dump at dump stations, 8 gallons is not going to last you very long when camping without hookups, which is how we usually camp since we frequent State Parks and other semi-wild places. Even when camping for a long weekend at Trout Lake, the toilet would be full by the end of the trip. It was definitly limiting how long we could stay without needing to hook up and go find a dump station.

Over the years I have heard more and more people talking about Composting Toilets. Most people sing their praises, and say they would never go back. Years ago when I first started looking into it I discovered Gone With The Wynn’s videos about their composting toilet on their RV which they used fulltime.

I was pretty convinced that this seemed like the thing we needed to free us from Black Tank Anxiety on our trips. From what I was hearing, although you still have to empty the urine tank regularly on trips, the poo tank can go all summer for people who are only occasional weekenders, as we are.

So last year I ordered an AirHead Composting Toilet. There was a long wait to get it delivered, but that gave me time to ponder how to install it. The bathroom in the Caravel is small, and the black tank is above the floor, and the bathroom has a fiberglass shell that goes above it, and the toilet sits on top of that. So the toilet is up high, and the composting toilet is even taller. I was going to need to not only mount the toilet somehow, but I would need a footrest as well.

The other consideration was that I did not want to permanently change the original toilet mount. Because I might end up hating the whole composting toilet thing! Or I might sell the trailer someday and the next owner might not want a composting toilet. So I wanted to mount this in as non-destructive a way as possible.

I removed the toilet and plugged the hole with a device that is made for pressure testing pipes, but it worked just as well to plug that hole, and it tightens down, so it was sealed.

I started plotting how the toilet was going to fit in this space. I used cardboard to mock up a platform, and tried it on to see how it felt to sit on it. I wanted to push the toilet back farther, but you need a little room to move around, so really it had to come forward a bit. Also you need room to turn the crank on the side.

I was concerned about building a platform out of wood because it is bound to get wet from time to time. There is a place over in Portland called TAP Plastics, which is where I got the thick Lexan for my front window guard. I went over there with my template and talked to them and ended up buying a 3/4 inch thick industrial cutting board plastic. This stuff is very stiff, it doesn’t flex at all, and it can be cut and drilled like wood, and of course will be easy to clean and sanitize. It is waterproof, so if we wanted to take a shower in the wetbath (we never do, it’s too small), it would not get damaged.

I cut it to shape, and built a support to lift it up above the existing toilet flange. Then I added a couple supports for the footrest where it will be touching the existing fiberglass tub.

I mounted it using the same 4 screws on the flange that the original toilet mounted with. I made inset holes enough for the nyloc nuts to be recessed so the toilet can sit on a flat surface. Then I mounted the toilet/urine bucket brackets, and screwed the whole thing down. It is nice and solid.

Next I have to figure out how to mount the venting tube so it can vent out through what used to be the electric cord hole up in the utility area. Looks simple enough!

Airstream Remodel (Part 10) – New Carpet

The old carpet was 20 years old and had done it’s job, it was getting pretty rough. Plus the new dinette requires carpeting in places that used to be covered up, so new carpet was needed. I went to Lowes and found pretty much the exact same carpet in the rolls of carpet they have there against the back wall, and for $40 got a 12 x 7 piece cut and rolled up.

I made room on the back patio as it is the only place big enough to roll this out. I put it face down, and laid the old carpet on top of it. Then I traced around the old carpet with a sharpie. Then I went to the trailer and carefully measured the new dinette and marked it on the carpet too. I measured the width of the aisle in several spots and ended up with what I thought was pretty close.

I don’t know why it looks so dirty in the picture, it was quite clean!

And then I cut it out.

When Dave got home we wrestled it into the trailer, lined up the side that went against the kitchen cabinet and entryway, and it all kind of fell into place, leaving just a bit of trimming around the new dinette.

And I’d say that looks like a success!

We are just over one week until our first Airstream Rally of the year, and just a bit of this and that left to do!

Airstream Remodel (Part 9) – Exterior Electrical Port

The current setup for plugging the trailer into electric when parked is to run an extension cord down through a hole in the floor and bellypan and plug that into the outlet. One of the downsides to this is that there is a hole which mice can use to climb up the cable and enter the trailer. So over the years I try to plug it by stuffing it full of steel wool scrubbie pads or whatever, but it isn’t a great solution. Also, feeding that extension cord out is a PITA, it is thick and stiff and hard to wrestle down through that hole, and so I usually just use a lighter weight cord which I can run up through the hole. You know what, it would be nice to just eliminate that process all together. So I purchased a marine exterior electrical port.

NOTE: Do not take my word for how to do anything, I just followed the instructions. I am not an electrician!

Step one – I cut a hole in the trailer. There was not much space to play with, but it just fit between the existing electrical fuse box, and an interior rib.

Honestly, getting up the guts to drill the hole was the hardest part, and then I had Dave do it! He cut through the interior aluminum first, then confirmed there was no wiring in the way, then continued through the exterior aluminum.

Next, install the mounting bezel. I don’t know why I used pop rivits, I have Olympic rivits in my toolbox, I just forgot about them.

So far, so good. Now, cut off the existing cord, which is already wired into the fusebox – this way I don’t have to open up the fusebox and do anything with it. The color coded wires in the cord matched the color coded ports in the socket, so no problem wiring it up.

Getting the whole thing snapped back together was tricky because I think the cord is thicker than intended for this outlet, but I got it.

Fastened down, nothing here is going to be moving around. That wire wrapped up behind the box is a pre-wire for an air conditioner, it’s not hooked up to anything.

The only trick fastening it down was that there were pre-drilled holes in the bezel, but because I turned it a little to miss riviting into the rib next to it, the holes did not line up to have the port oriented the way I wanted it. I drilled my own holes and got it mounted. I pre-painted it silver so it wouldn’t stand out so much.

Next – attach the new connector to the remainder of the cord.

This was also pretty self explanatory. No issues.

The new plug has a waterproof casing that screws onto the outlet, so the whole thing is very secure once plugged in.

Another benefit is that now that heavy cord, which used to take up the entire side access area, can be stowed in the rubbermaid tub I carry in the car with other stuff for setup, and that will leave more storage space in the utility area.

One last check to make sure everything is hooked up correctly:

Airstream Remodel (part 8) – Re-finishing the woodwork

After I got the other new pieces of woodwork done, I was so impressed with the color of the new gel stain, and so disappointed in the color of the stain/poly blend I had used on the drawers, I decided to pull them out and re-do them. I wanted to get them right before I fastened the new pieces in place.

This stuff is THE STUFF!

You can see how dark these are comared to the wall, which is original.

I sanded everything down with 60, then back to 120, and then applied the gel stain. After wiping it off, I was much happer with the color.

I continued sanding them down between coats of poly, all the way to 400, then rubbed one final layer of poly on by hand. It is smoooooth now!

One other problem was the dinette seat closest to the bathroom was sitting on the edge of the wheelwell cover. This tipped it forward slightly. Since I had it all back in the shop, I took a dado blade and took off just a bit of the back of the frame to make room for the wheelwell lip, and it worked perfectly. The frame fit back into the trailer nice and flat.

Now I was able to reinstall them and install the backrest for the right side. The stain colors match really nicely!

The backrest matches nicely to the existing headboard.

And the piece by the door looks good and fits nicely.

That is all the major woodwork. Now I need to find some carpet.

Air Force One

President Biden made a trip through Portland yesterday, and I didn’t even realize it until later in the day after I got done with work and looked at the news. There wasn’t much time left, but I knew exactly what I wanted to do: Grab my camera and my longest lens, and head downtown to get a look at Air Force One as it flew out! I had missed my chance to see it a few years ago, and if we hurried, I might get to see it this time!

We went down to the waterfront by McMennamins, which was on the flight path out, assuming the winds didn’t change. Other folks were gathered up and down the walkway as well, including a very enthusiastic little guy who was VERY excited about it and kept telling everyone!

For a while there was nothing but eerie quiet, because all flights are stopped for a half hour before and after. Normally it is very busy here. We could see lightning off to the east past the airport control tower.

The only thing in the air was this Coast Guard helicopter.

Little bird chillin out in the bushes on the bank.

Time to ponder whatever was going on down there. Looks like a big boat being worked on!

Finally some action, about six of these guys came roaring down the river!

Coast Guard, with guns mounted on the bow! I wasn’t expecting that! There was a fisherman out on the river who moved out of their way, and a big yacht that was heading out and didn’t seem to be put off by the Coast Guard, maybe they just had to stay out of the channel or something.

And suddenly, there it was!

It’s beautiful! I have a crush on the 747 anyway, it’s always been my favorite plane, so distinctive with that second-floor cockpit and four big engines! Listen to it whine! And this particular one with it’s special color scheme, and of course ferrying around the President and other important folks and journalists. Pretty exciting!

What a beautiful airplane!

And just like that it was gone. What a cool thing to see! And I wasn’t expecting the Coast Guard activity to escort it out. That was a pretty neat thing to experience. I’m so happy I got to see it before they retire the 747 Air Force Ones!