
Just a few things left to go – first off, venting the composting toilet.
The plan is to vent it out this hole in the floor, which is where we used to feed the electric cord out of the utility area. The rim on this hole stands up about 1/4 inch, which is a little bit of a problem.

So I measured it and cut a 1/4 inch riser for the fan – just enough to lift it up and clear that lip.
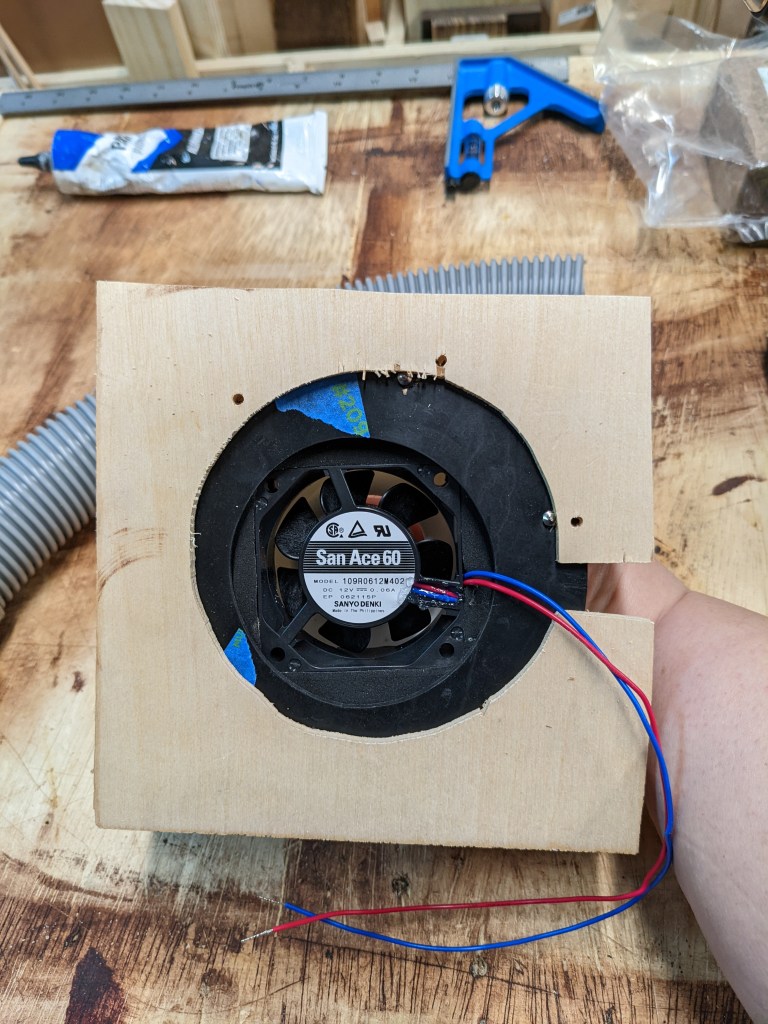
I took that out and it fit perfectly over the hole.
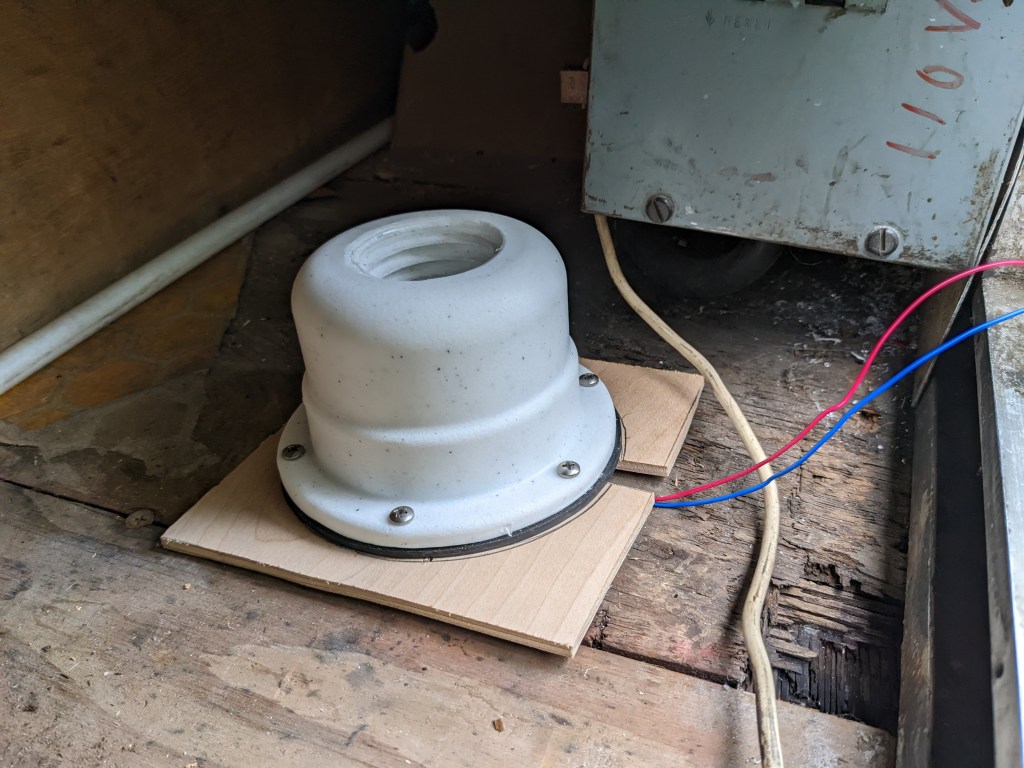
Ignore that gaping hole in the floor, it is stable. That is the original floor, everything forward of that was replaced in 2004.
I attached a couple more wires to the fan so it would reach over to the junction block. I wrapped them in a plastic wiring loom to protect them and tucked it into the channel below the door opening, and fastened them down to the floor.

Over at the junction I added them to the last open spot on the fused block, and attached the ground to the ground block. I also finished hooking up the 12v plug over the bed and got it plugged in and fastened down as well. I don’t want anything shaking loose while going down the road.

I know it looks chaotic, but it’s all pretty stable. The stupidest thing there is that towel, which I put there to soak up some water from a tiny leak in that water hammer device, but putting the towel under it lifts it up just enough that it makes it stop leaking, so as long as the towel stays there, everything stays dry!
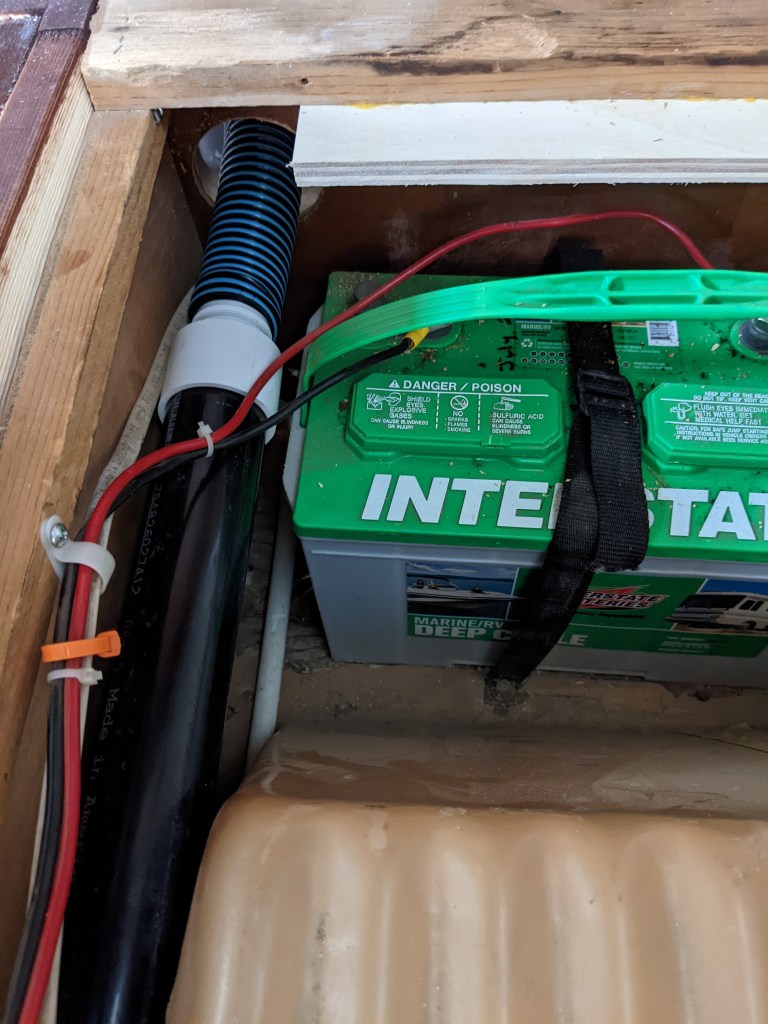
Looking down on my new fan install, I was able to hook up the vent tube, which goes to a section of hard PVC back to the battery compartment:
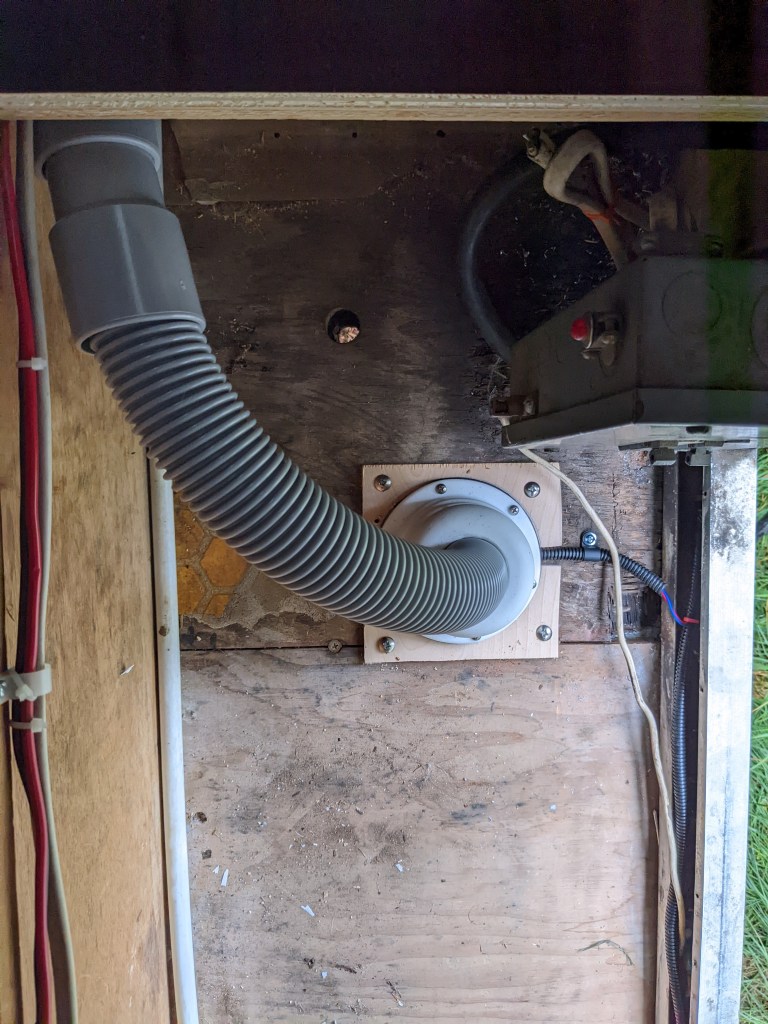
The flexible tube then goes through the wall into the closet:

And goes out through a hole I cut in the fiberglass bathroom shell to the toilet. And I’ll just add that hole was hard to cut, in fact the hole saw gripped that fiberglass and STOPPED and the drill body turned so hard I thought I’d sprained my wrist, but it seems to be ok. Scared me though! I turned the clutch way down on the drill to stop it from doing that to me again as I finished the cut, and went at it very gently.
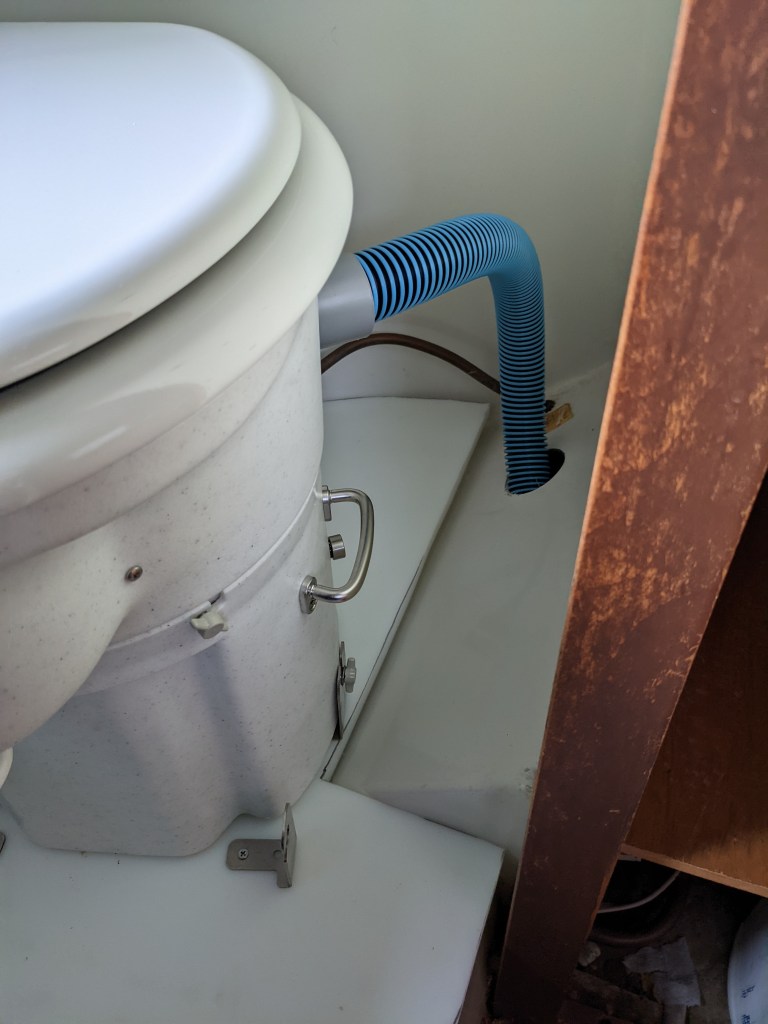
And then the vent attaches to the composting toilet. The fan at the other end will pull air from the toilet, to help keep the composting container at the right level of moisture. It’s also supposed to help keep bugs from finding it. There are screens on both the intake on the other side of the toilet, and inline in the ventilation hoses close to the fan. So that completes installation of the composting toilet.
While I was hooking up the fan, I looked over and decided that the new electrical outlet needed to be sealed around the edge to help keep water from leaking in and getting inside the walls. So I carefully put a bead of Par-Bond around it, which is an aluminum colored sealant.

The cushions arrived last week, so now that everything is finished, I can do a quick clean up, get the water refilled and check for leaks, and put everything back together.
