
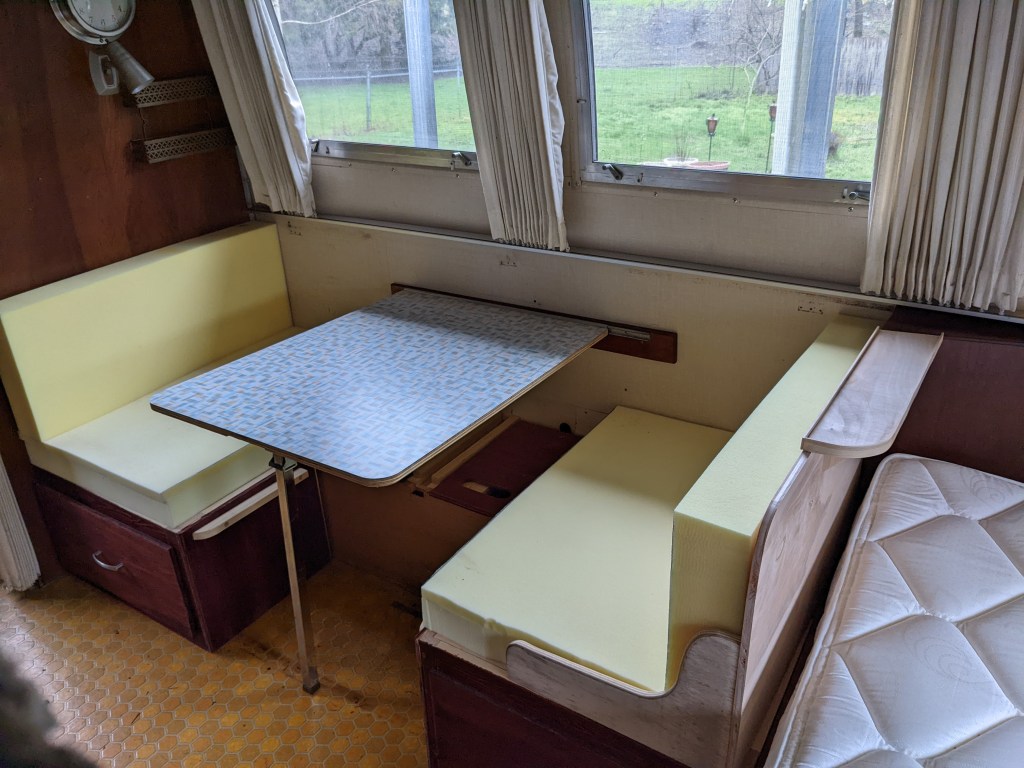
This remodel has required a few new pieces to be built around the new layout, and this one piece by the door, which used to be the end of the original dinette, just needed to be replaced, and pretty much has needed work since we bought the trailer, so it is finally getting replaced. It had many extra holes in it, old repairs, and was delaminating.
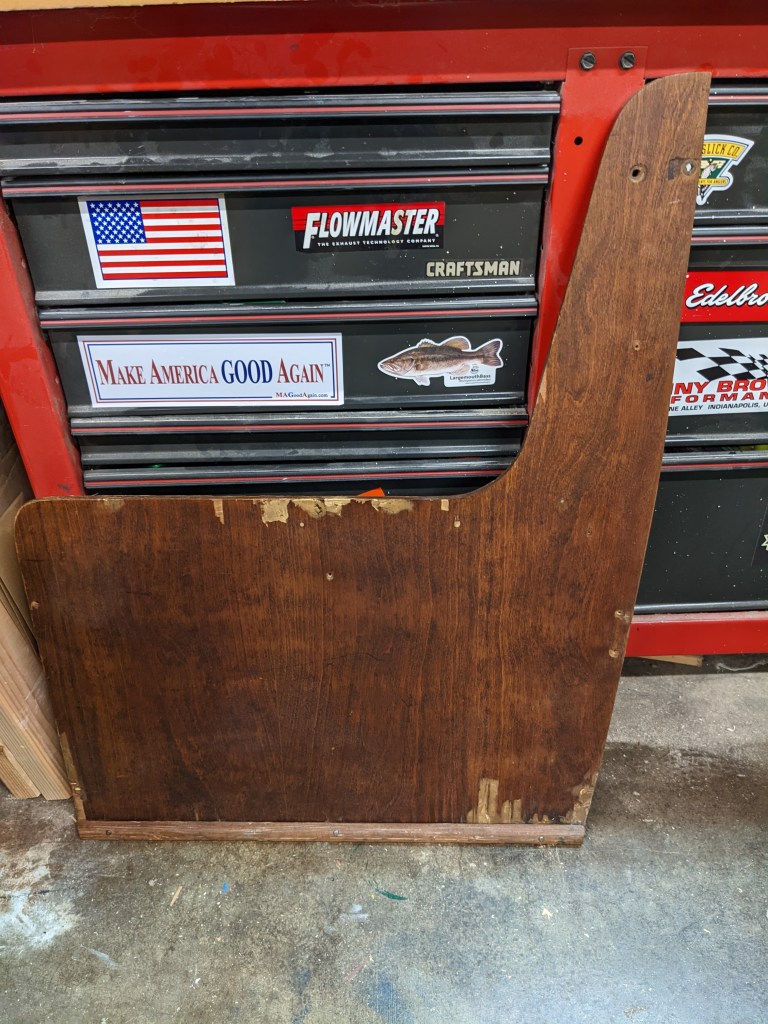
I used it as a template to cut out a new one, but with a shortened top. It doesn’t need to hold in a back cushion like the old one did, so it can be a little shorter. Also, I have always wanted a door there to access the stuff in that storage area. I need to get in there pretty much every time we set up, because I need tools out of the toolbox I keep there.

I stained it with the same all-in-one stain/poly I had used on the dinette seats/drawers, but for some reason it came out terribly blotchy, and sanding and adding more coats was just making it worse, it looked awful!

I asked on my woodworking group and one person recommended General Finishes Gel Stain, so I found some in Mahogany on Amazon (couldn’t find it loca) and waited a week for it to arrive. Once I got that in, I sanded the panel with 60/120/220 and then tried the gel stain.
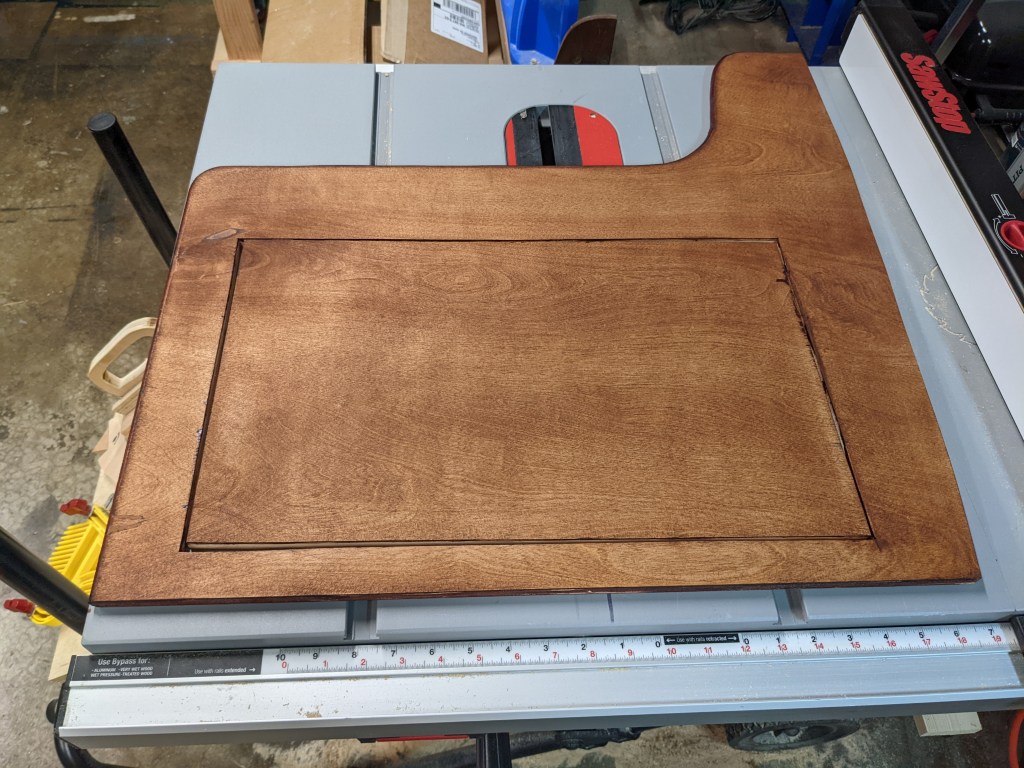
Wow! It’s gorgeous! I was about to give up and toss the whole panel, I can’t believe how nice it turned out!

The other main piece is a new item – the backrest for the dinette. One side is the backrest, the other side faces the new bed and will have a shelf to hold phones and glasses. It will mate up with an existing piece of woodwork that is attached to the wall at the head of the bed, which will have a 12v power socket in it for handy phone charging.
I wanted the shelf to have a little personality, so I decided to make it curved. I cut it out to match the curve on the previous piece, and then took a thin piece of wood and soaked it in boiling water for half an hour to soften it up, so I could bend it to fit the shelf.
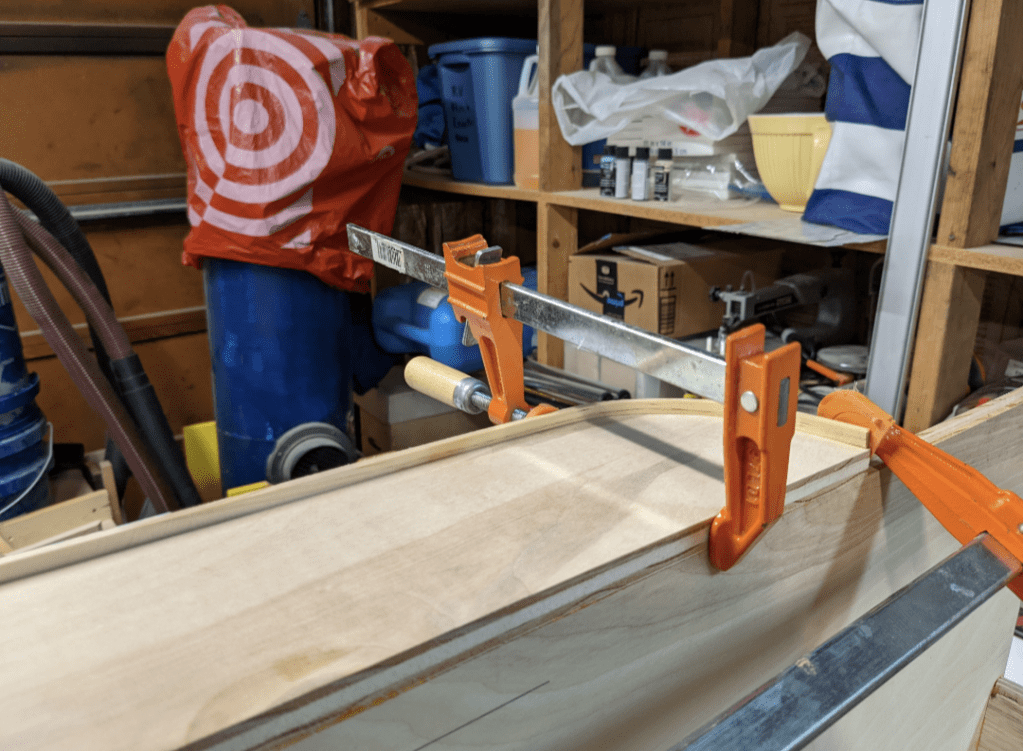
My first time bending wood, I was pretty excited!
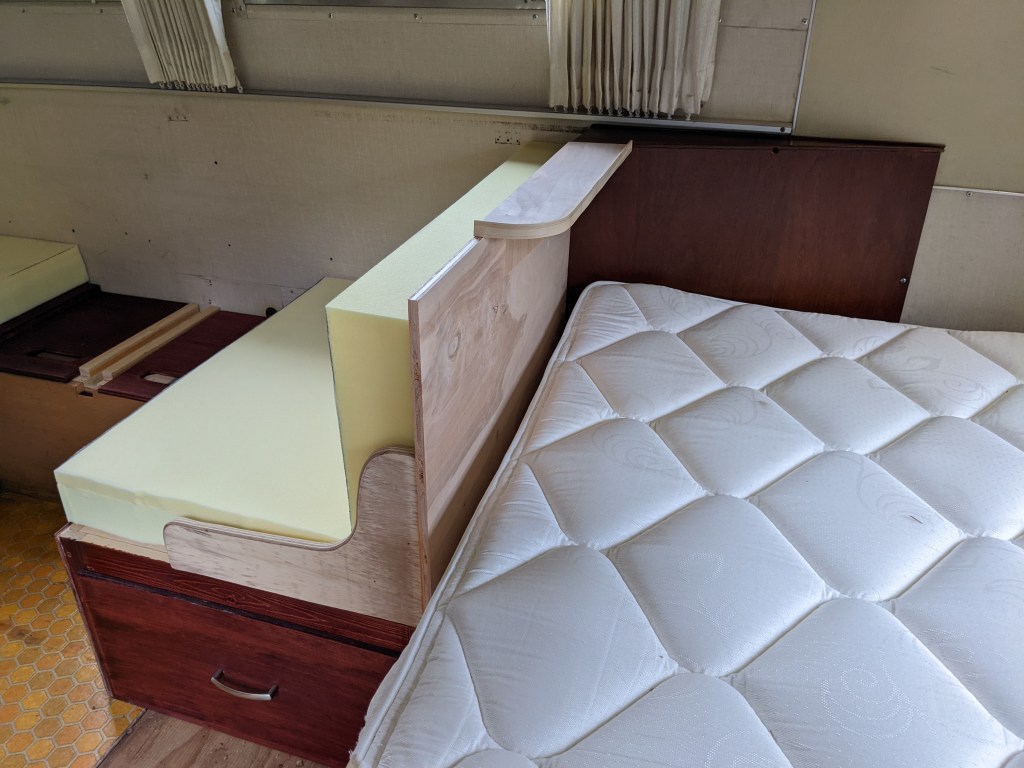
Test fitting! I decided I didn’t like that pointy corner though. And the shelf needed edging on the flat side too or glasses might fall off onto the dinette side.
Much better.
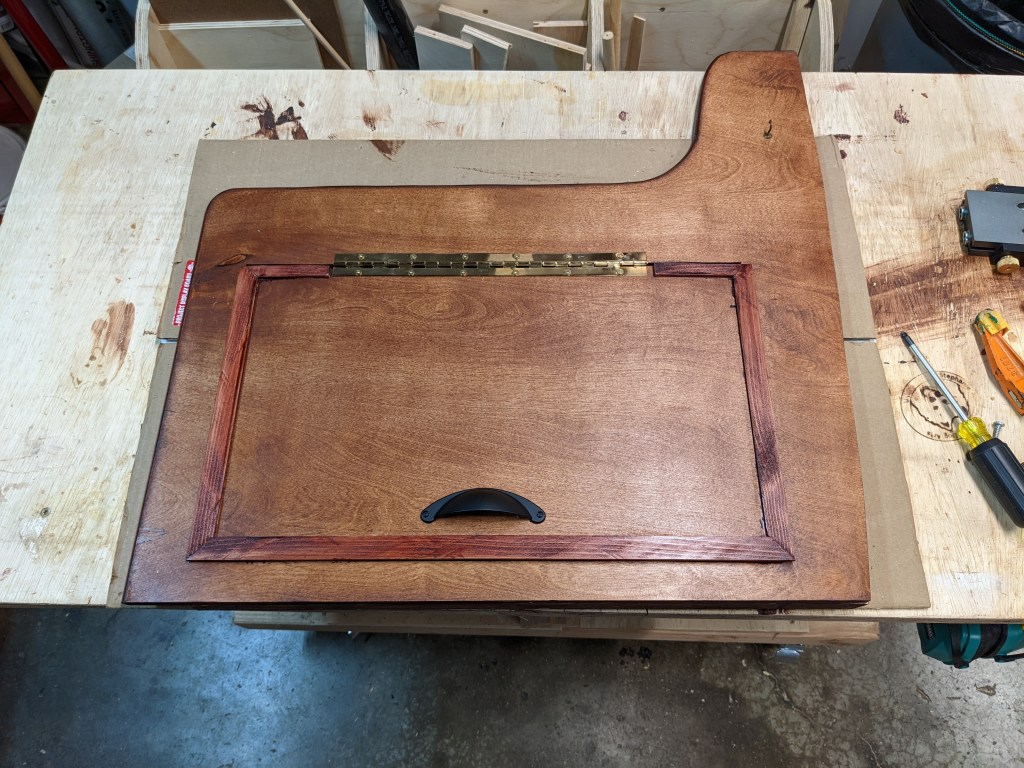
I held off on staining this one until I figured out the problem with the first panel, so this one only got the gel stain used on it. And it was beautiful.

And then the ol’ sand-poly-sand-poly

Oh yeah, that’s the stuff! Look at that shine! The only problem I had was the bent wood on the shelf – where the clamps had pressed it into shape while drying, the wood did not take the stain well, and it has a light spot where each clamp was. Extra stain didn’t help. It’s no big deal, just something to think about next time I bend wood for something.
So now this piece is also done. It gets some pocketholes on the dinette side, which will be hidden by the cushions, and it is ready to install. Everything is coming together now!

Beautiful. Can’t wait to see it all finished.
LikeLike