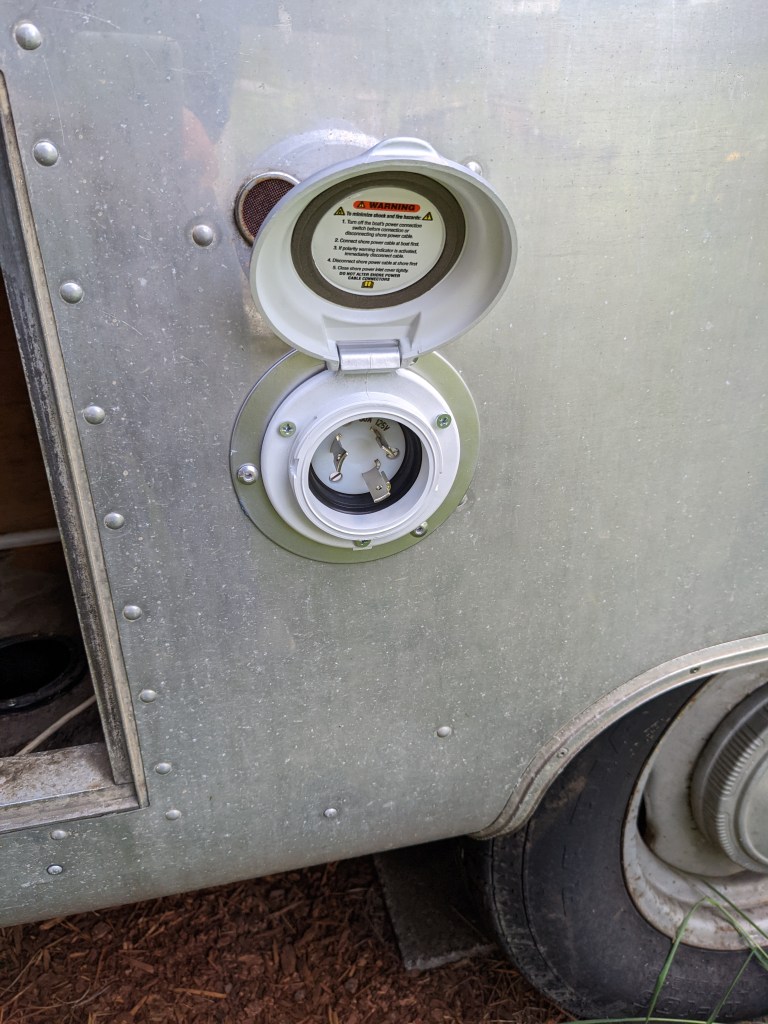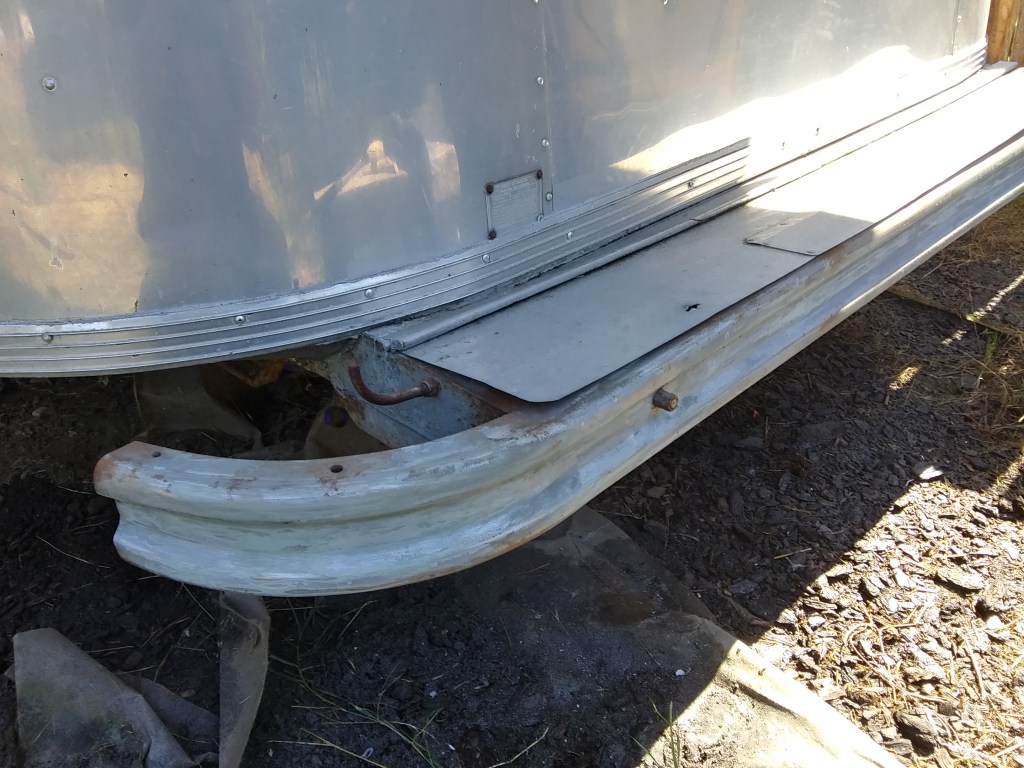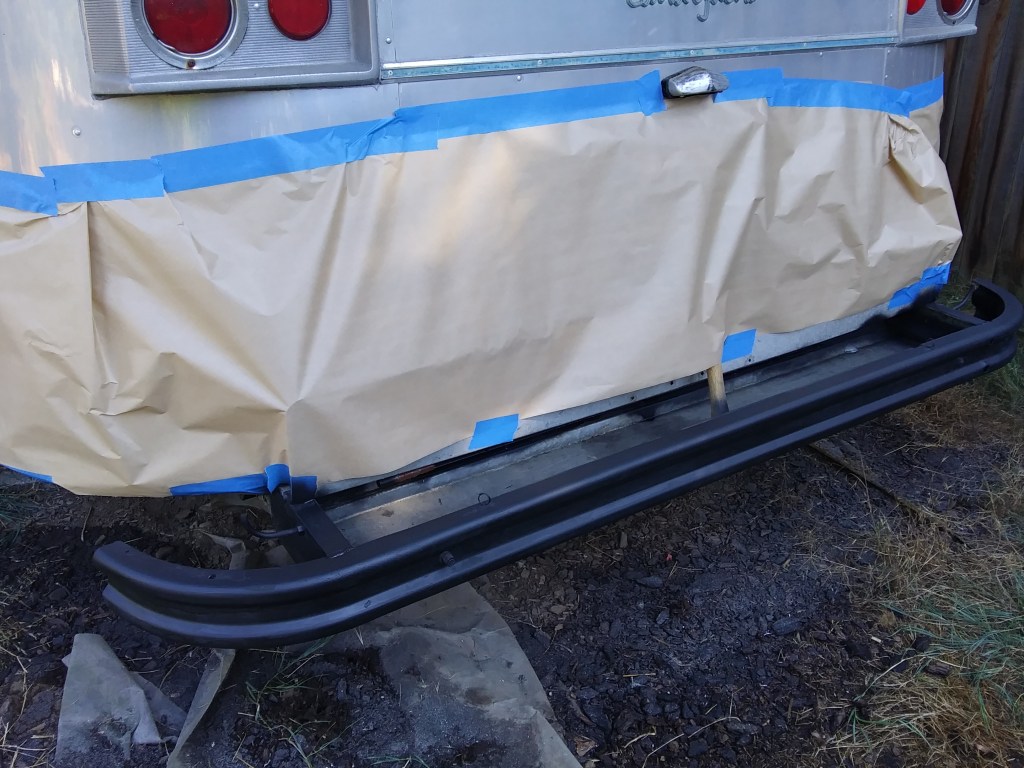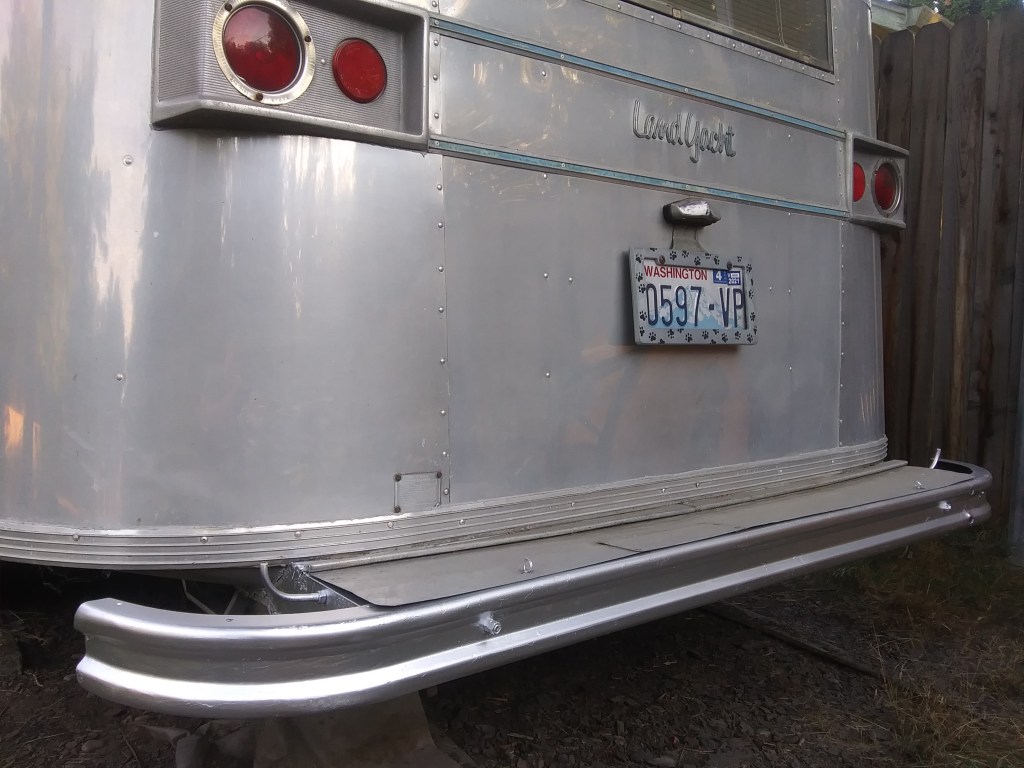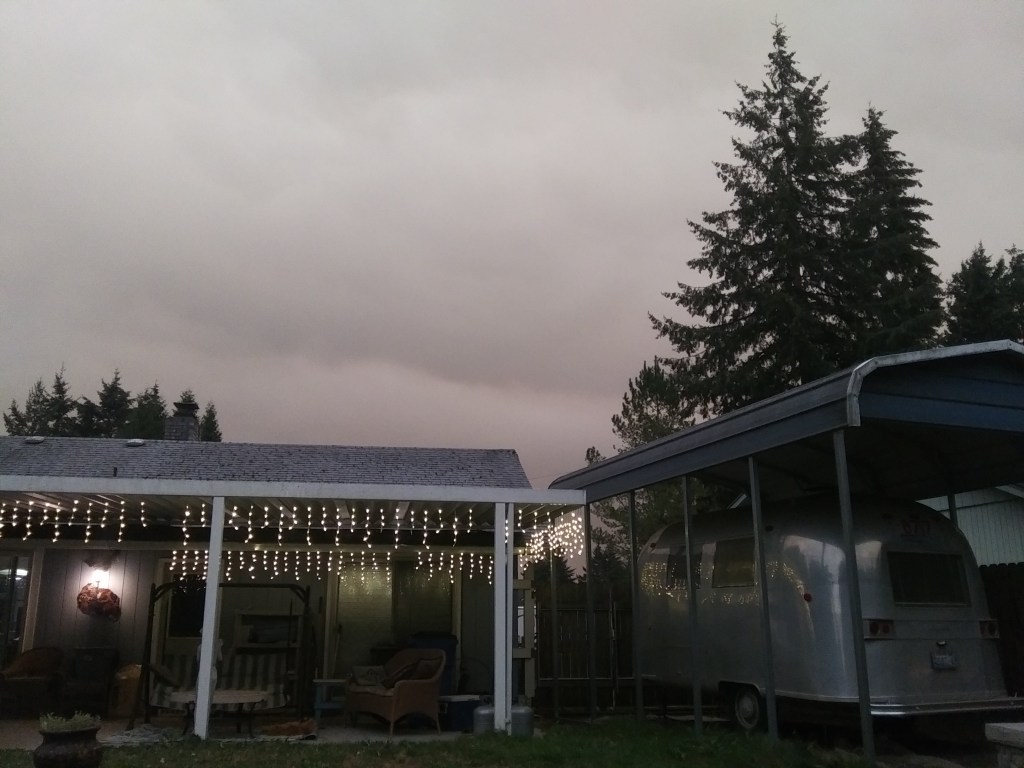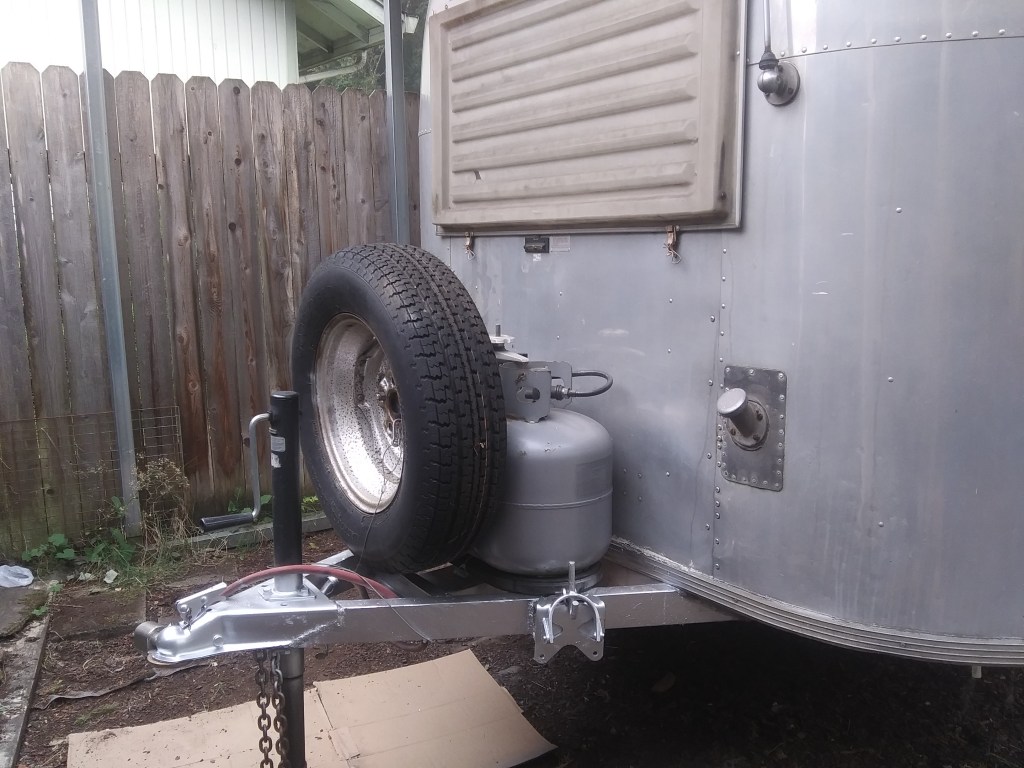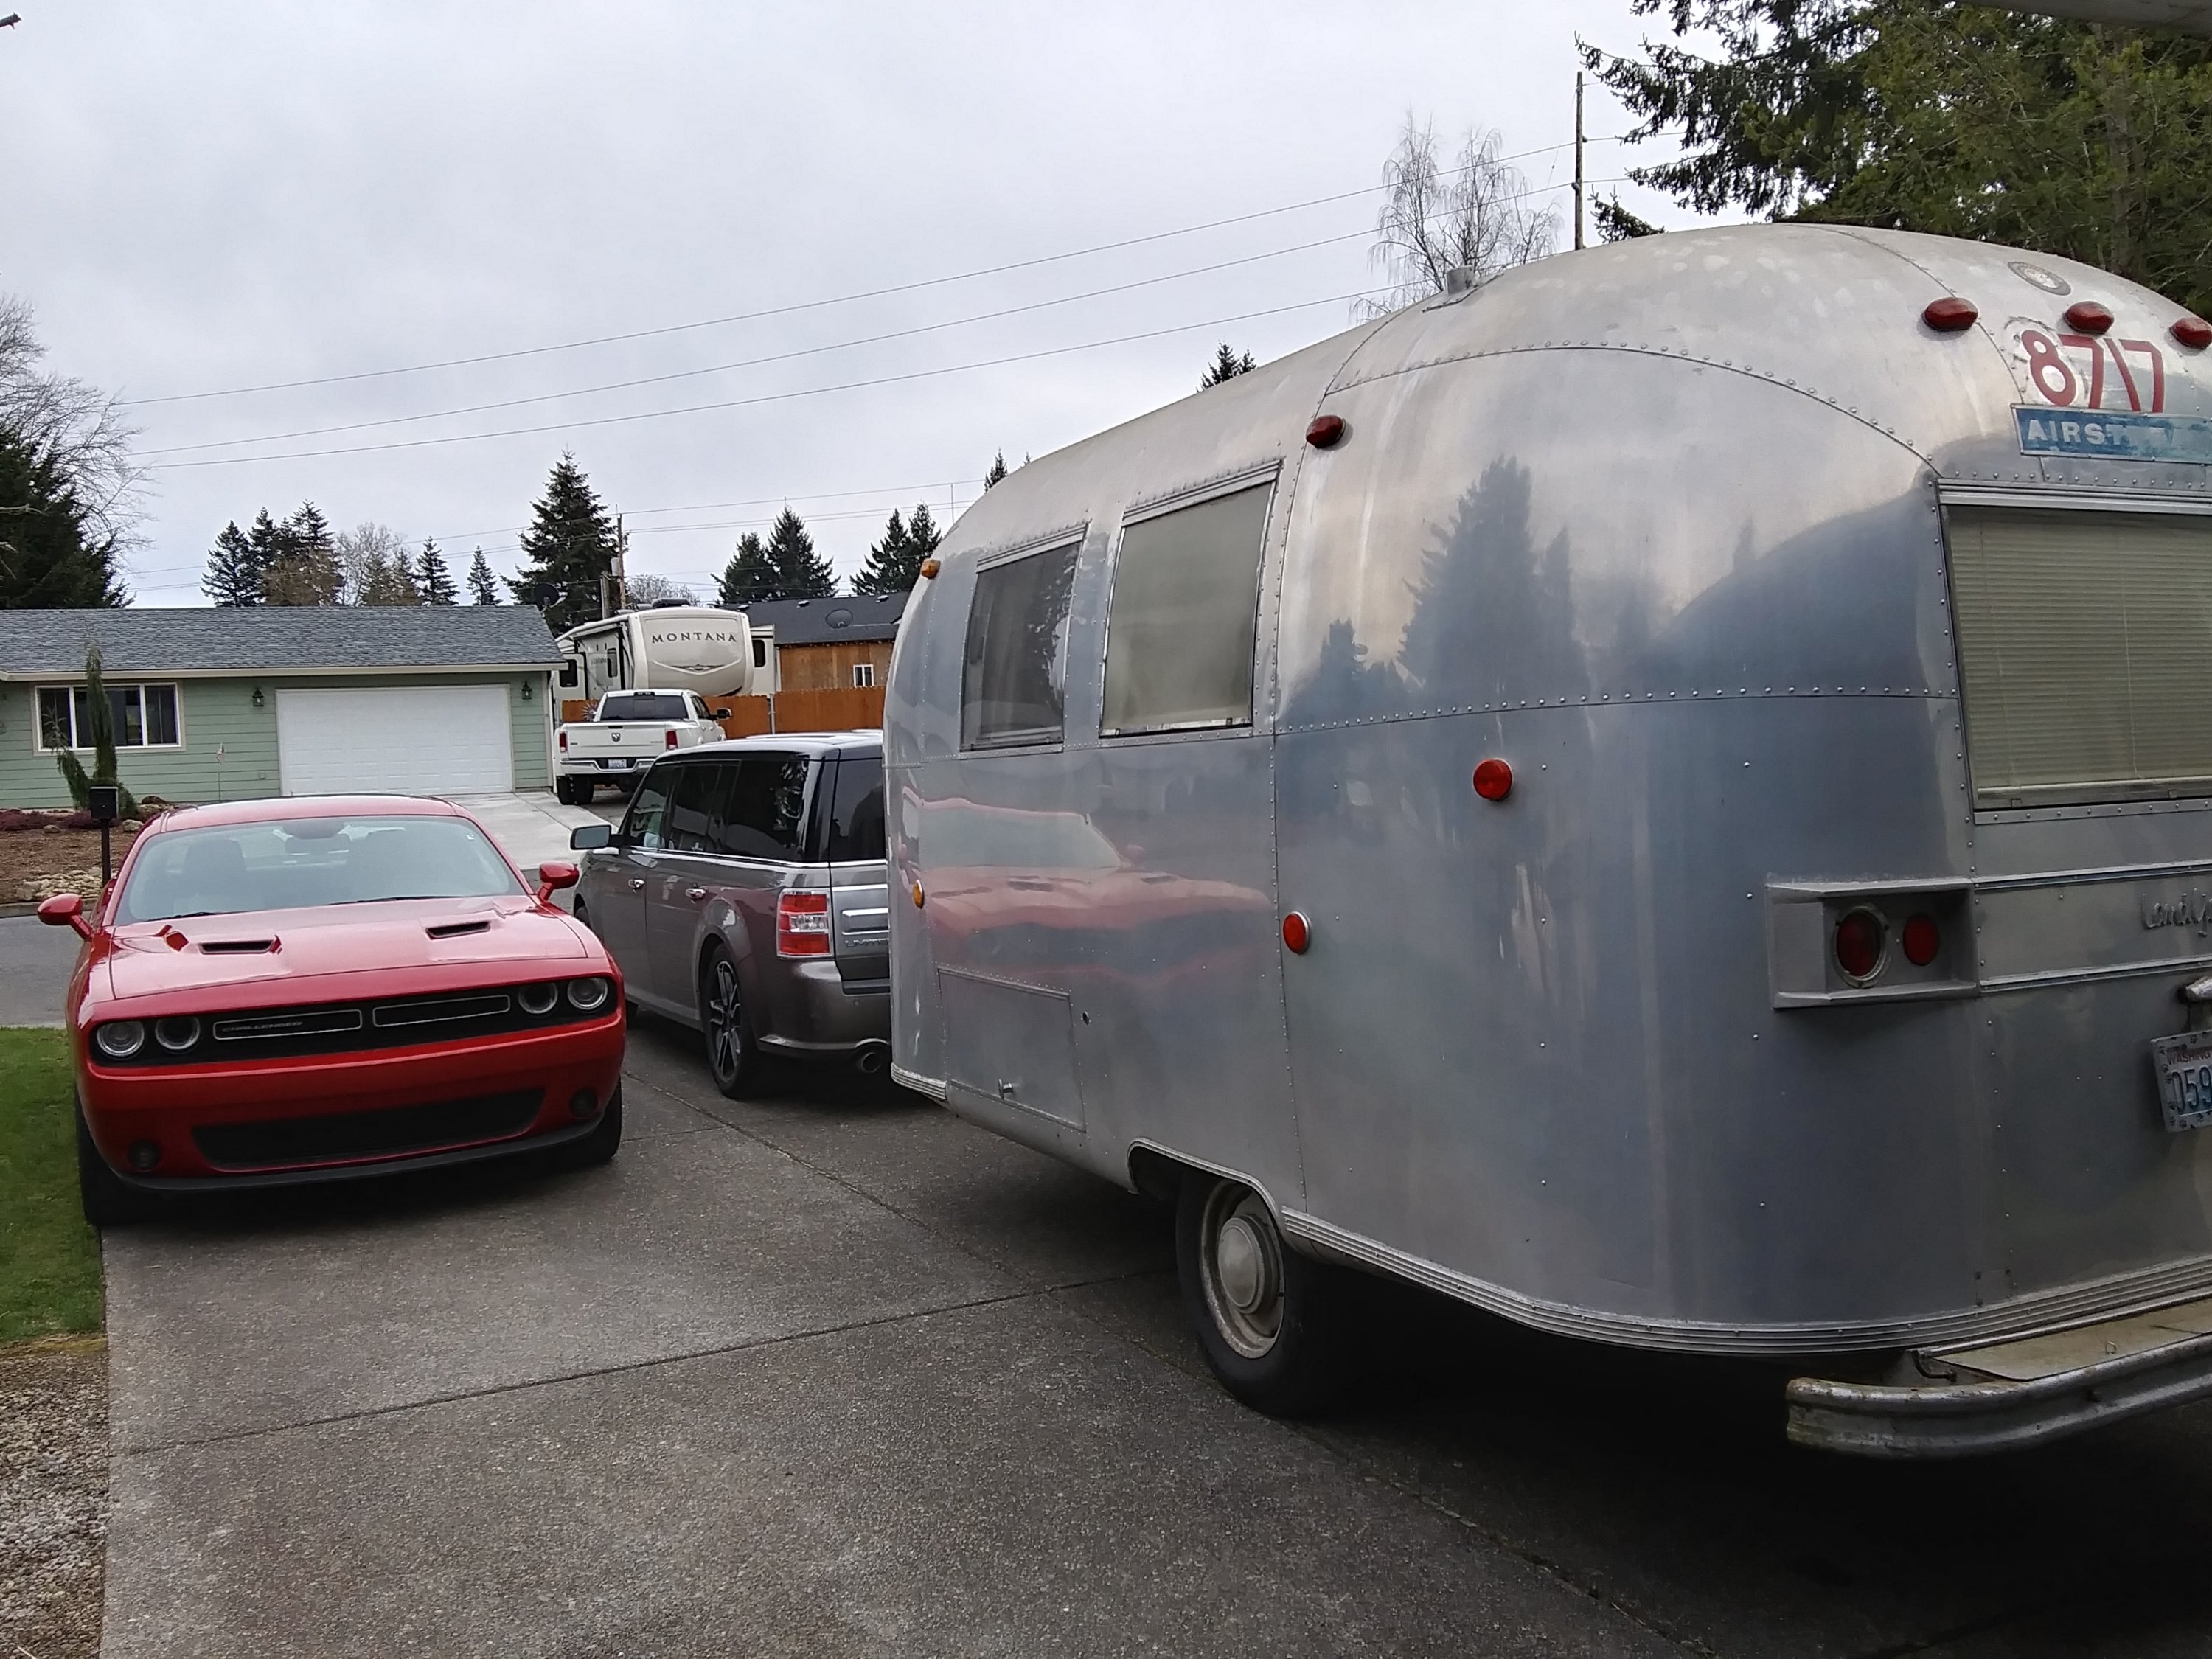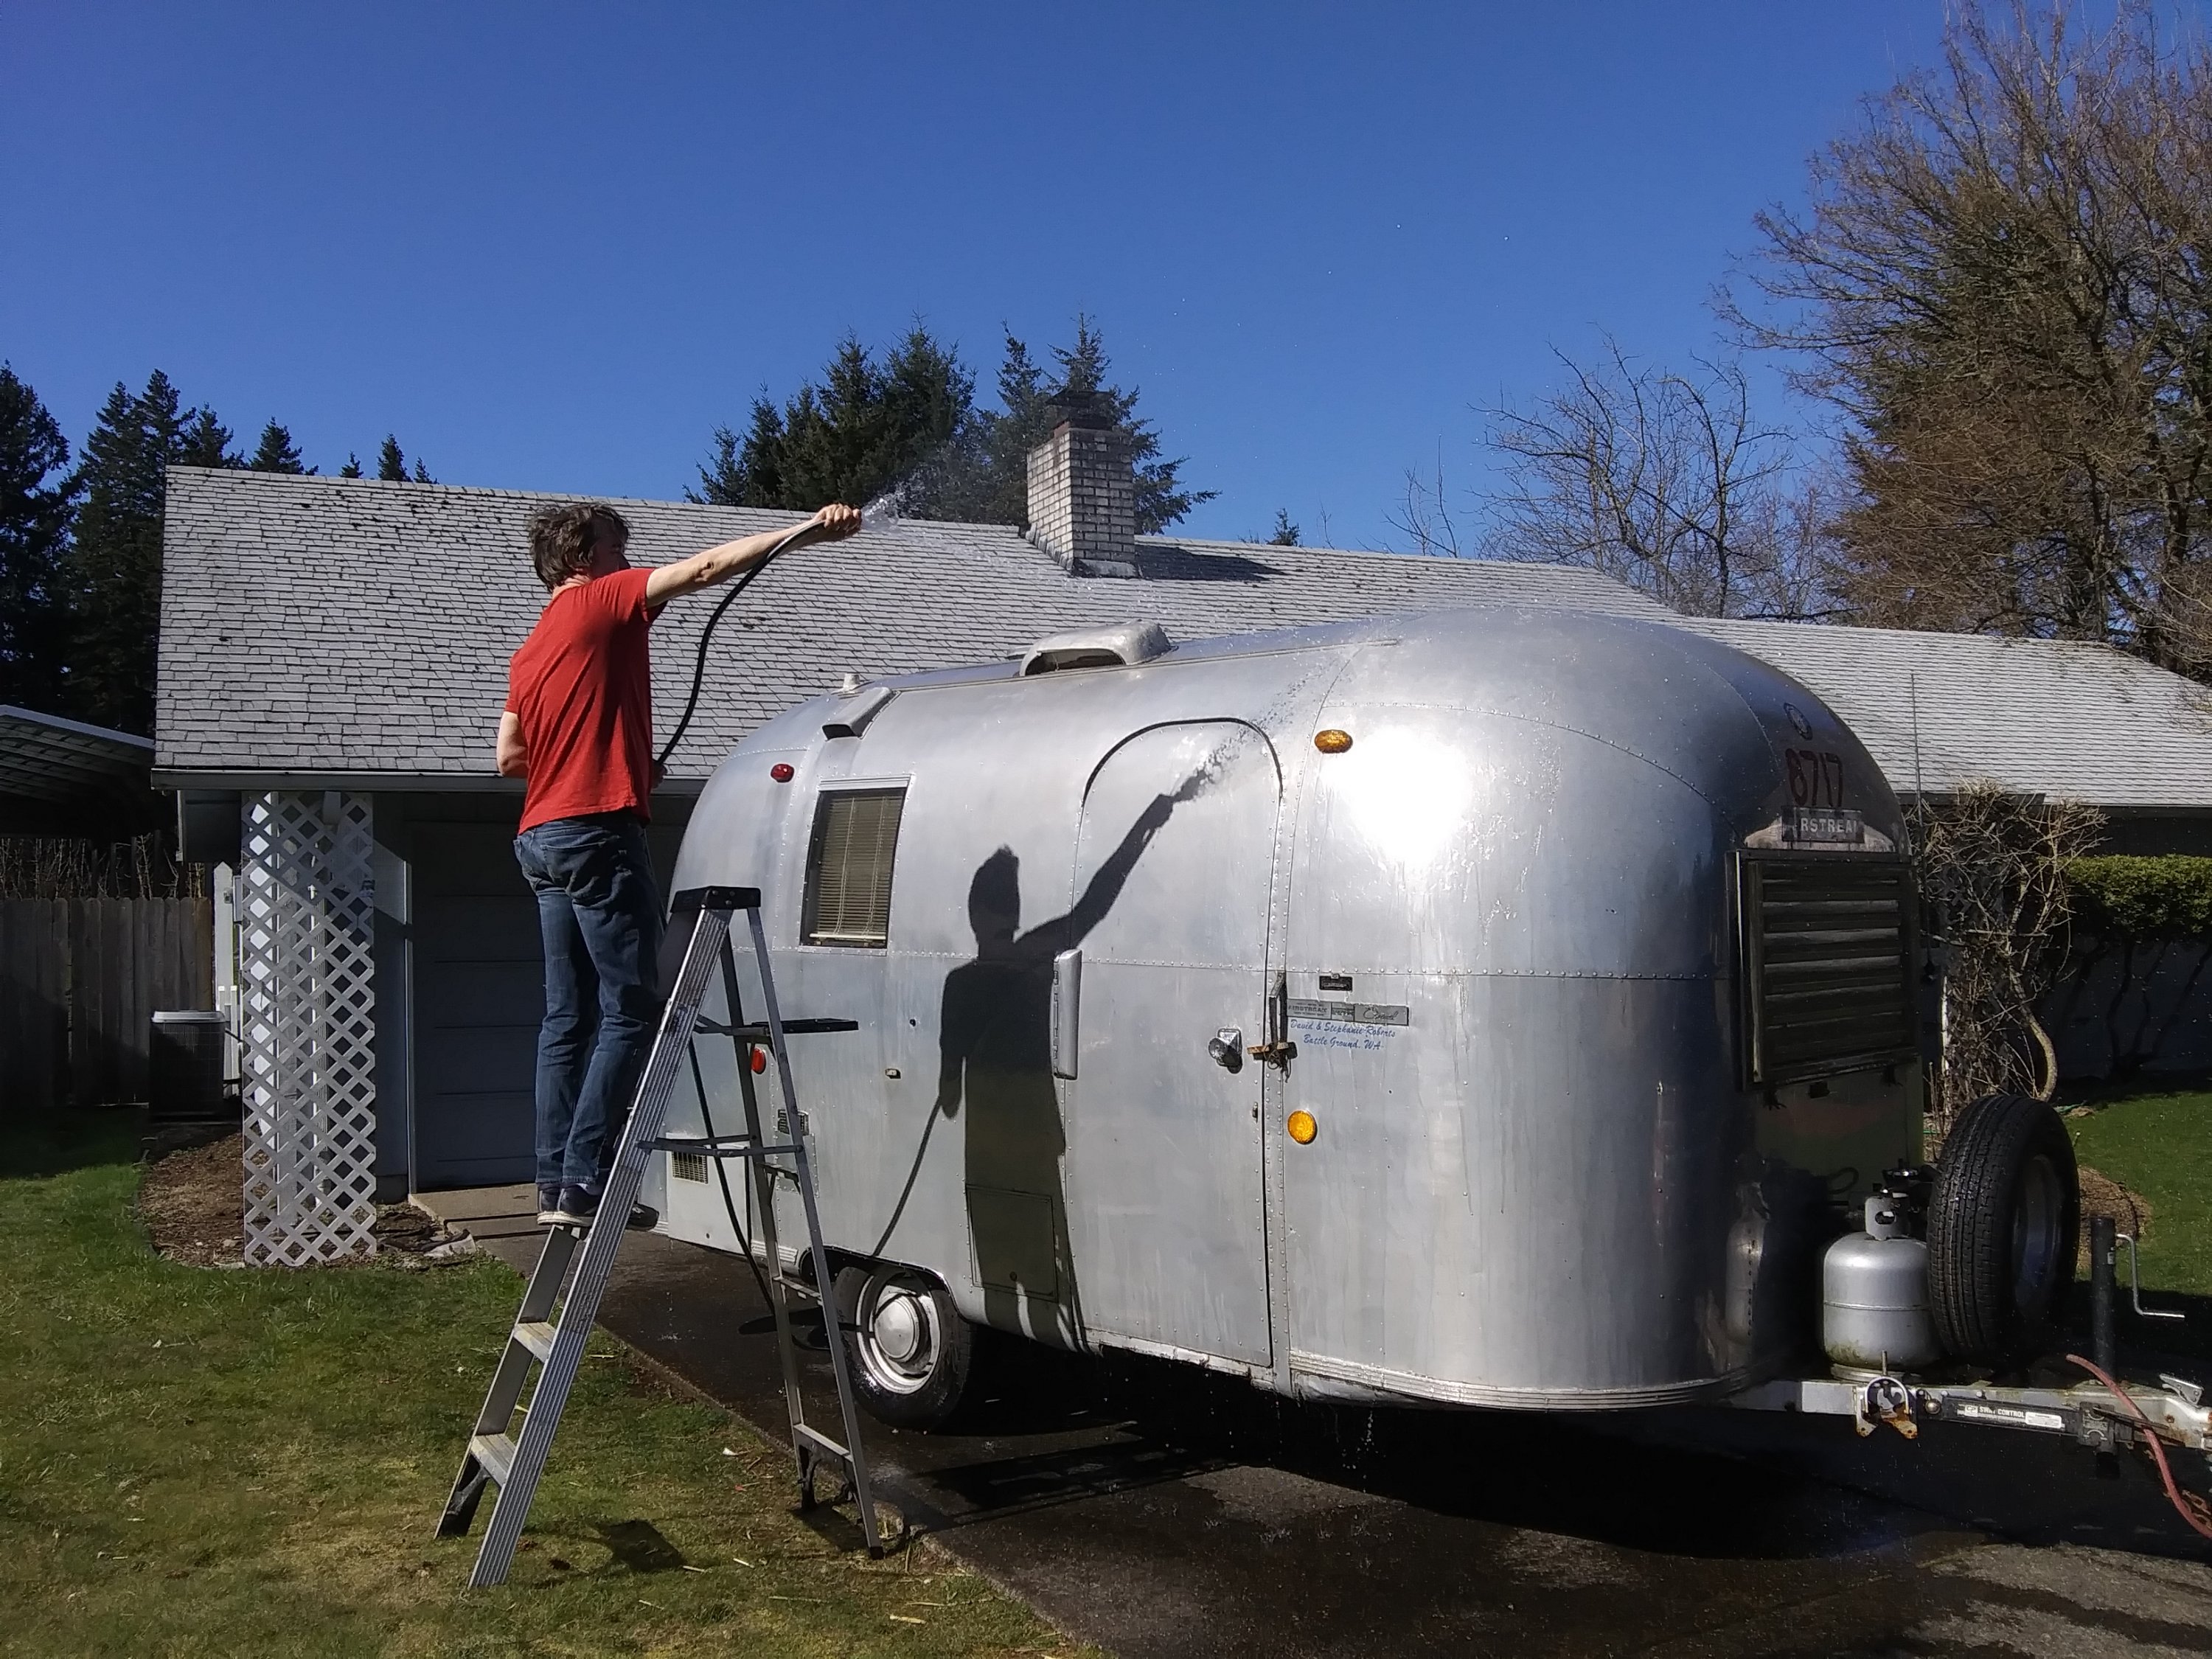
This year we did not get the trailer out as much as we wanted to. It’s nice having it safe at home between trips, at least. It hasn’t really needed any work lately, so it just waits patiently for it’s next adventure.
First trip of the year didn’t happen until June! With an Oregon Unit Rally at Riffe Lake, hosted by our friends Janet and Gail, who we have camped with many times. They both have vintage Airstreams as well.
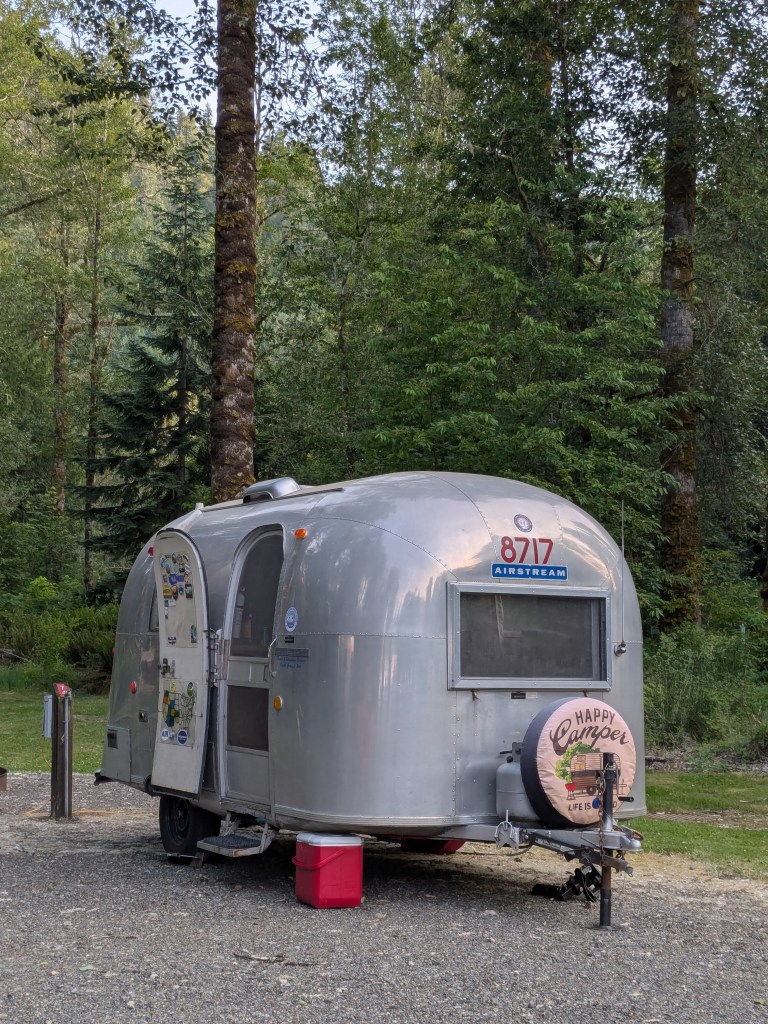
Riffe Lake Group Camp was really nice. It was a big area. They stuck all the vintage on one end, and since I arrived last, I got the furthest out spot. Ok, a little further out than usual!
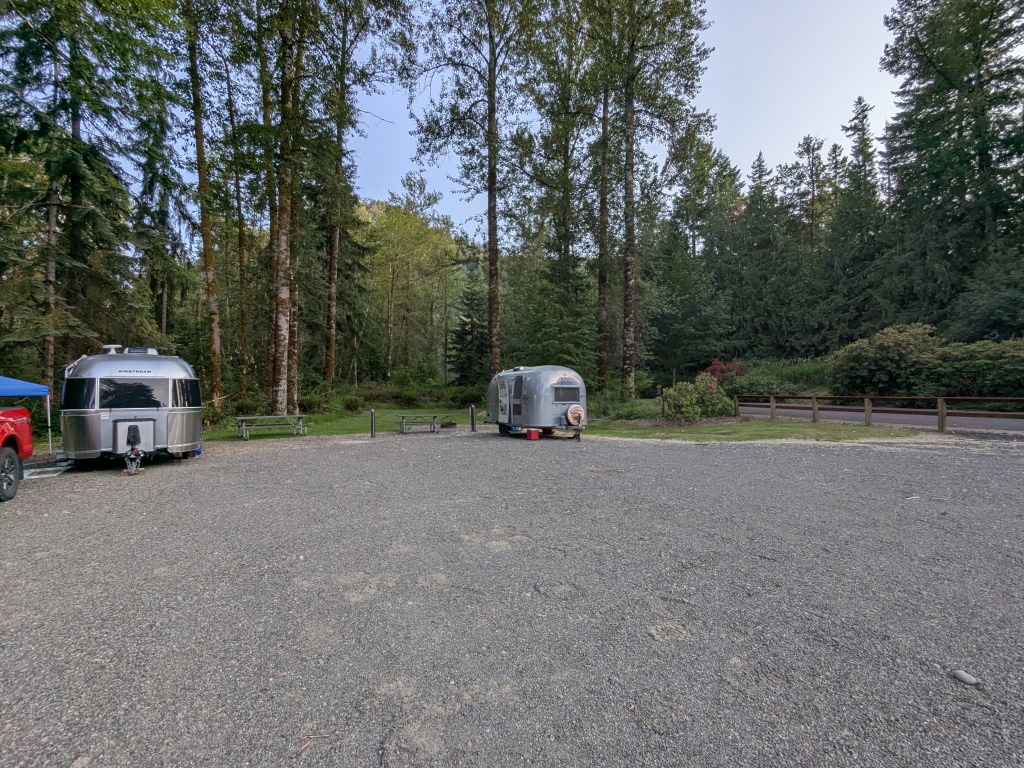
Are they trying to tell me my black tank smells? Lol, just kidding, I didn’t mind at all. It was nice and quiet over there.
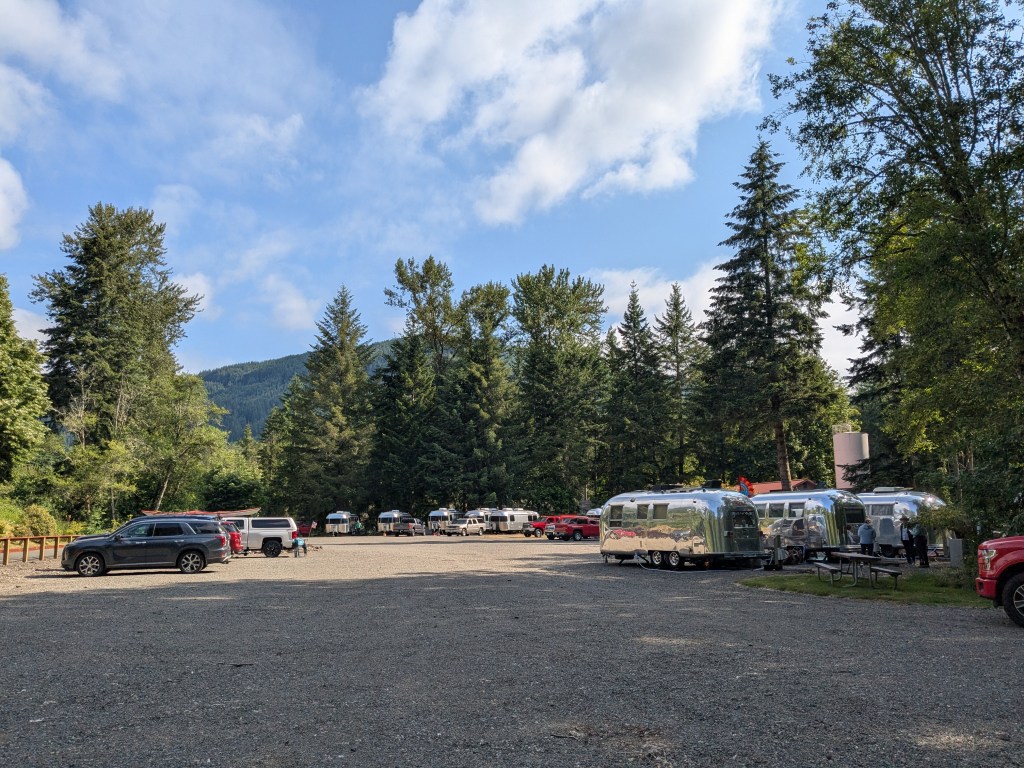
The rest of the party. This was a really nice group camp with a big covered area with tables and even sinks with running water, which was great for mealtime cleanup.
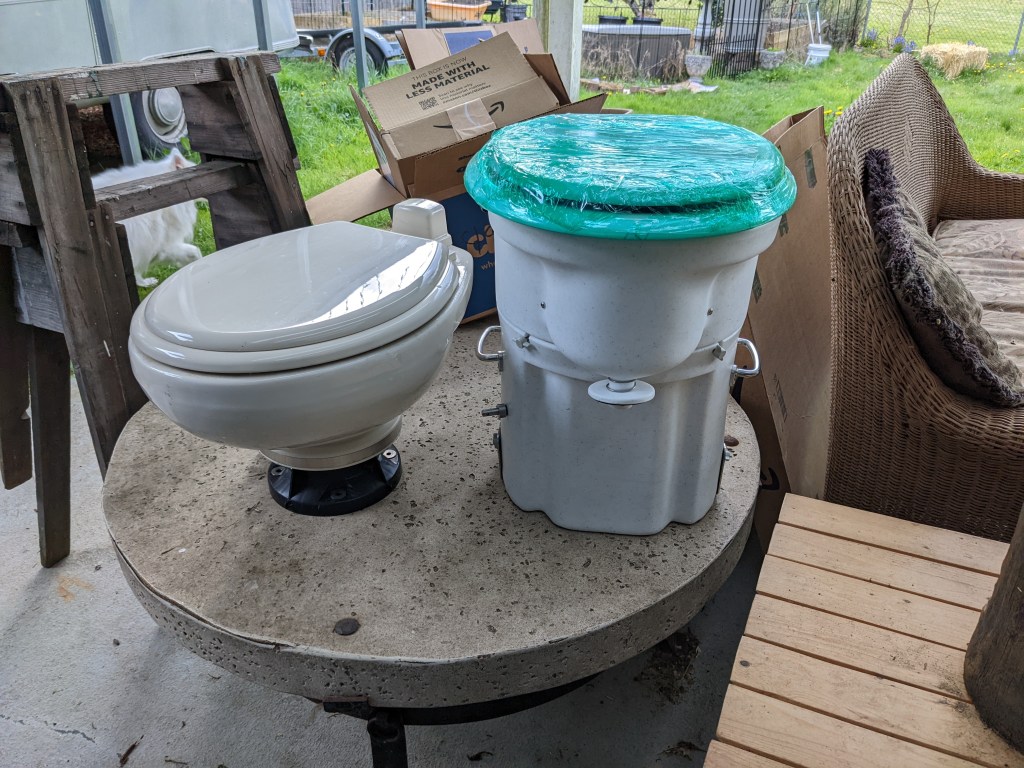
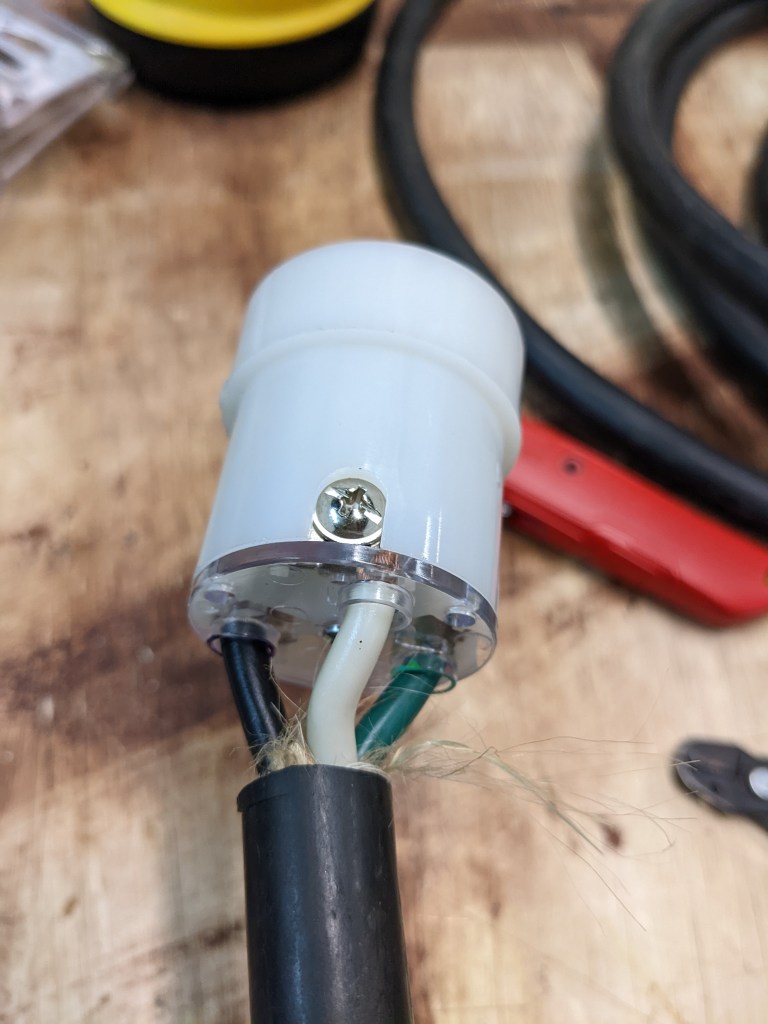
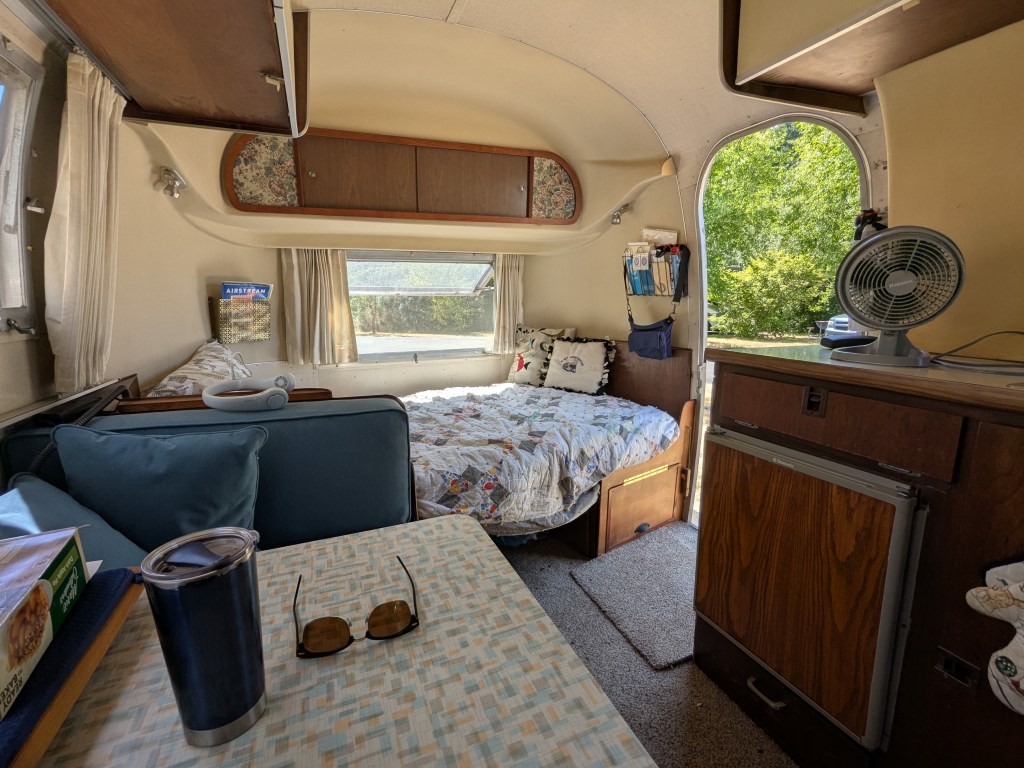
One thing that was new was I got a CPAP this year, and I had to figure out how that was going to work in my trailer.
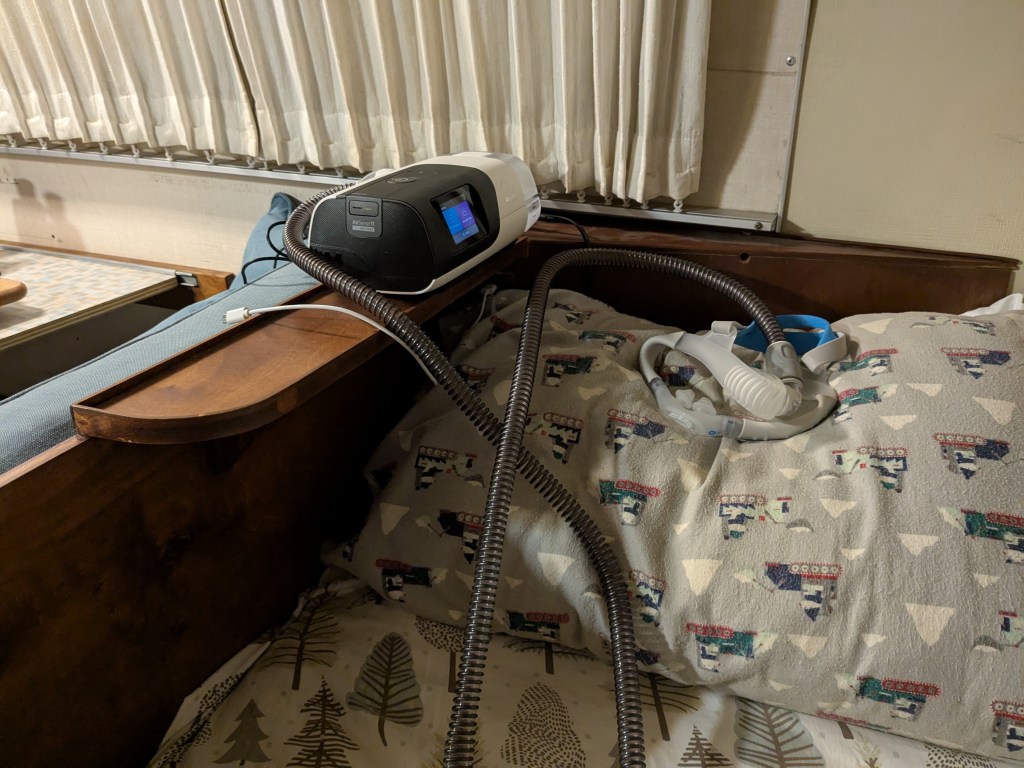
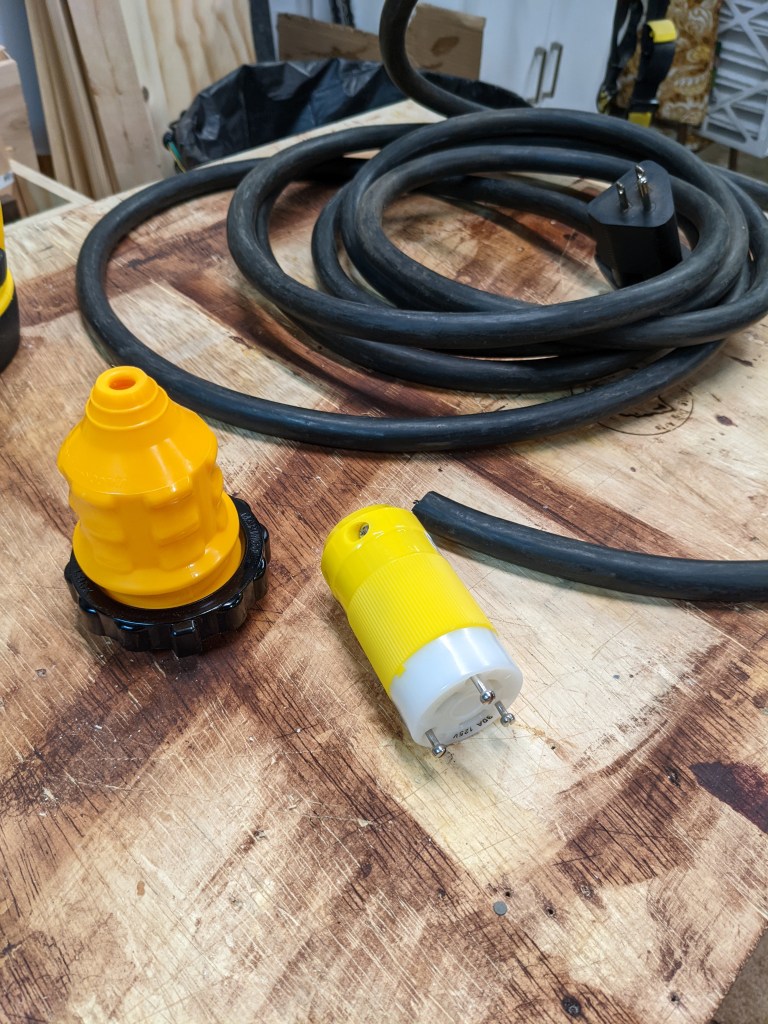
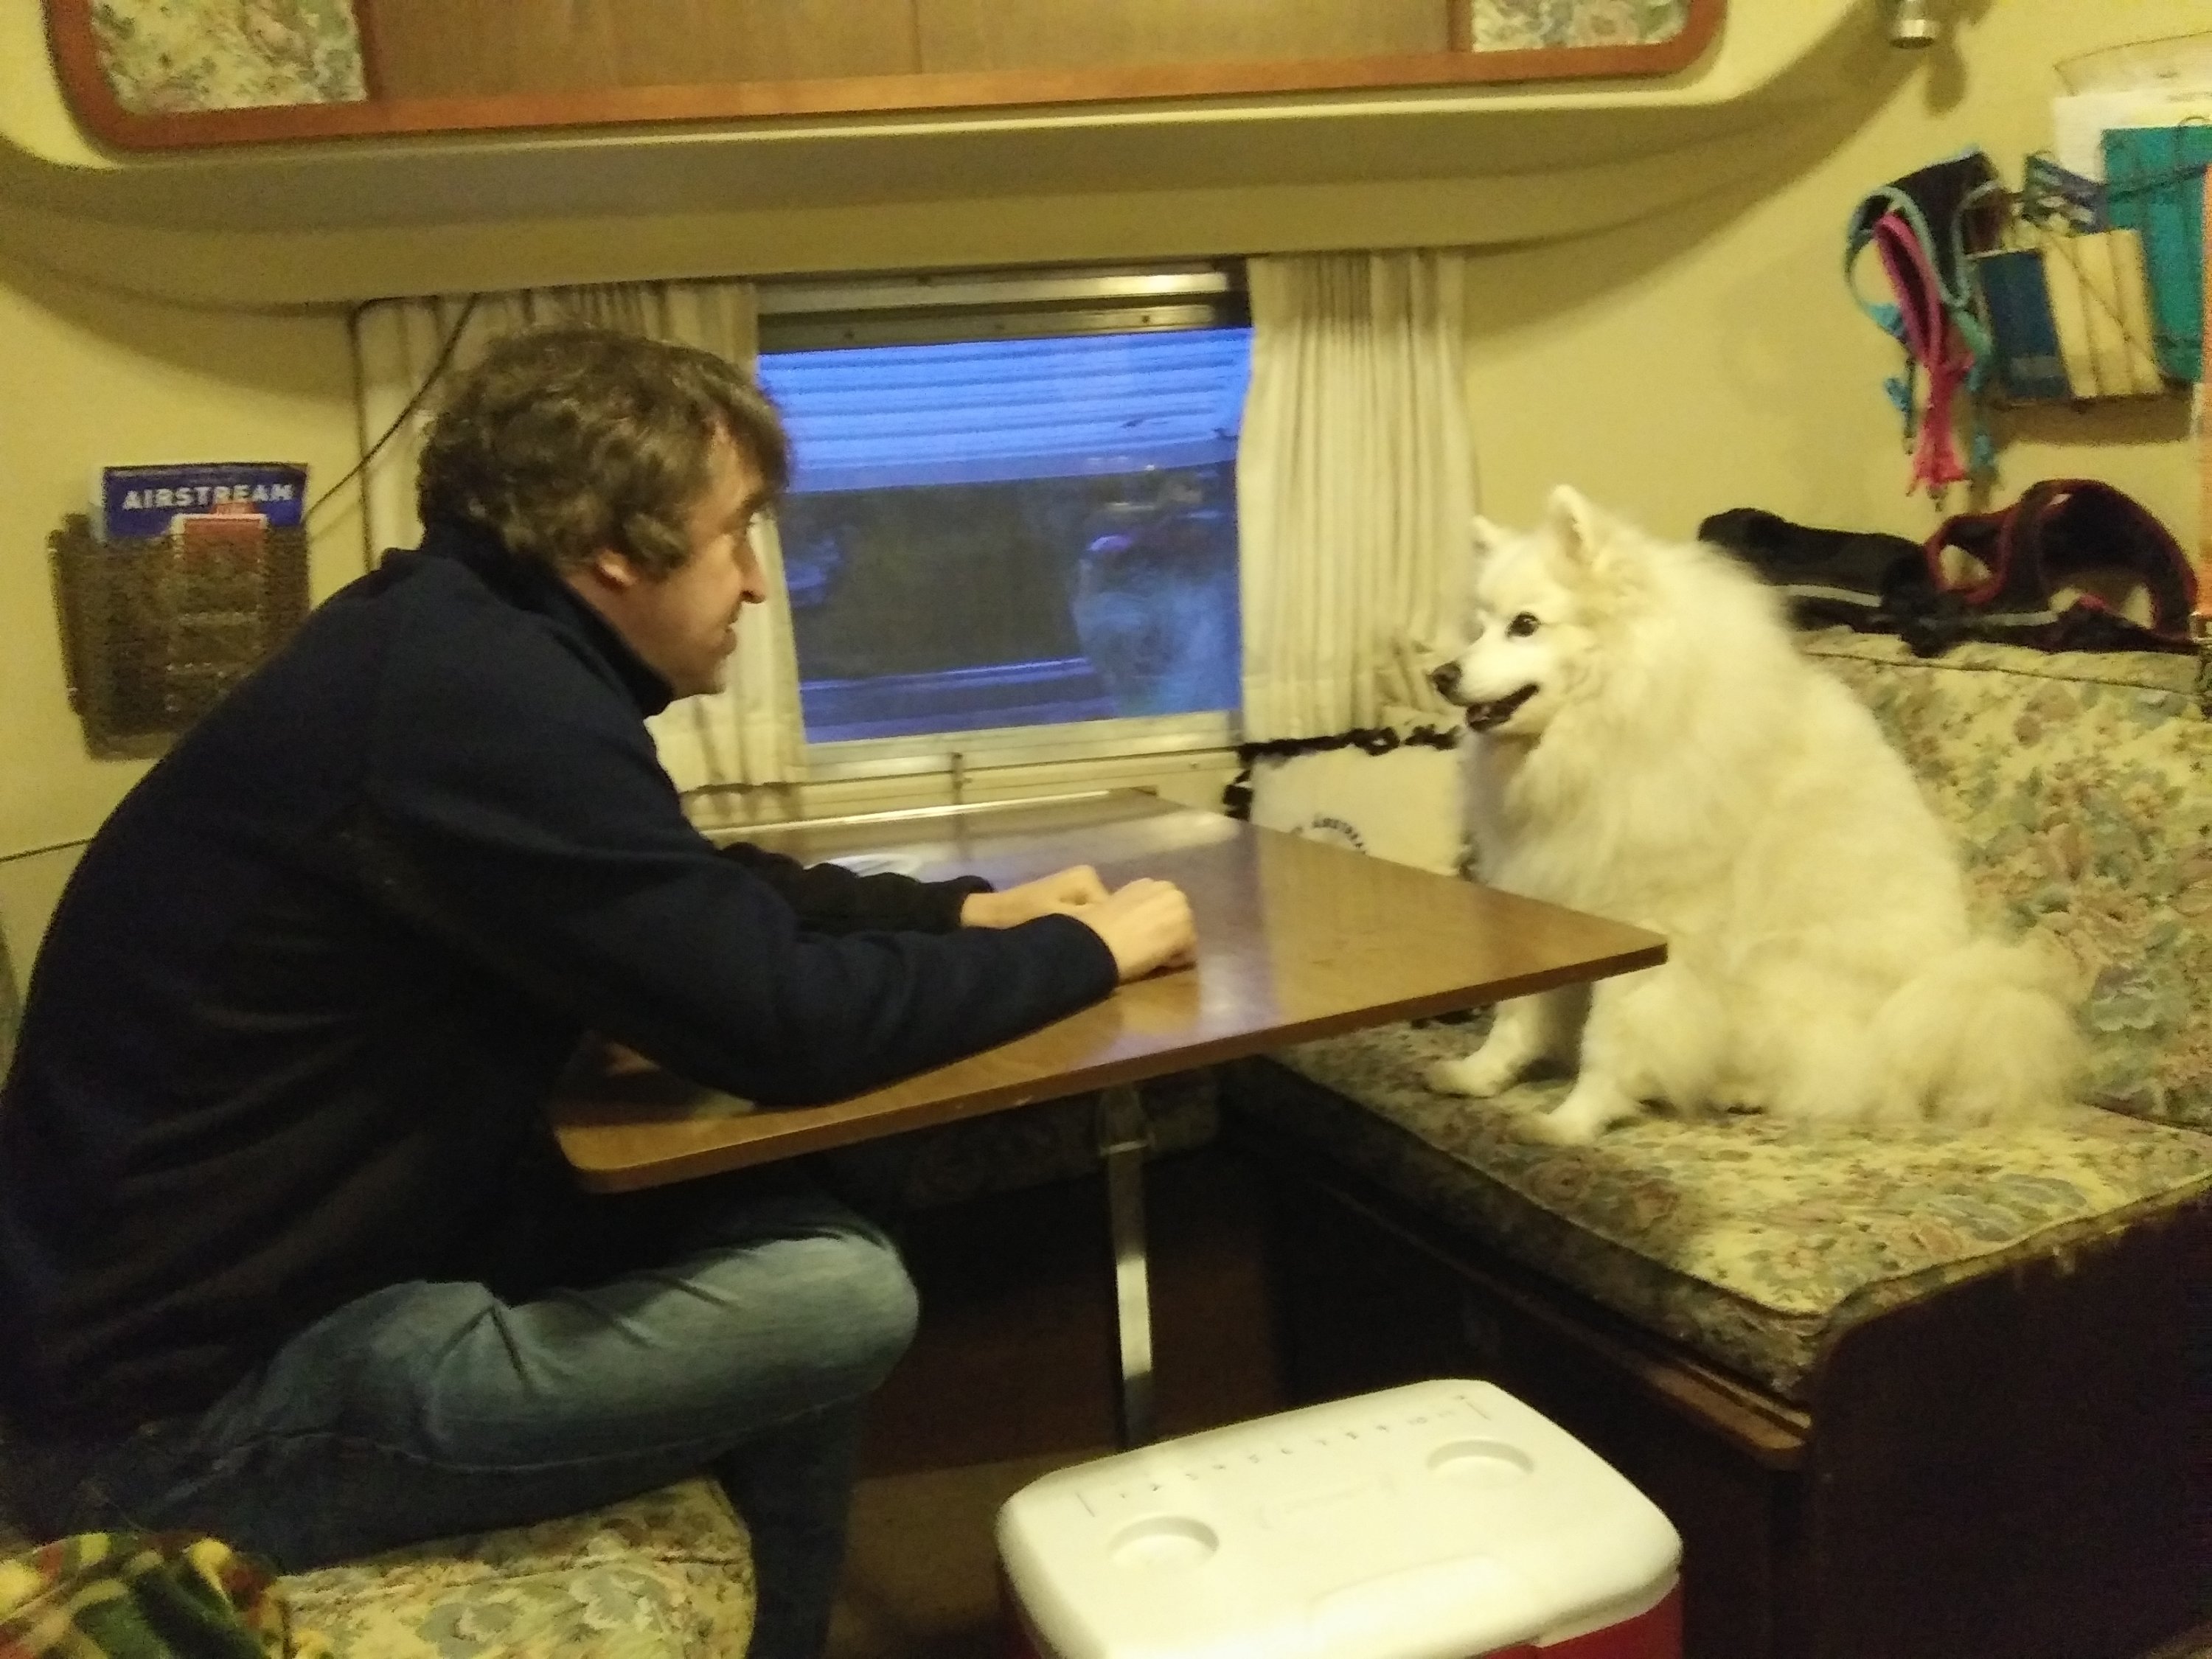
Luckily there was a convenient plug under the bed that I could run the cord down to, and I had power at every campground I went to this year. If I start boondocking again though, which is how we have mostly used the trailer in the past, I may have to figure out how to power it all night. After my first night I realized the hose was long enough to set the machine on the dinette seat, which let me hide everything behind pillows during the day.
I didn’t take a lot of pics at this rally, but it was a really fun one, and I hear they are doing it again next year.
Our Second Rally was the annual VAC Rally in July at Barton Park in Boring, Oregon. The organizers always do a great job of finding neat spots for us to gather our old trailers, and this was no exception.
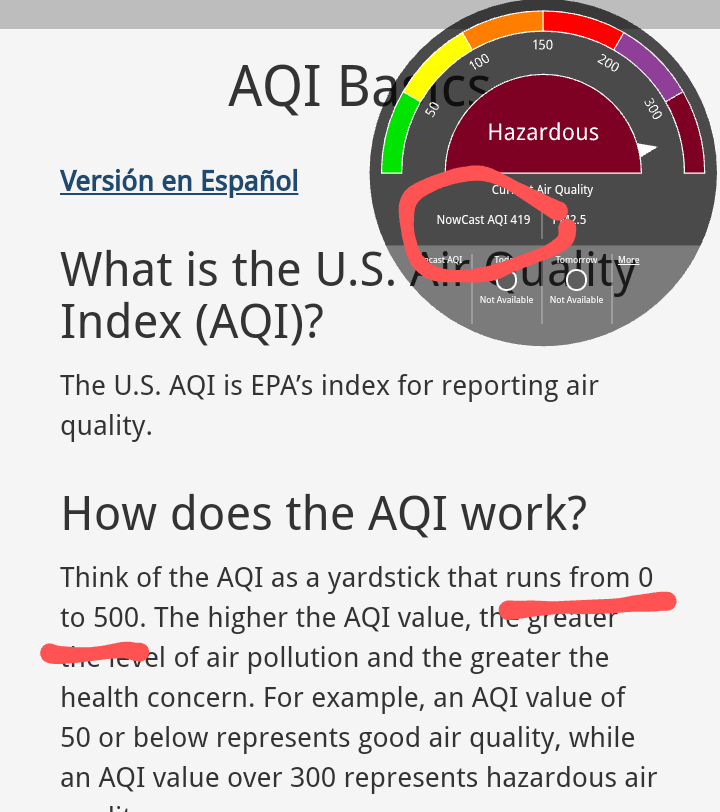
The only problem was it was hot, and I don’t have AC, but opening the windows and putting on the awnings actually goes a long way to making it more bearable. I also brought an electric fan, and one of those neck fans. Because it was so hot, we couldn’t bring Navi, so Dave just dropped me and the trailer off at camp, helped with initial setup, and headed home to stay with Navi (camp was only 45 minutes from home). I got pretty hot setting up the trailer, and our friends Val and Mark were camping right across the road from us, so I walked over to say hi, and they saw how hot I was and were immediately were telling me to sit down and gave me some cool water. I didn’t feel bad, but I guess I was pretty red. That’s why it’s nice to have folks looking out for you!

My spot was near the restrooms, which wasn’t bad, except for the spotlights at night:
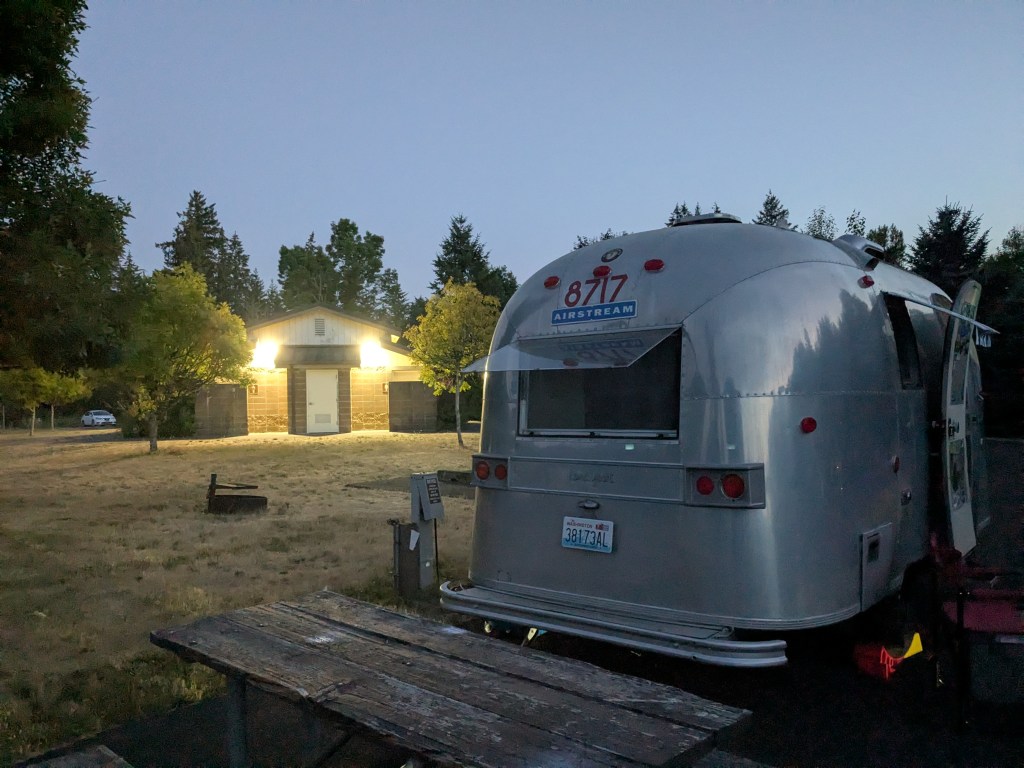
That sure made it easy to find my way home!
I had lots of friends to visit with at this rally. It was really fun, and in between visiting, I chilled out at my trailer and read a book and relaxed. It’s just so nice to have downtime with nothing to do sometimes, and since Dave had the car, I wasn’t going to rush off exploring too far.
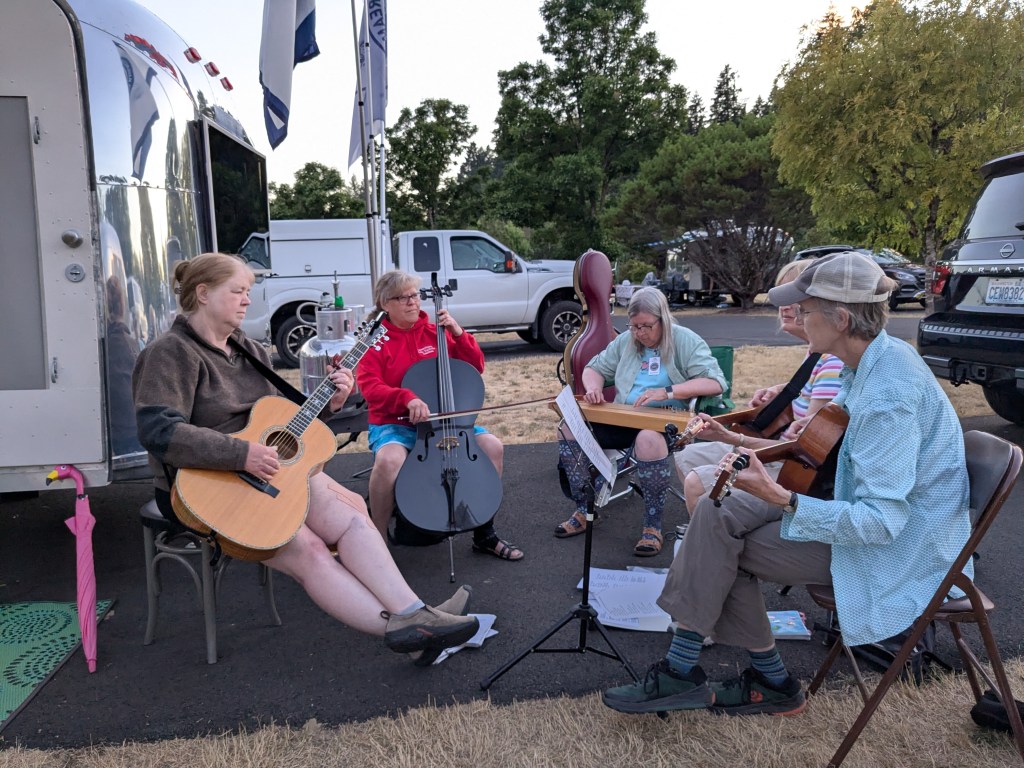
And in the evening of course there was music!
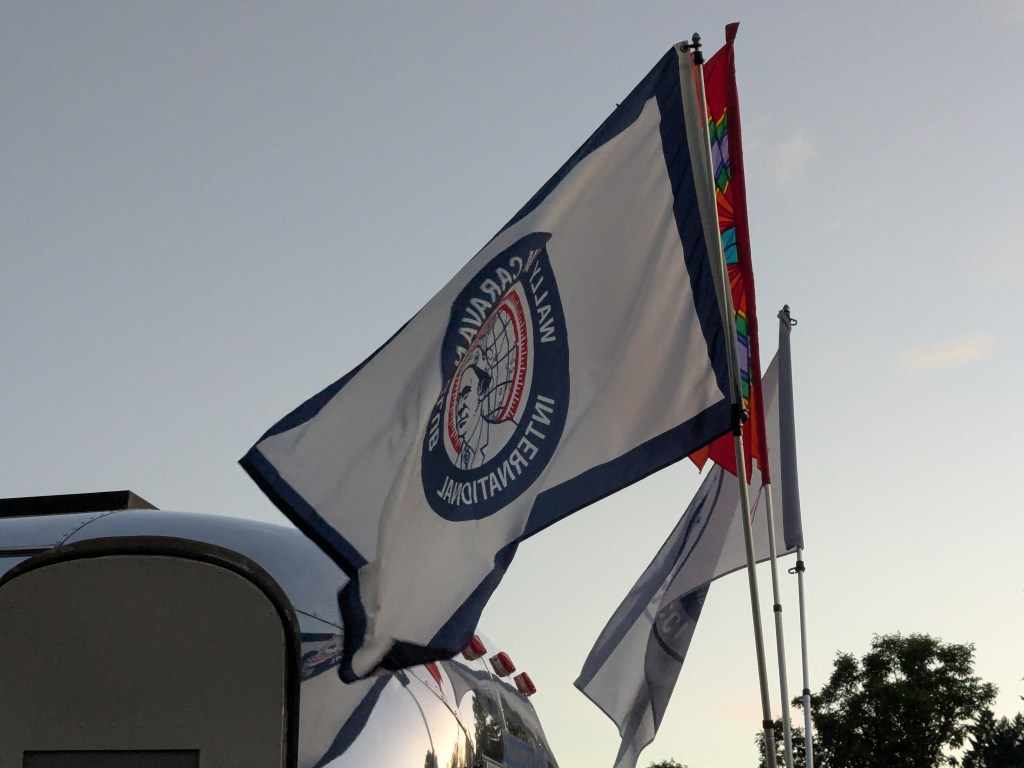
And flags fluttering overhead in the breeze – I definitely want to add some flags for rallys!
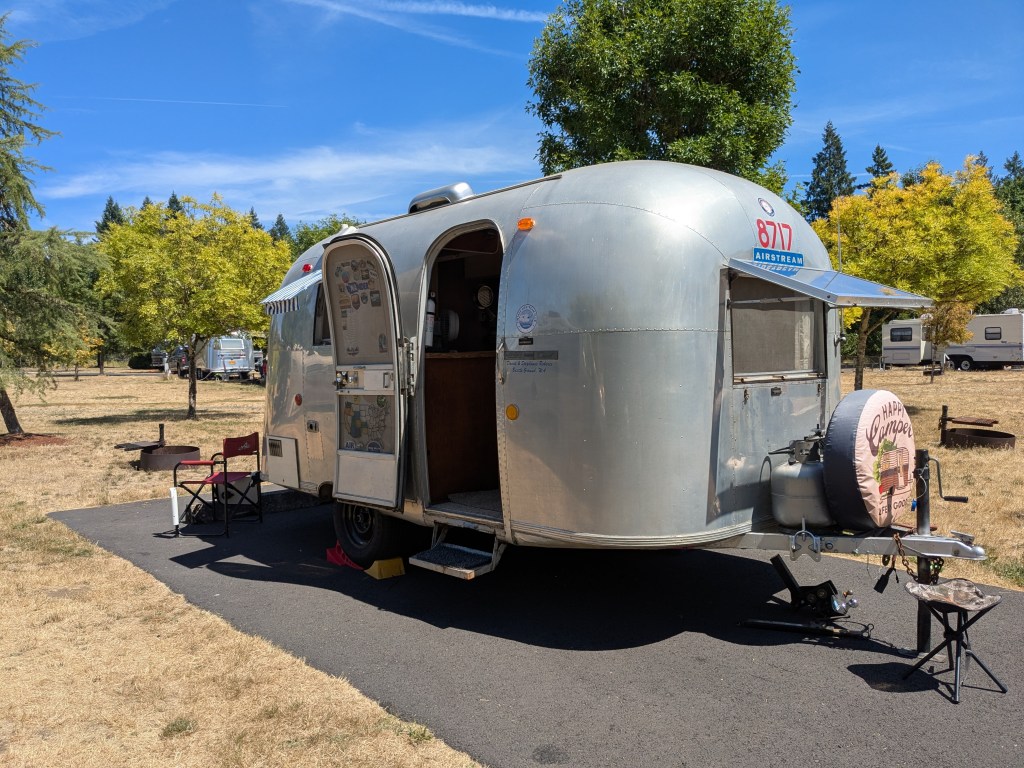
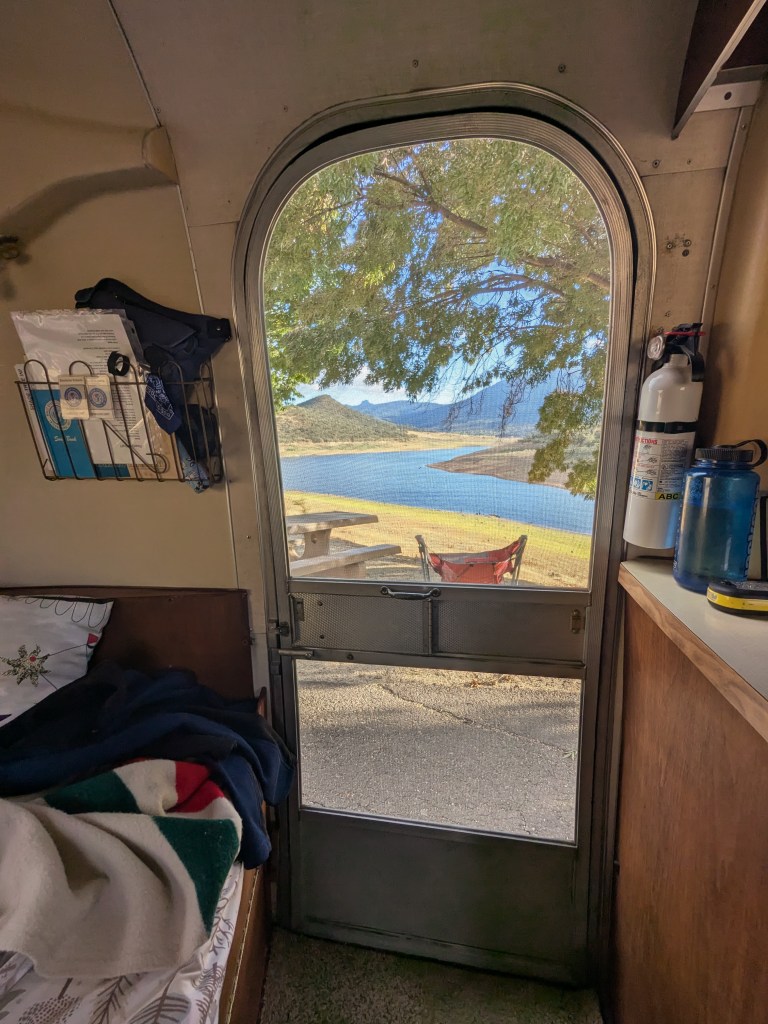
Third trip of the year was to Ashland, Oregon to see plays at the Shakespeare Festival. We were back at Emmigrant Lake County Park, where we have stayed many many times before. It’s a very nice park, with a view, and clean, modern facilities.
Tim and Michele went with us and stayed in a hotel in town, but we got together for almost all the plays, and had dinners together, and went cruising around town, checked out a cool art museum on the SOU campus, and hit an estate sale we happened to drive by. What we failed to do was remember to take a single picture of ourselves all together!
We saw a bunch of really good plays. Last year there were a couple plays we did not enjoy so much, and one we left at intermission, so this year was absolutely delightful in comparison.
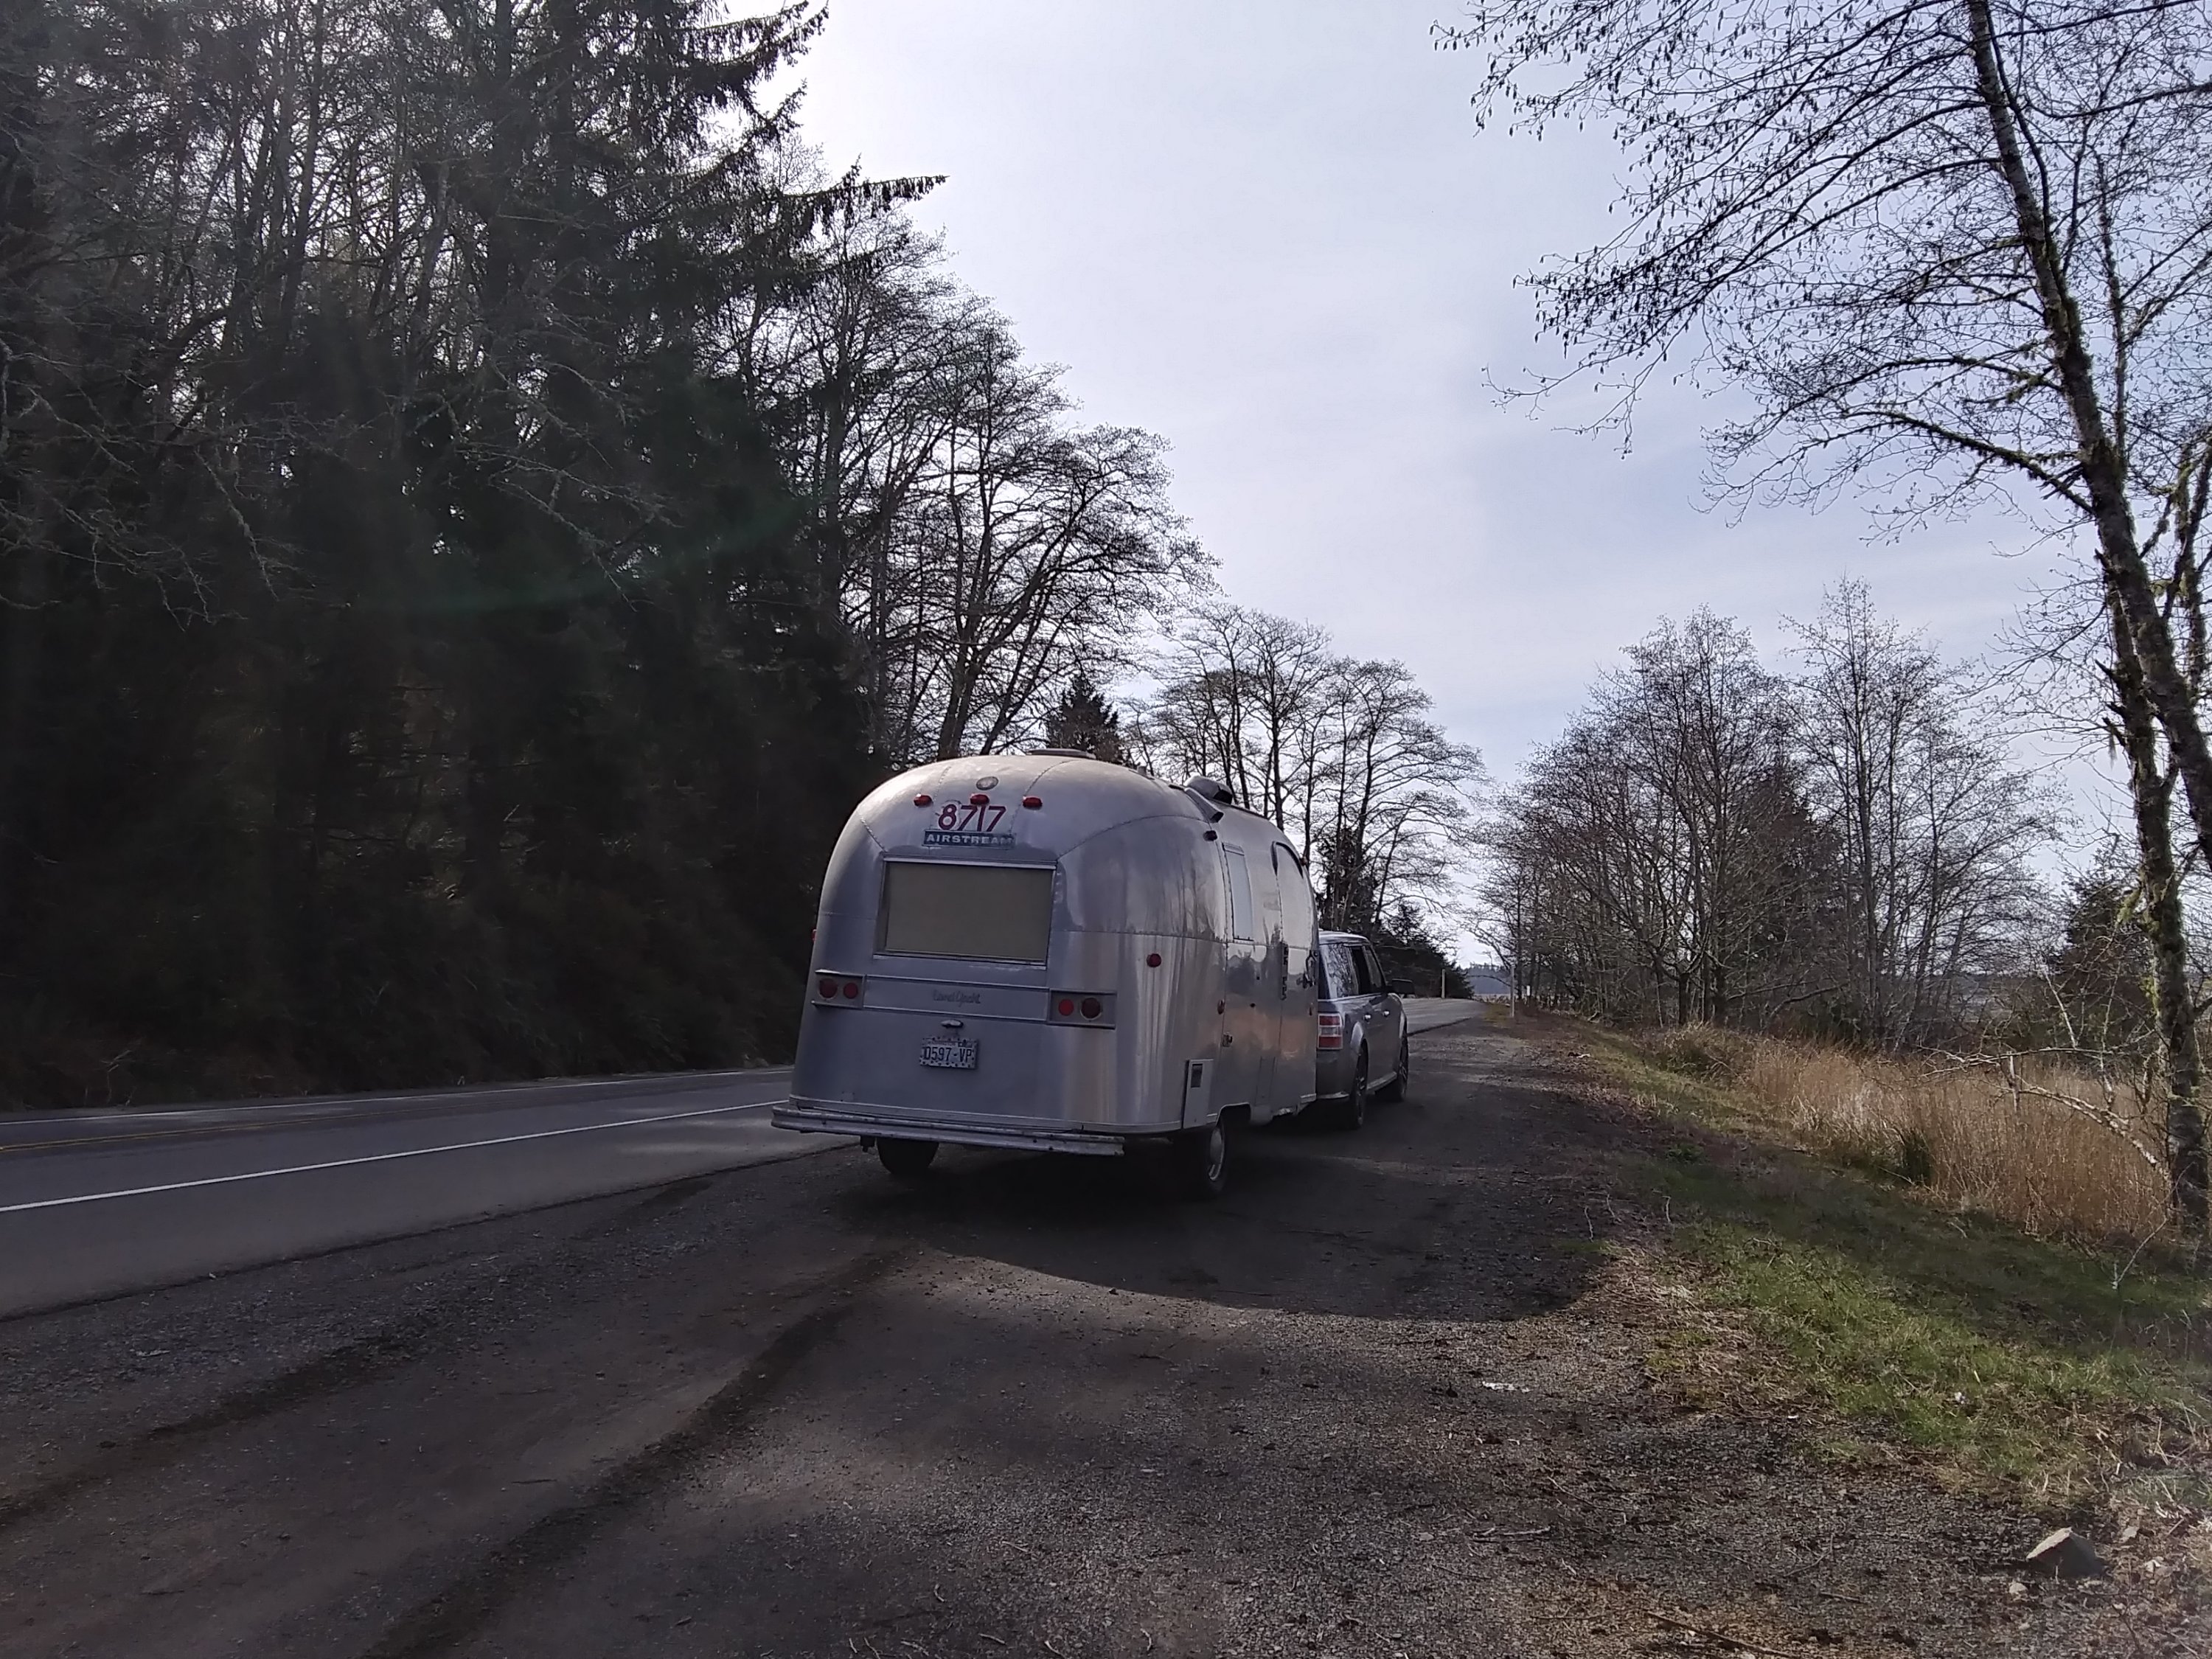
We had some iffy weather coming and going with strong winds, but the Palisade towed like a champ. I have had some doubts that I picked the right tow vehicle, but on this trip it was solid as a rock and had lots of power, even pulling up big hills. So I am feeling pretty good about that now. They seem to make a nice pair.