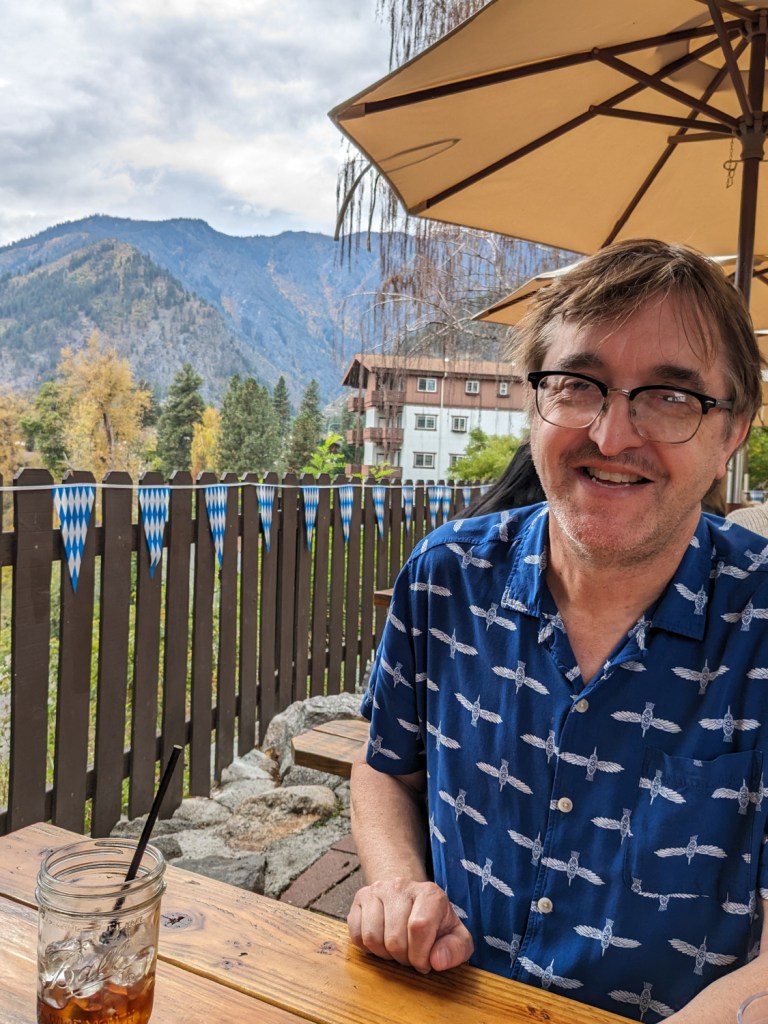
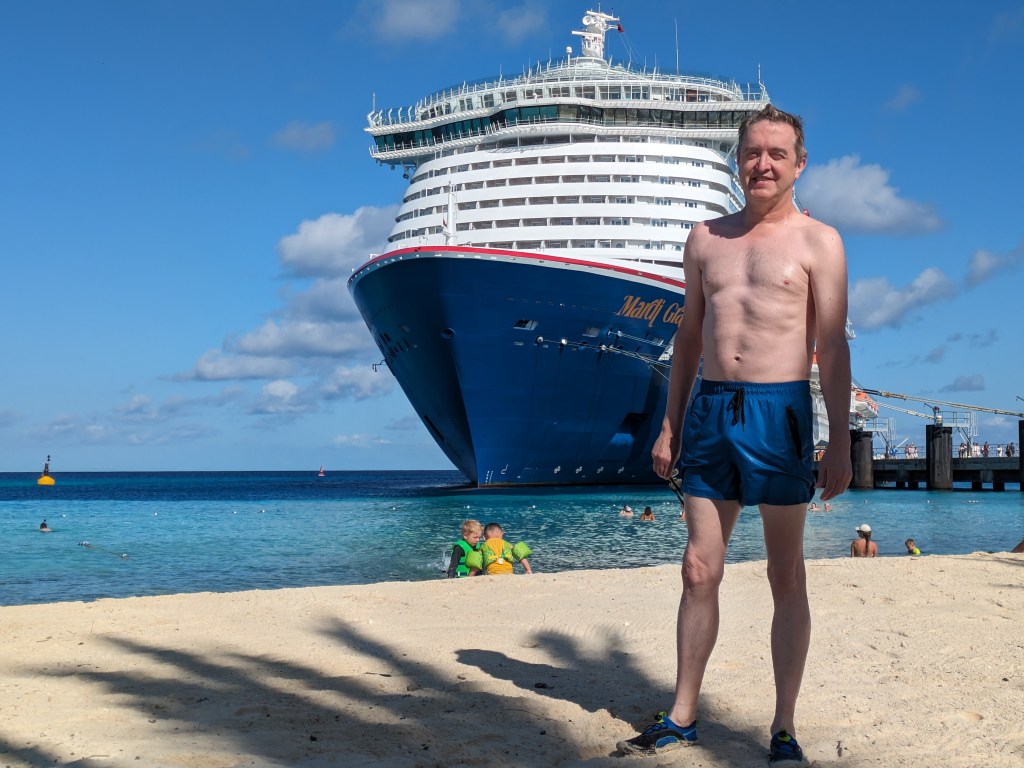
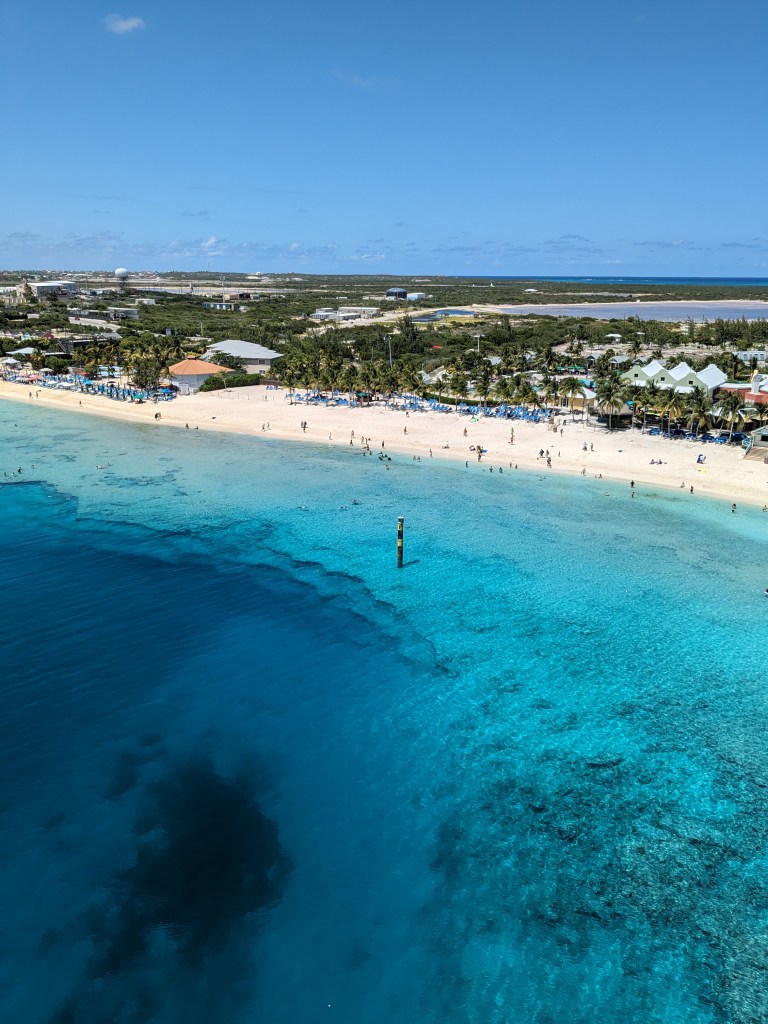
We docked at Grand Turk with a bit of time to kill before our planned activities, so we went down and sat on the beach and enjoyed the sand and unbelievably blue water, and view of the massive ship we’d come in on. Dave went and waded around in the surf.
This is what a tropical vacation is all about, right?
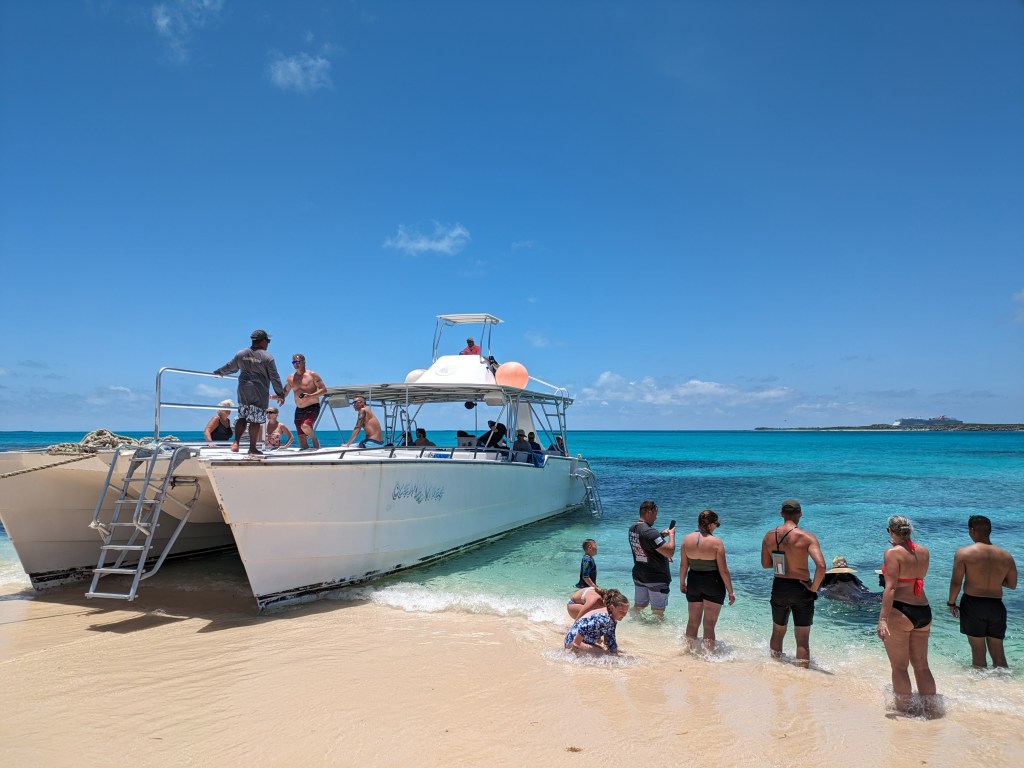
When it was time we gathered up with our fellow passengers and followed our guides down the beach to a big catamaran, for a trip out to a reef to do some snorkeling. Neither of us had tried it before, and ultimately, I chickened out. I’m not a strong swimmer. But Dave has a lot more confidence in his swimming, so he gave it a try.
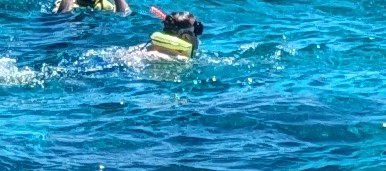
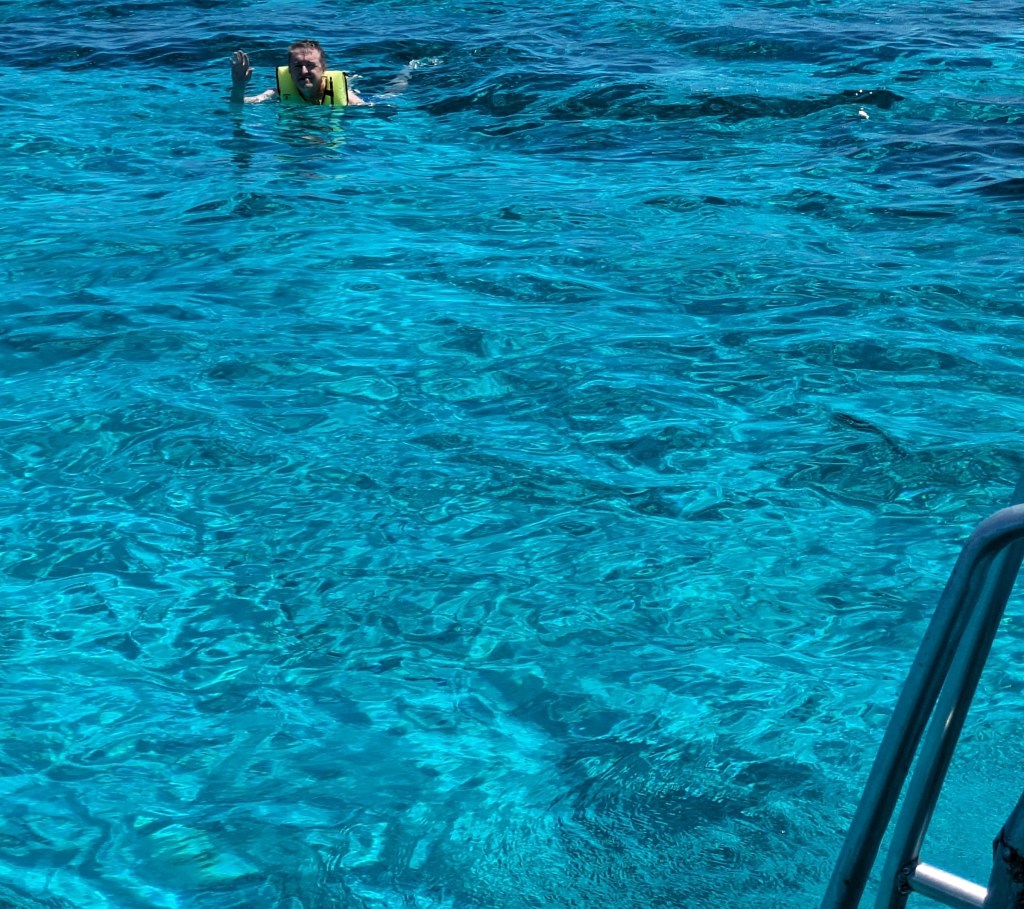

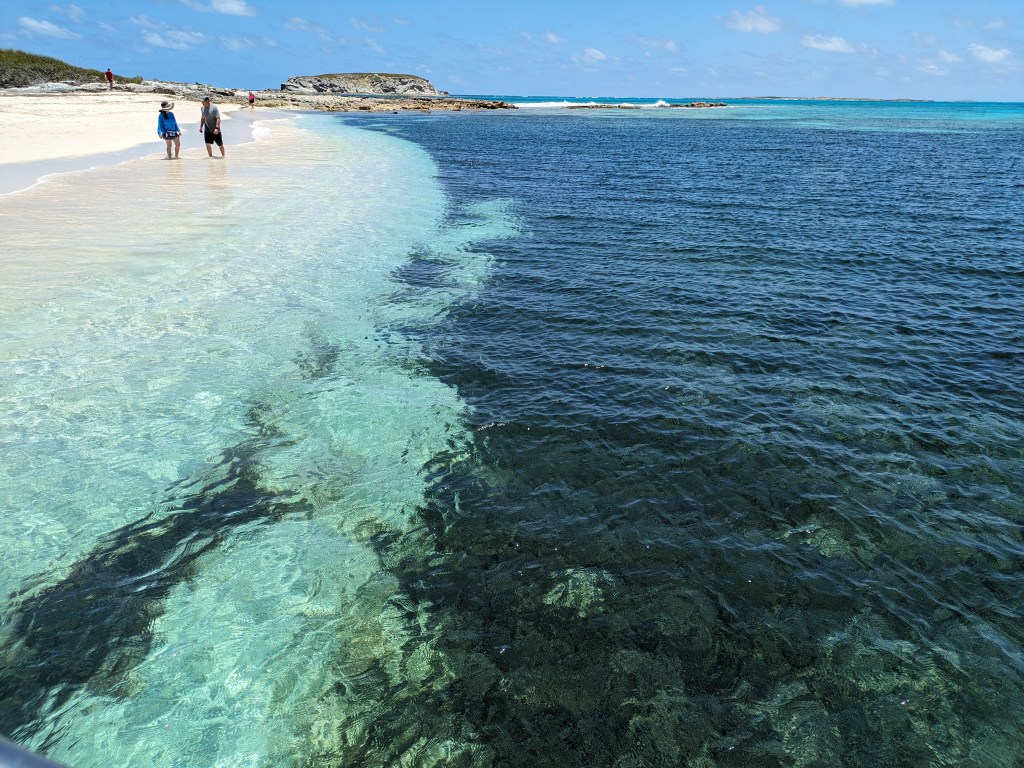
I enjoyed the view from the boat.
Our next stop was Gibbs Cay, to visit Sting Rays. This was the sketchiest thing we did. The sting rays there are used to getting fed, and they come running when the boat shows up. A guide hops out and grabs one, and then everybody gets to touch it while the guy kind of manhandles it. Obviously it’s fine, or they wouldn’t keep coming back. But it felt a bit sketchy, especially since there were so many people.


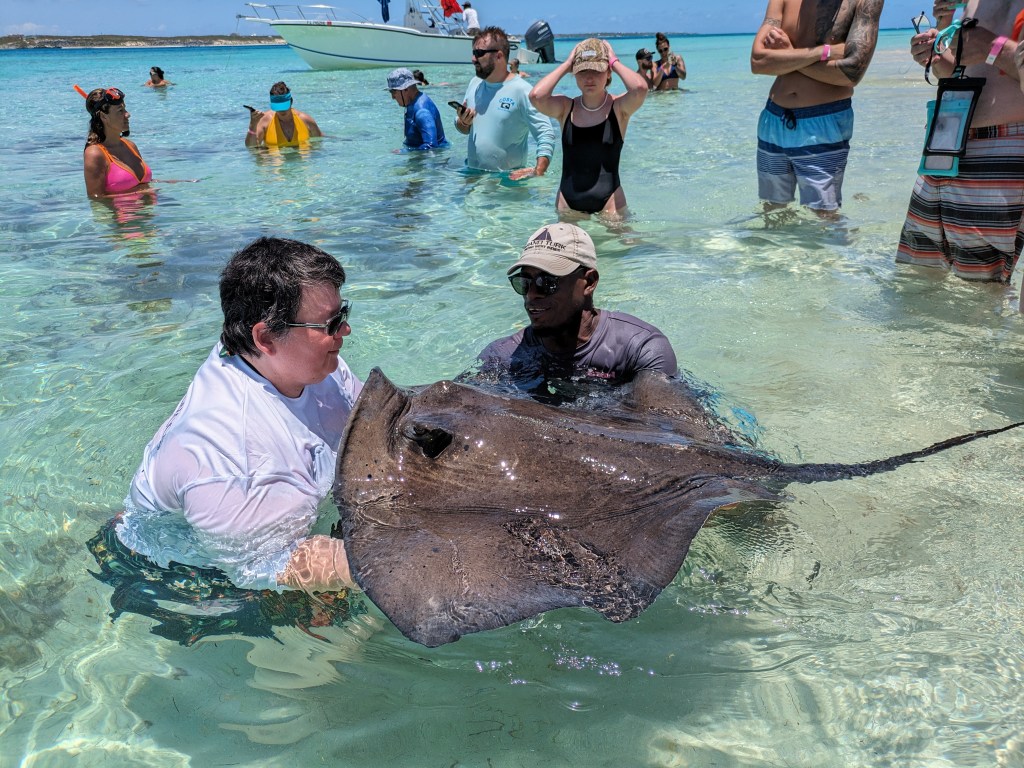
After harassing the sting ray there was time to chill out on the beach or back on the boat.

The boat was surrounded by so many sting rays looking for a handout. It was pretty cool.
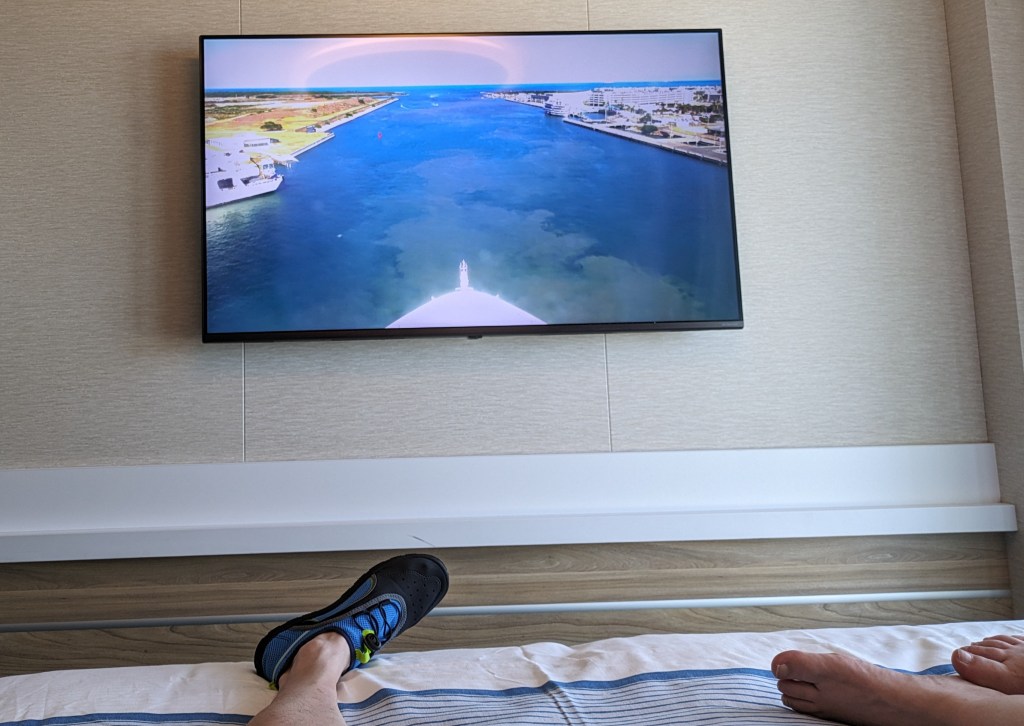
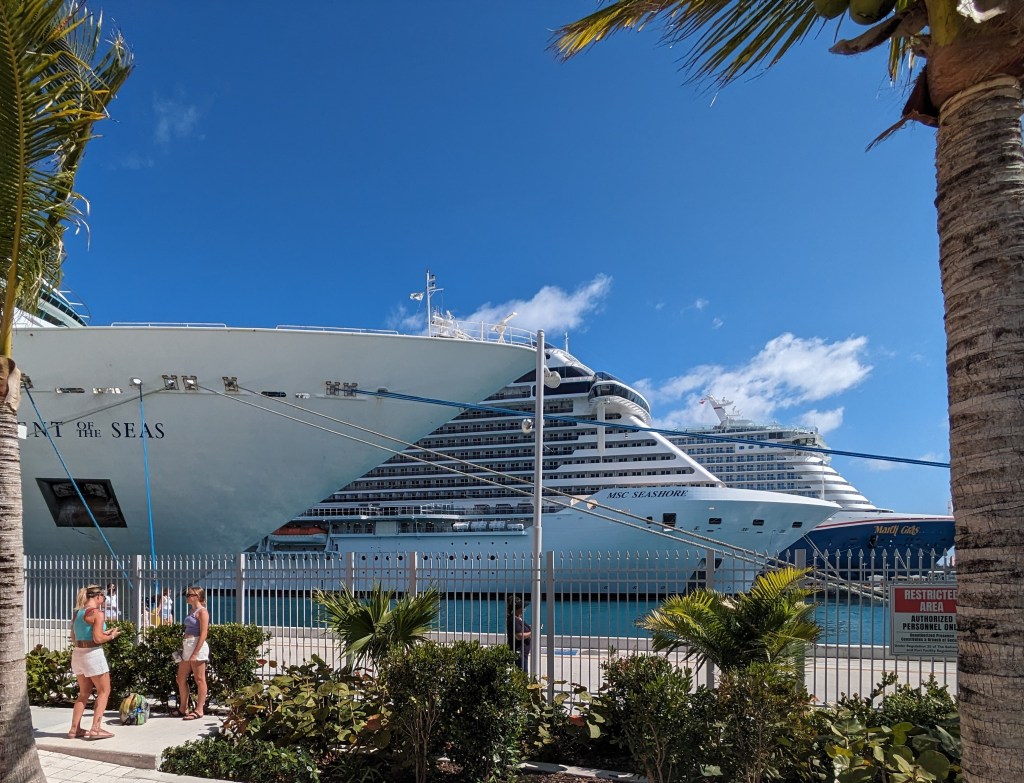
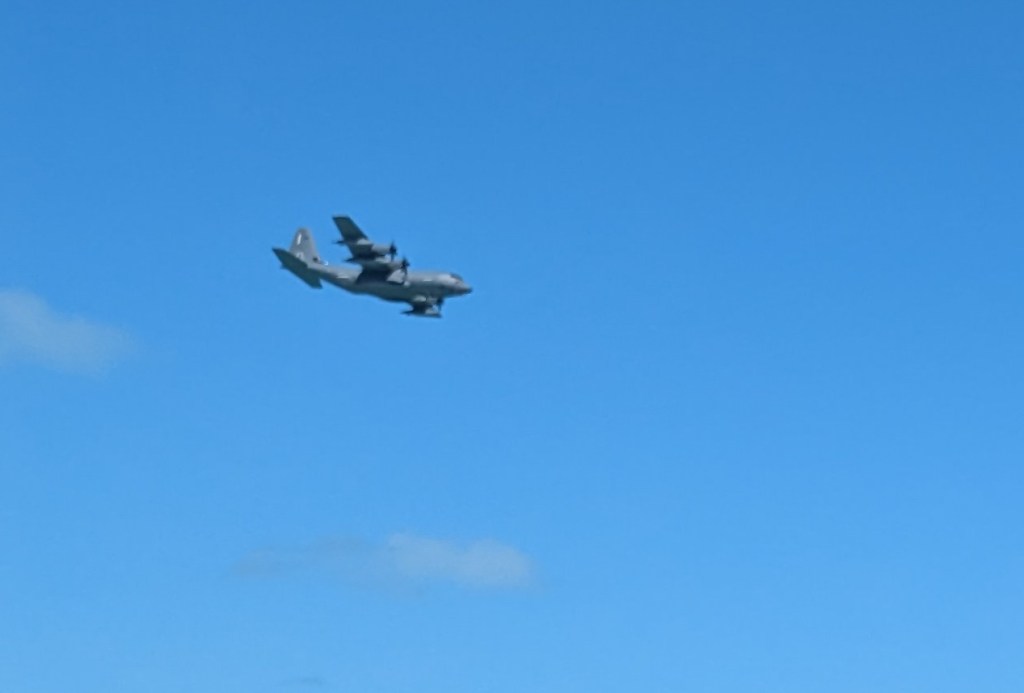
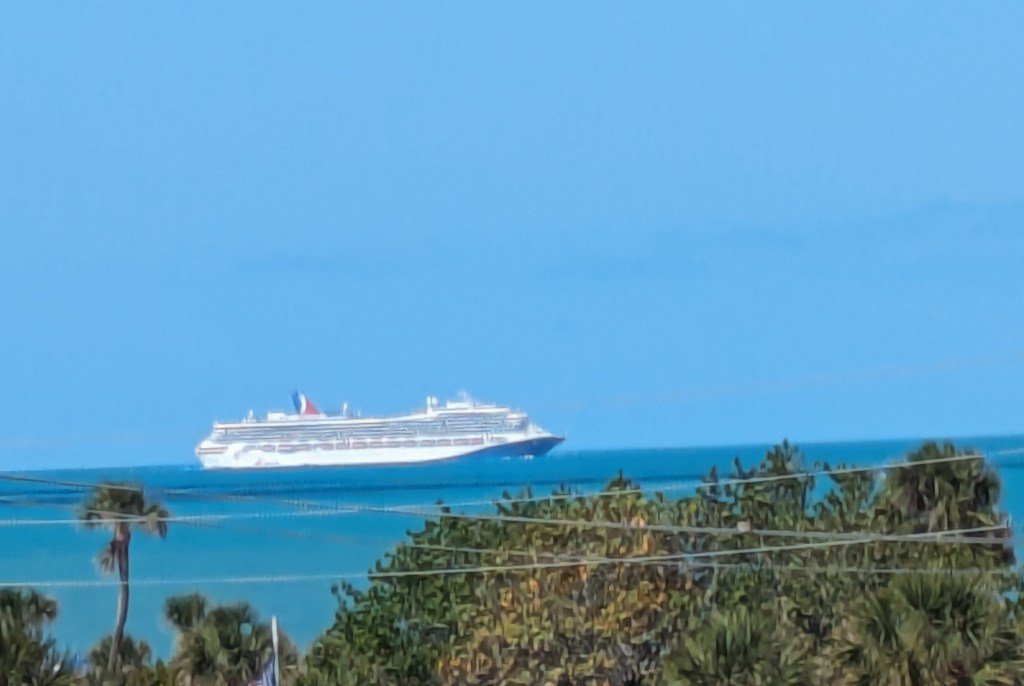
Back in our room we had a great view of the pier to see if any late comers were going to be dashing to try and catch the ship before it left, but everyone got back in time.


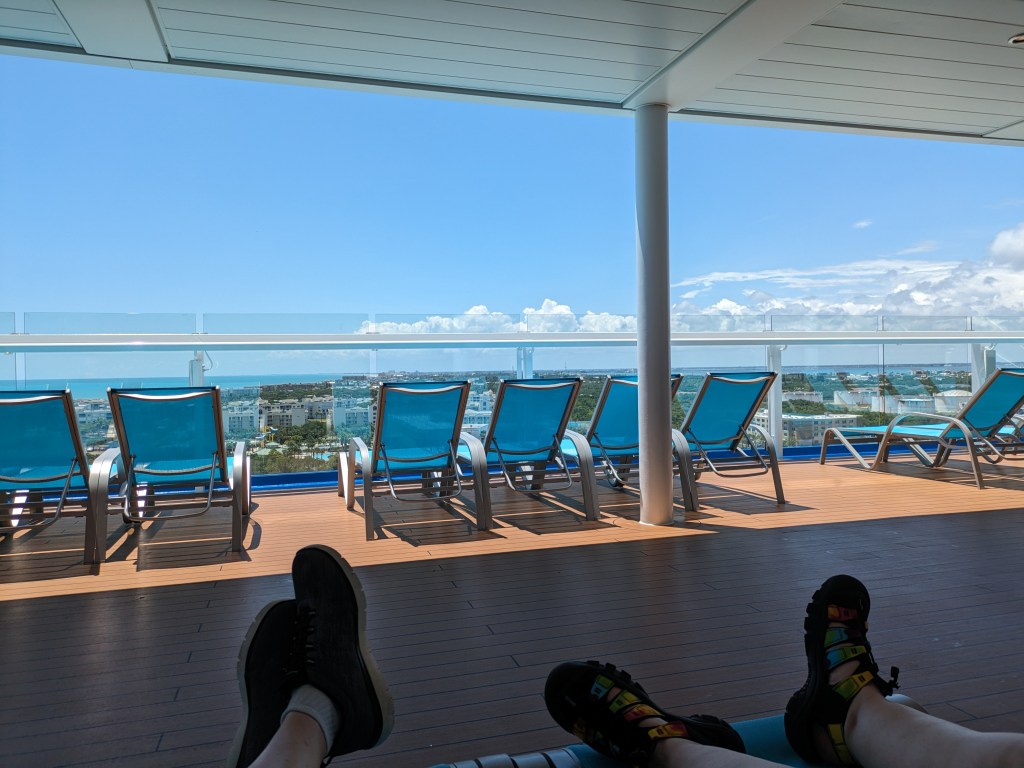
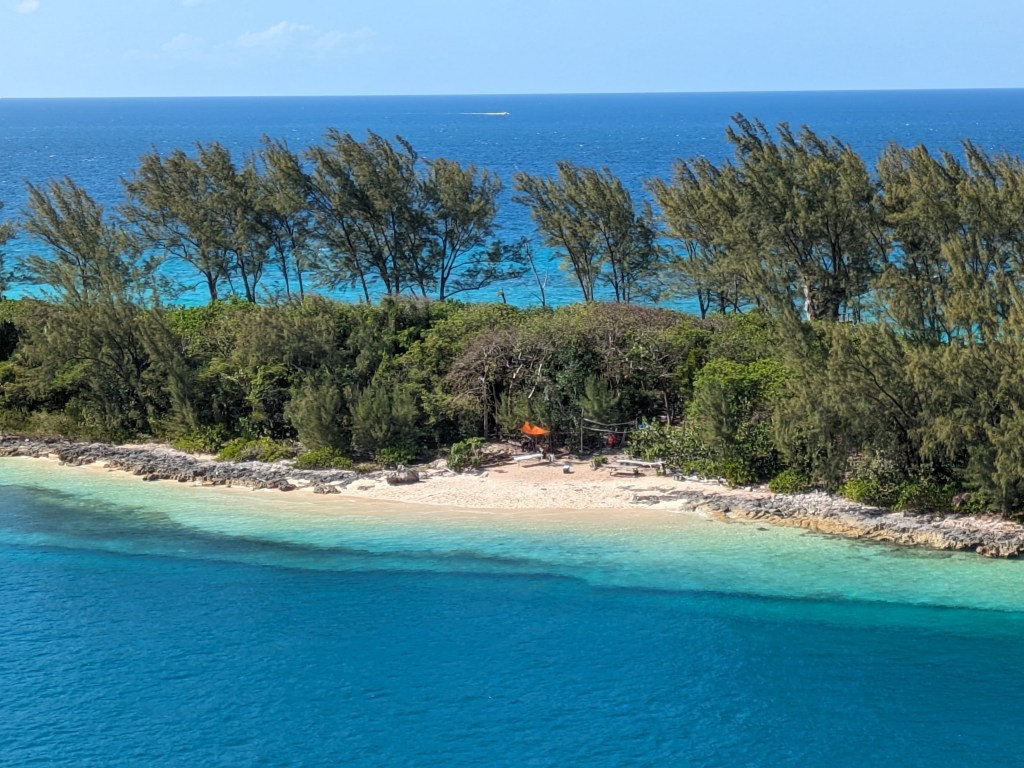
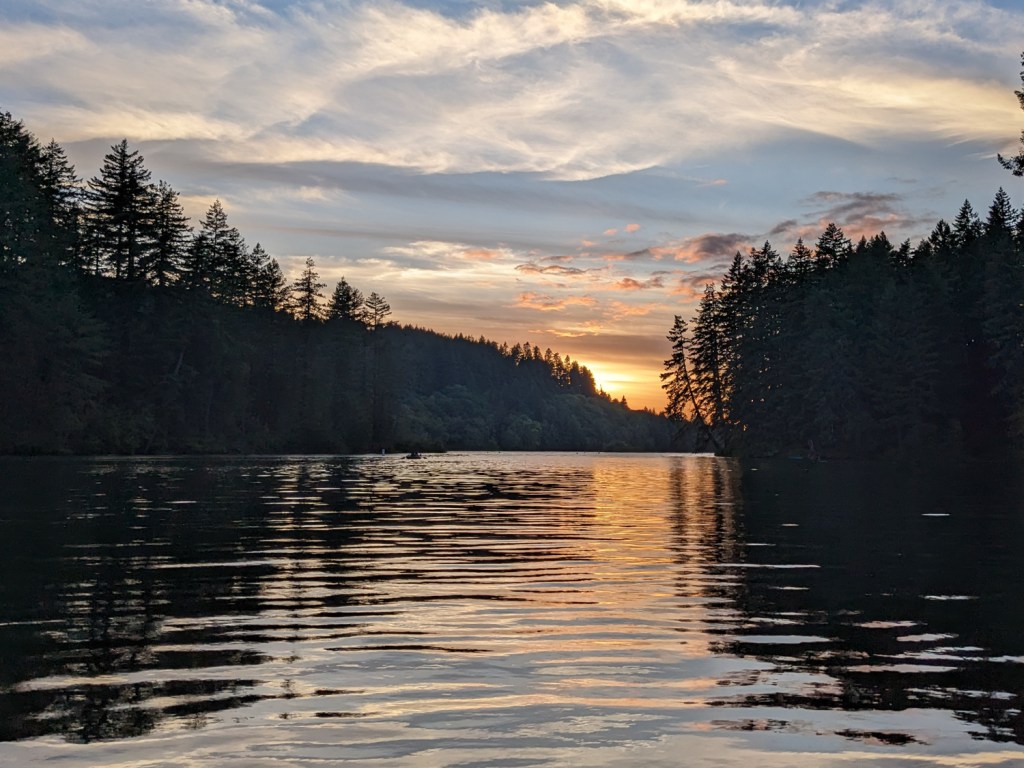
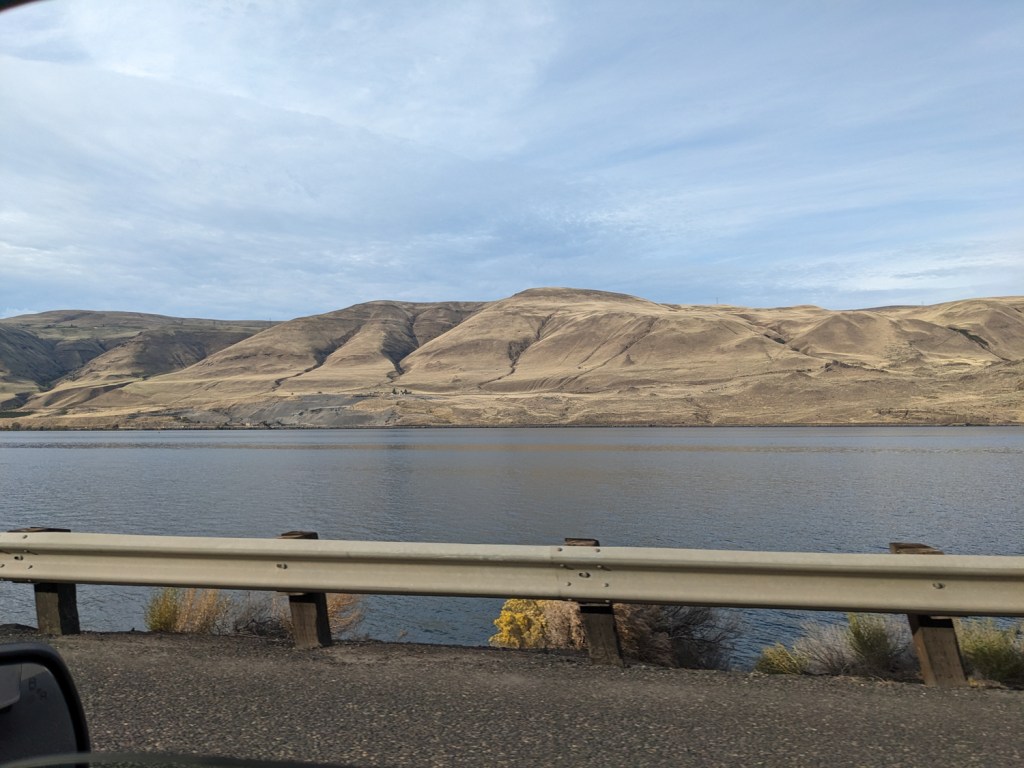
I can not get over the color of the water here!
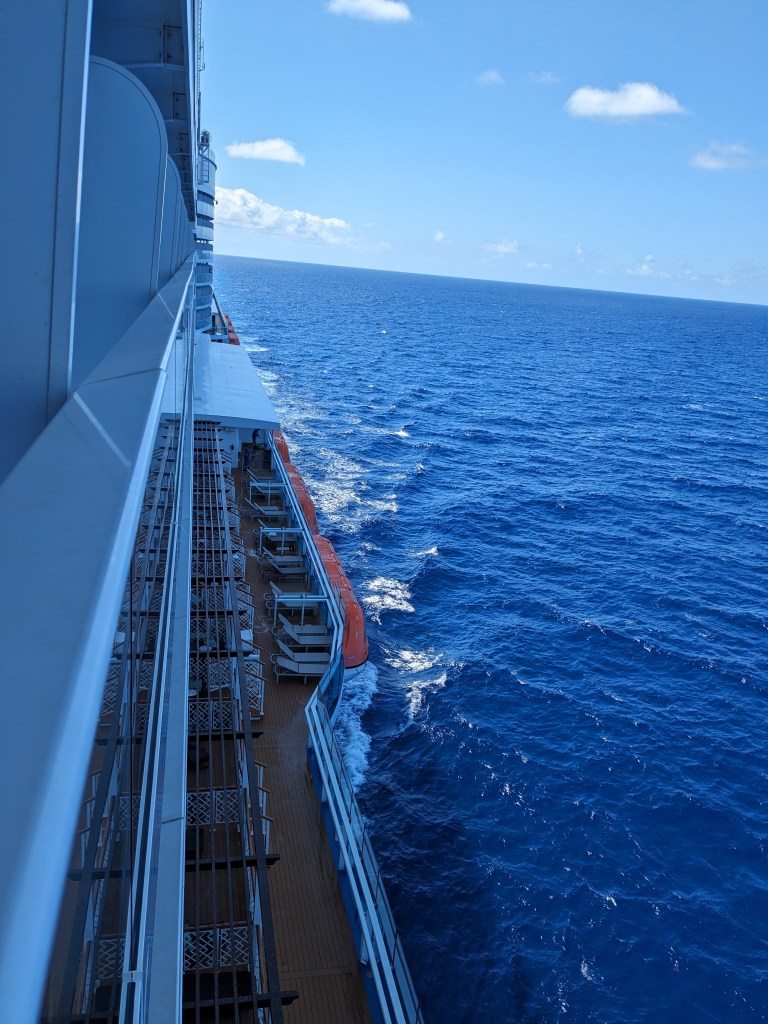
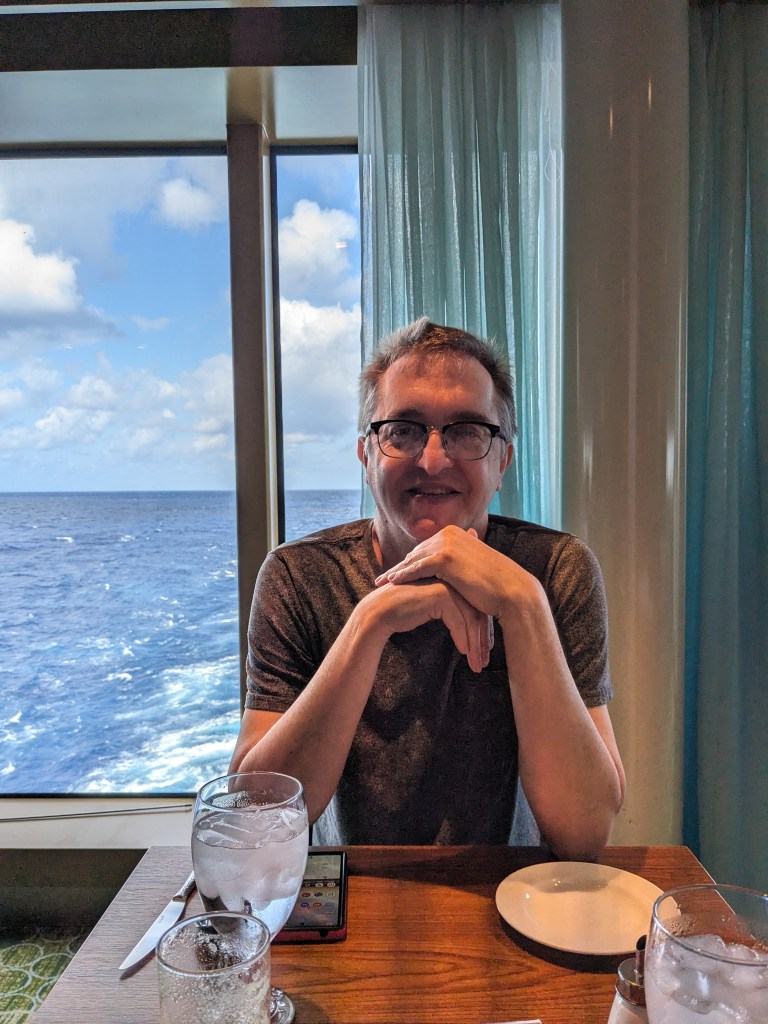
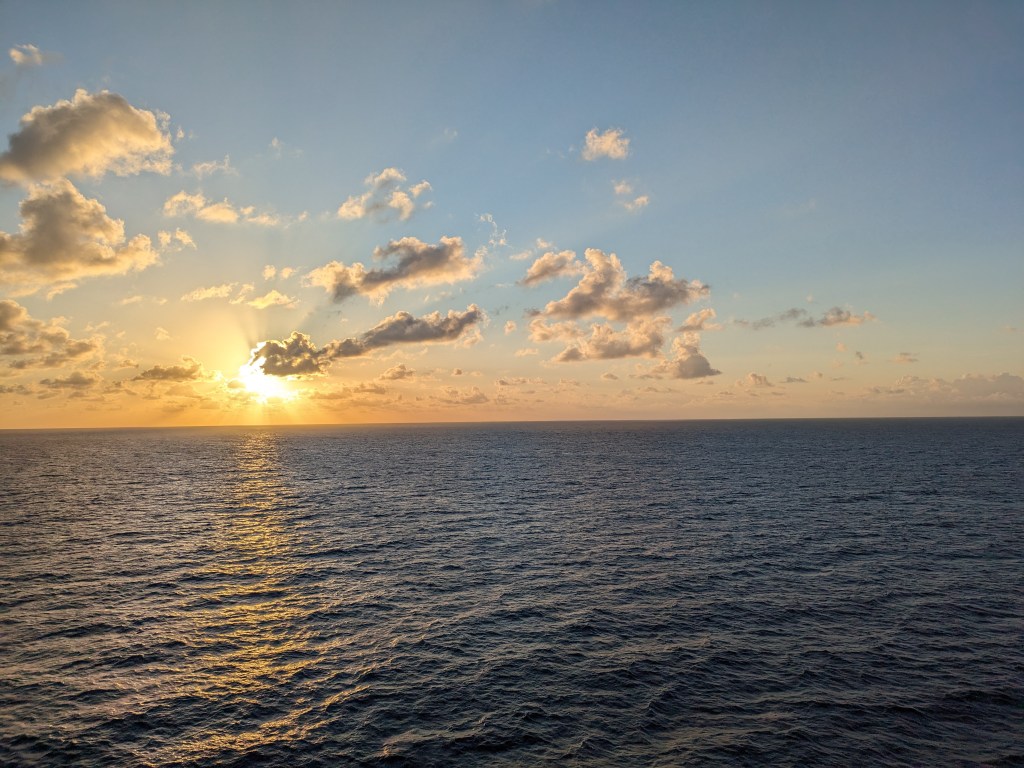
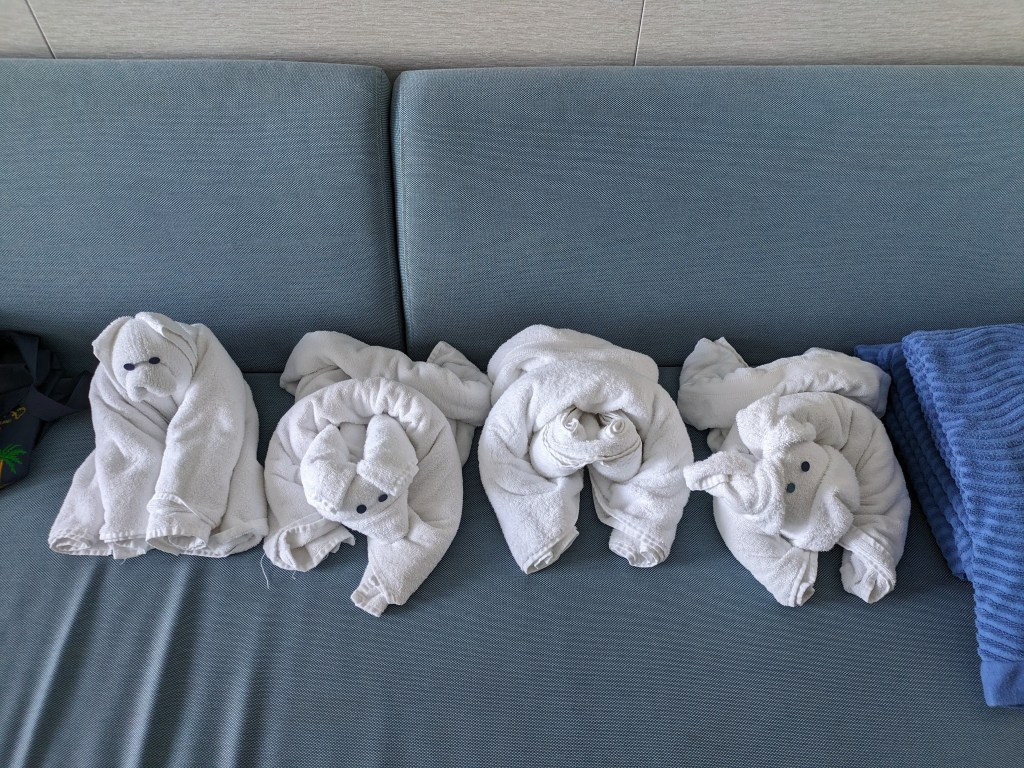
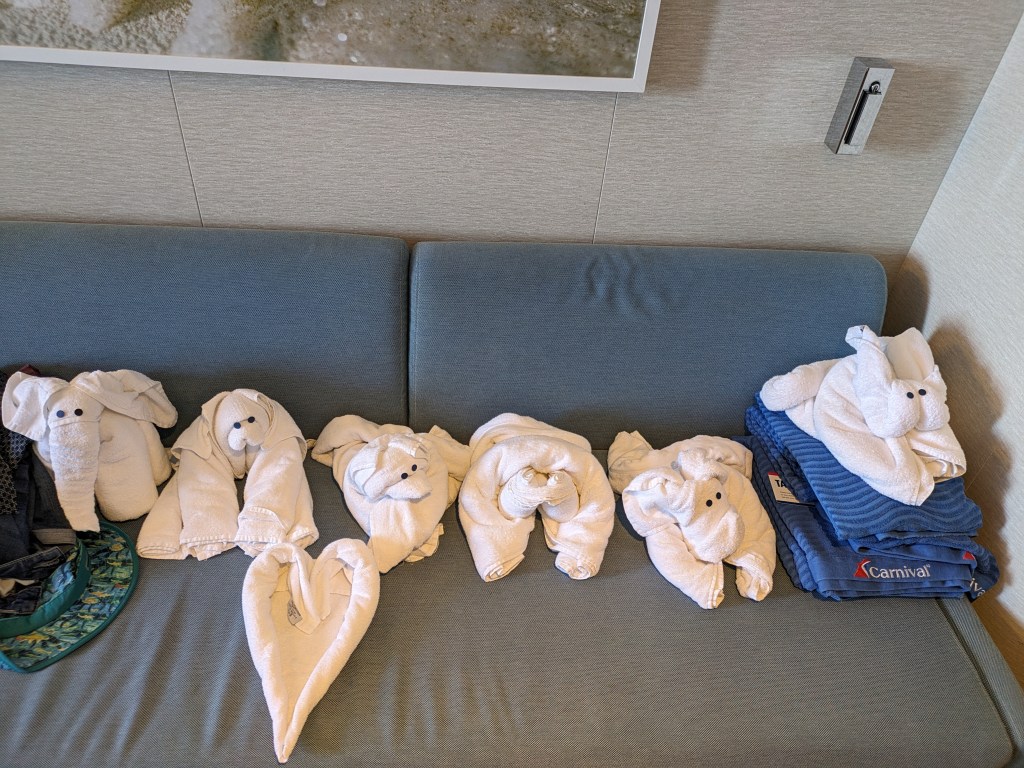
The ship headed back to FL, with a day at sea to relax. We got in lots of wandering, lots of eating, and a fancy dinner on the last night in the steakhouse. Oh, and the towel roommates kept appearing.
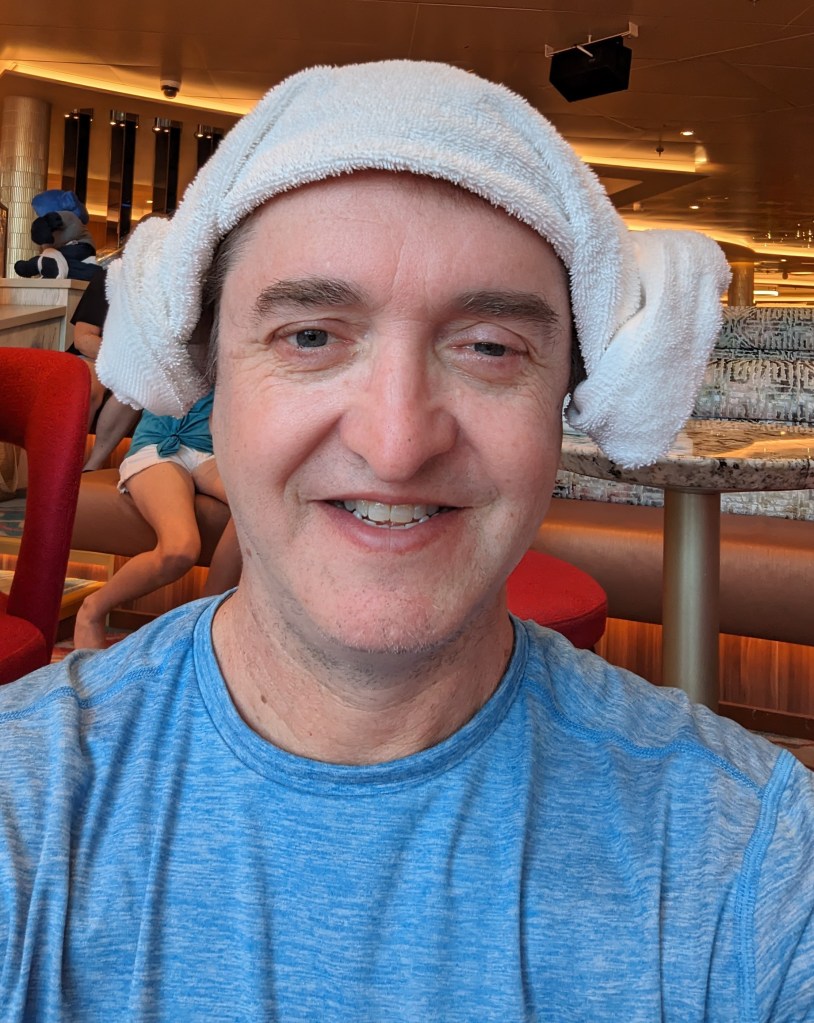
Dave took a class to learn how to tie them, and did this Princess Leia thing 😀
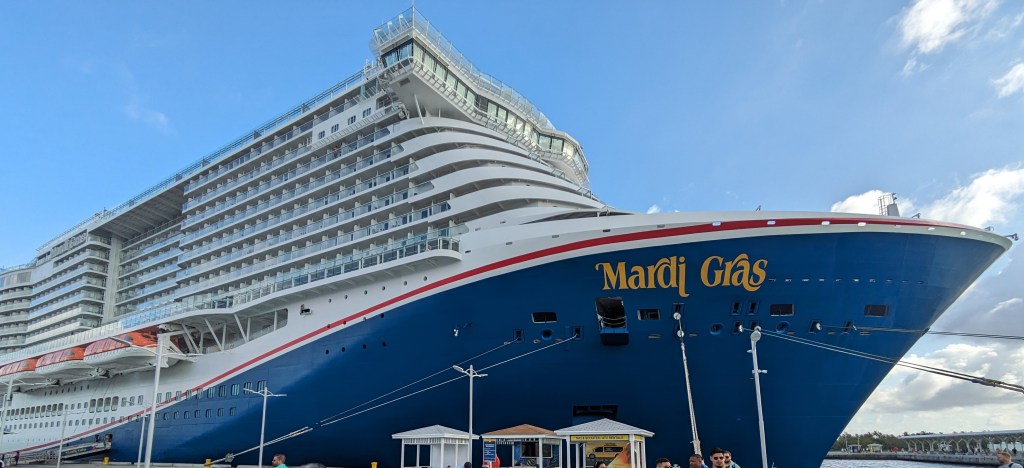
I thought this big plaque was cool comparing the size of the original Mardi Gras with the current one. When someone says ‘cruise’, I still think of The Love Boat. That first Mardi Gras was probably Love Boat sized.

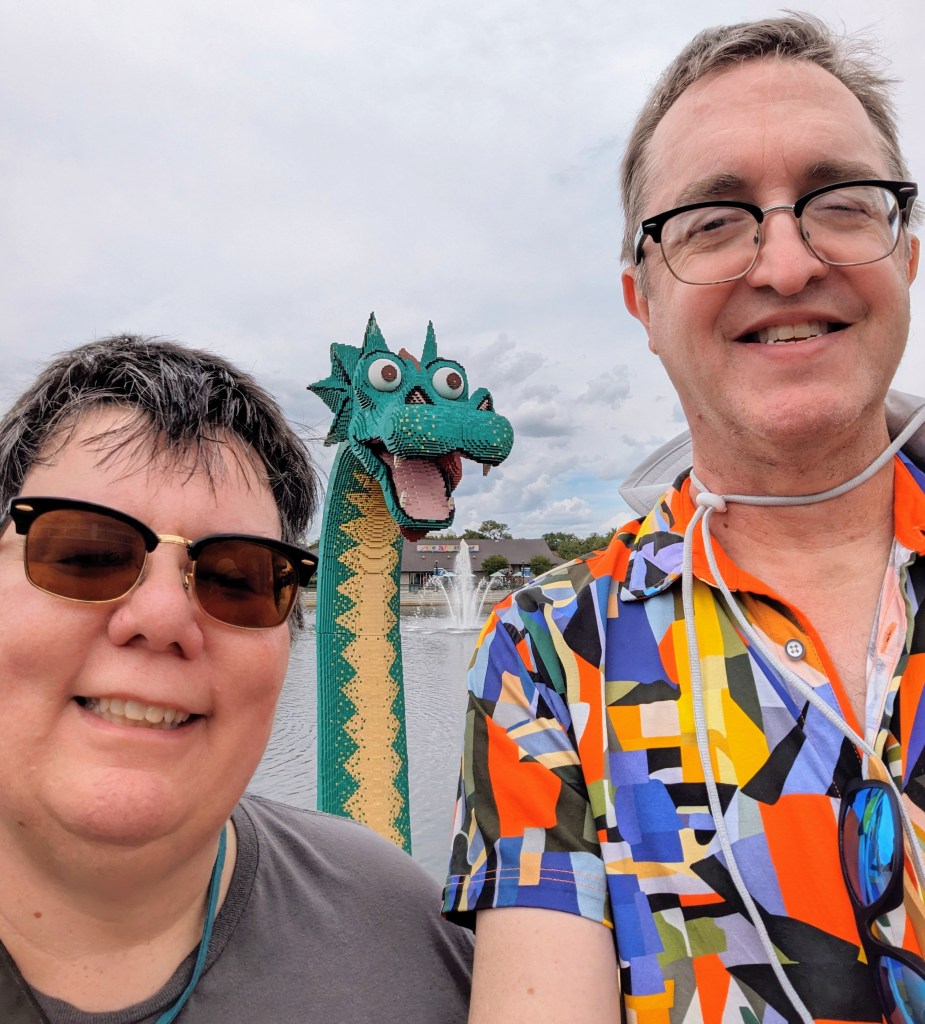
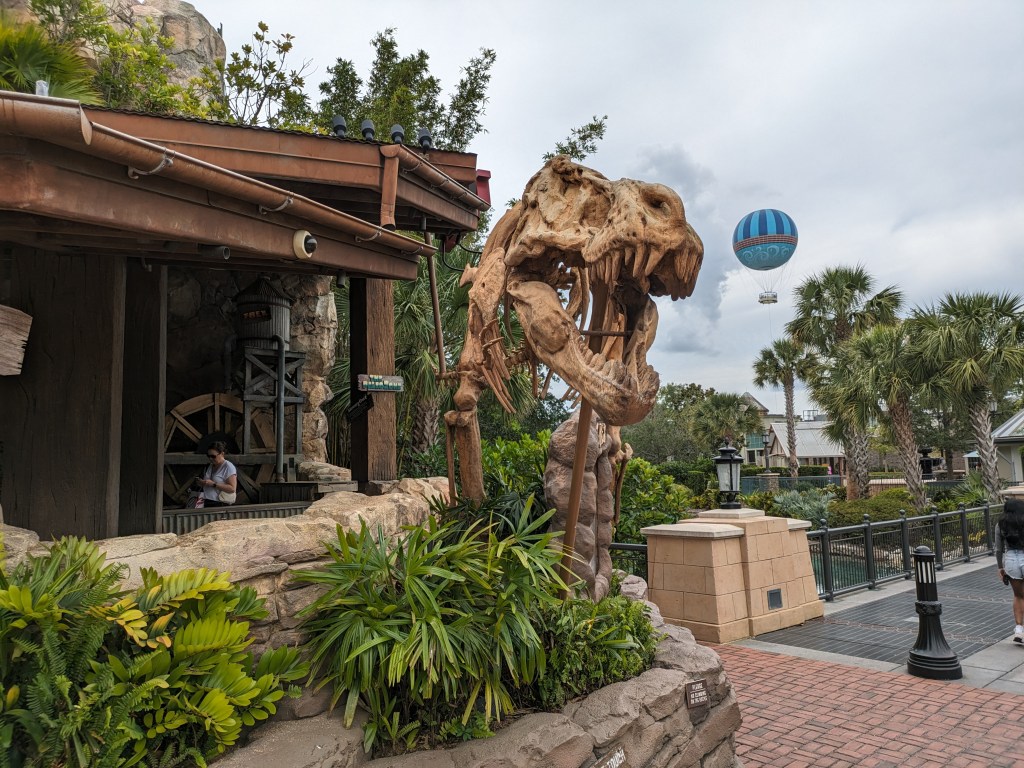
We were getting pretty travel worn by the time we got back to FL. One more day spent at Animal Kingdom

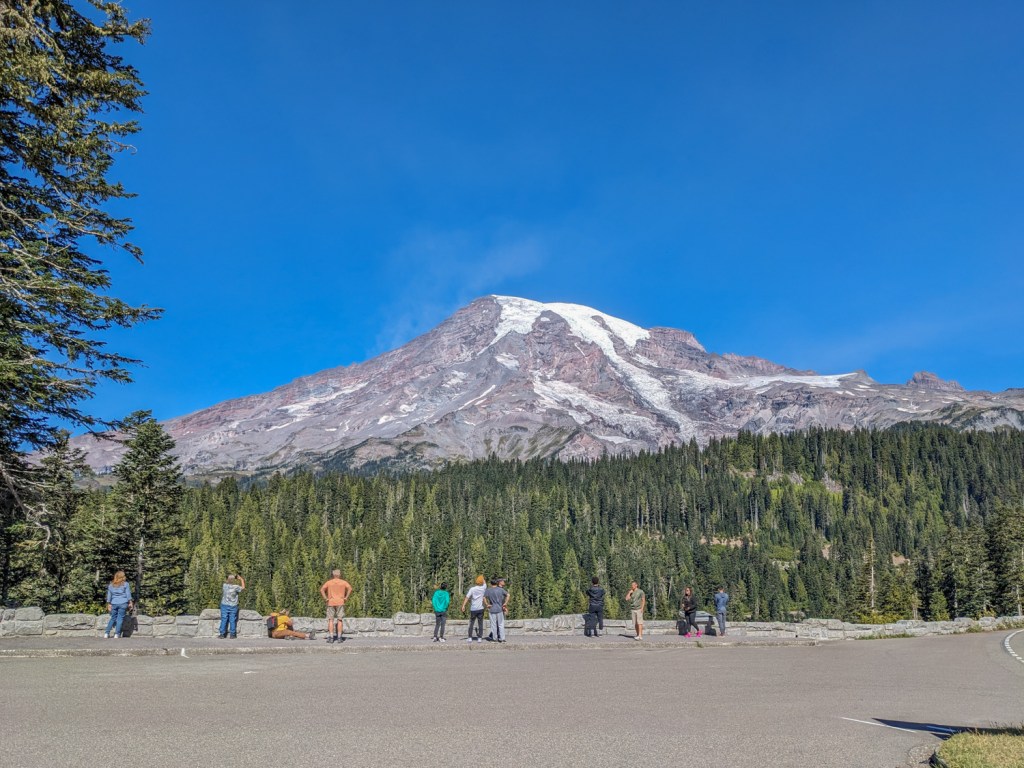
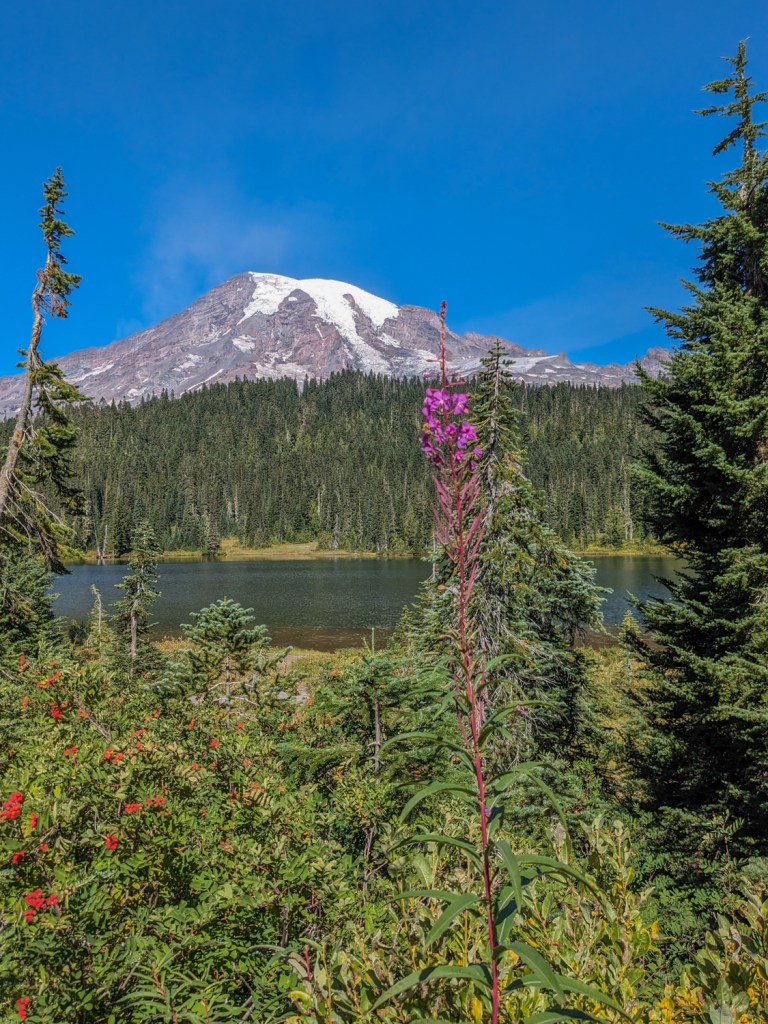
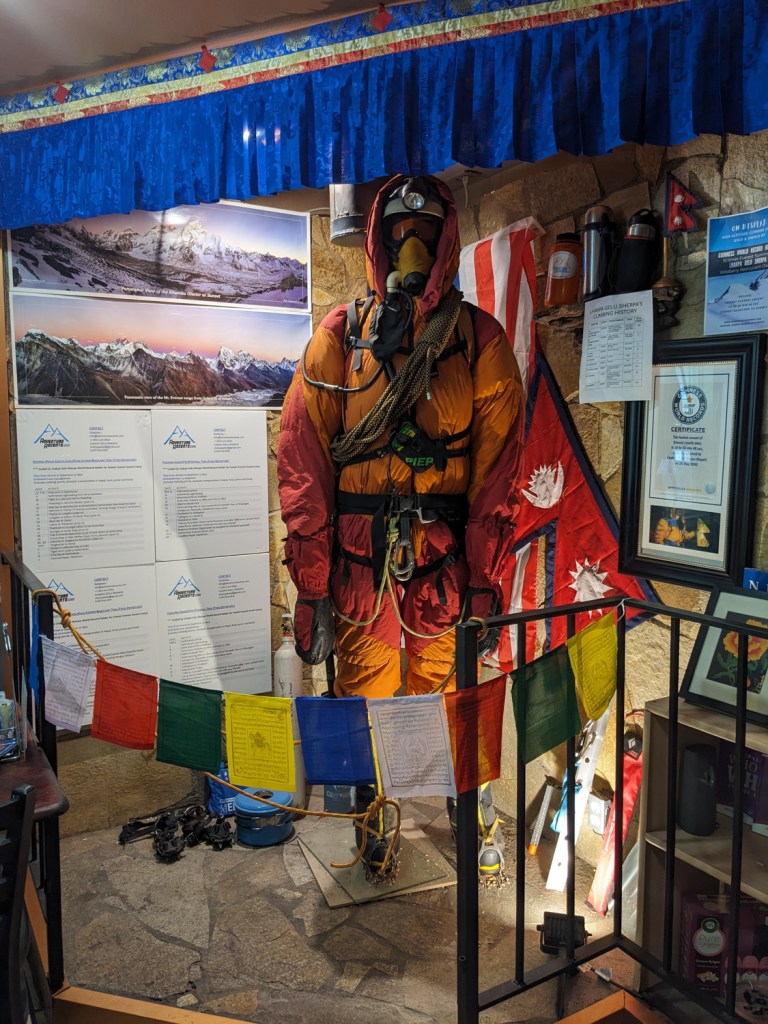
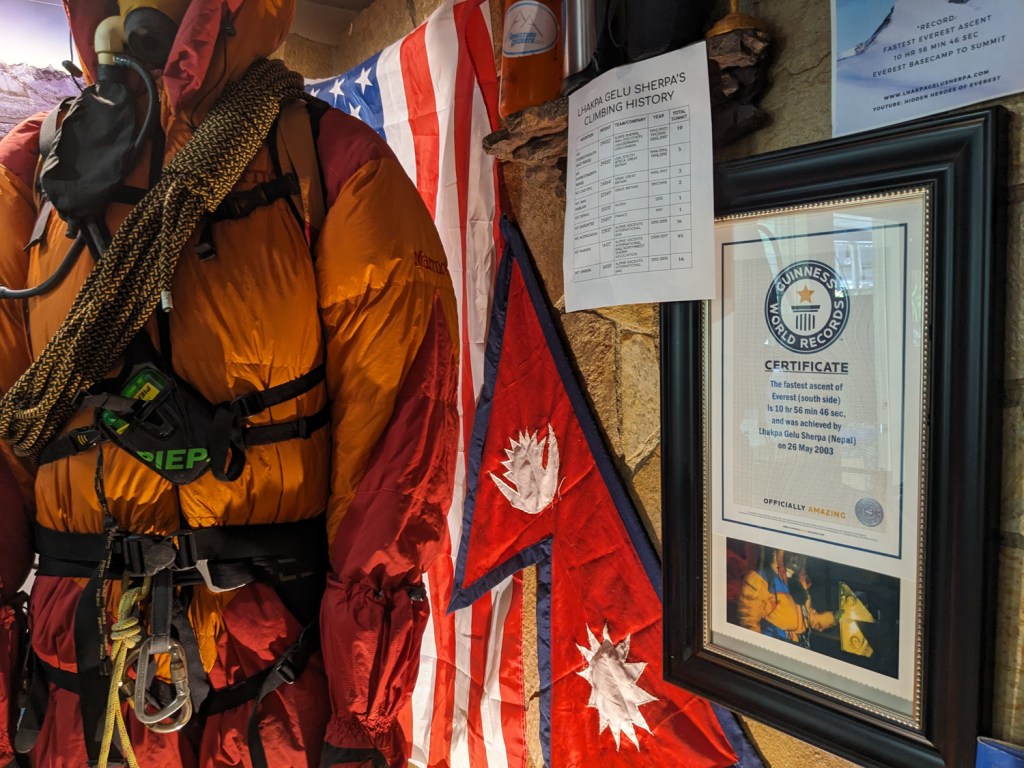
It was pretty cool. The Avatar rides were cool, the safari ride was fun, and the Everest ride were my favorites.
The only thing we didn’t see in Florida was an alligator. I expected them to be everywhere! Maybe next time. The Uber driver even saw one on his way to pick us up, and when we said we hadn’t seen one yet he looped around to see if we could spot that one, but it had already gone back into hiding.
And that was the end of our DisneyWorld, Rocketship, tropical cruise vacation!